Build Day 1
Saturday, July 30, 2007
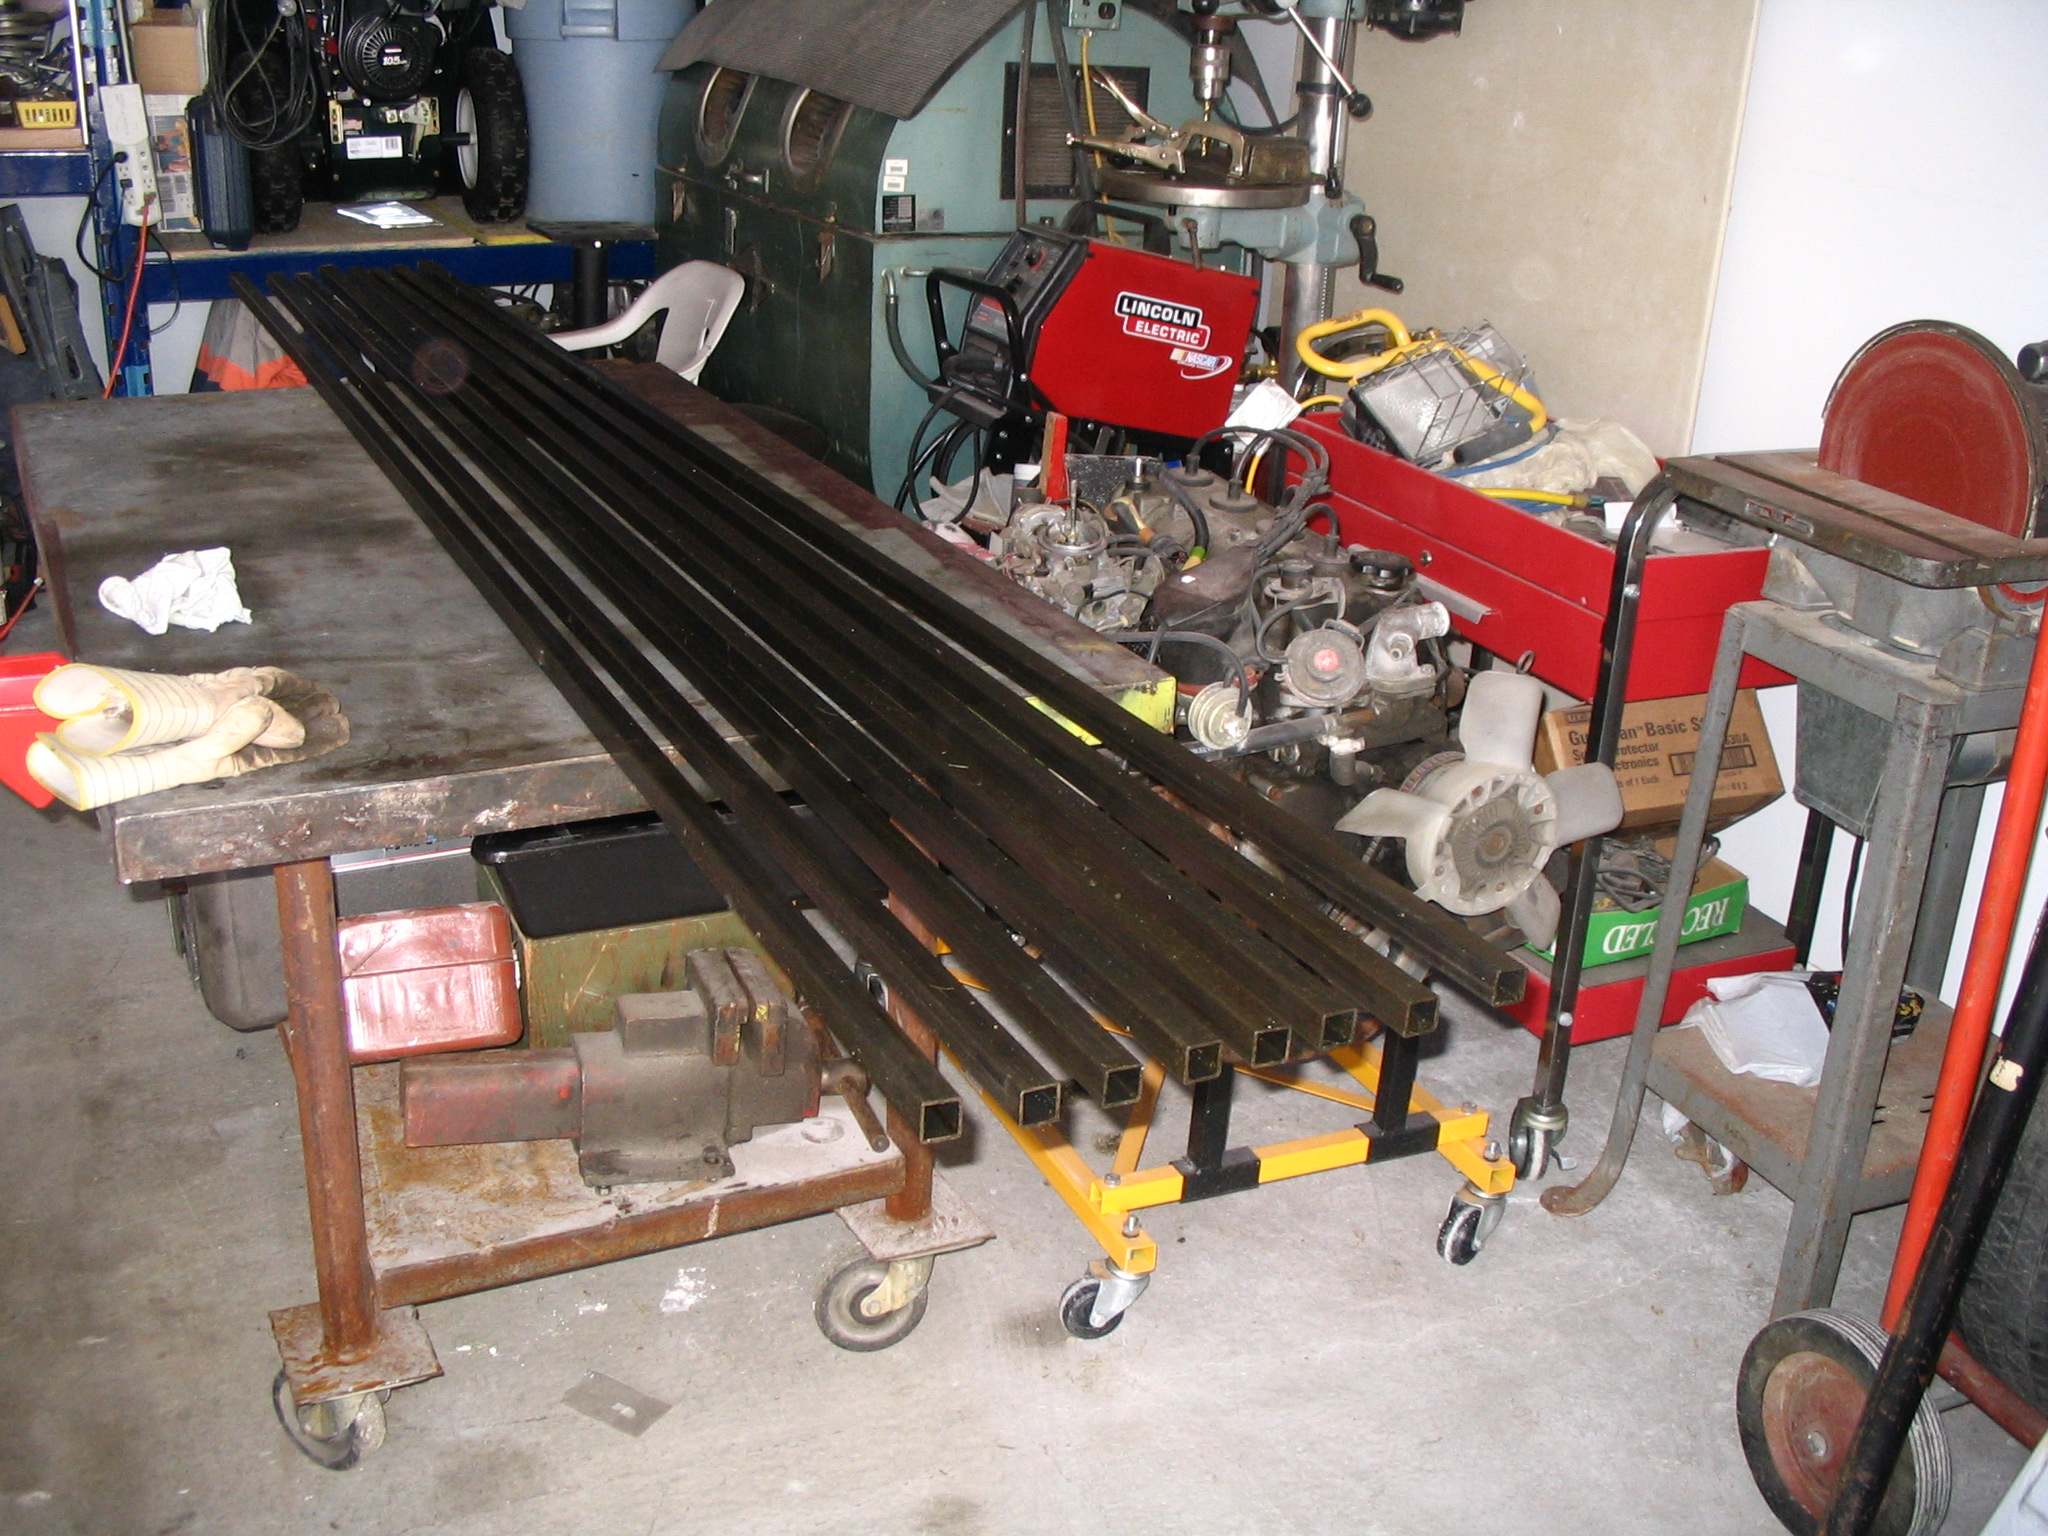
Today I started cutting the 1" chassis tubes.
80 feet 1" square, 16 gauge
The first cut !
About an hour later!
Day 2
Thursday, August 2, 2007
I bought more 1" tubing and did the rest of the rough cuts for the 1" tubing on Monday in about 30 minutes.
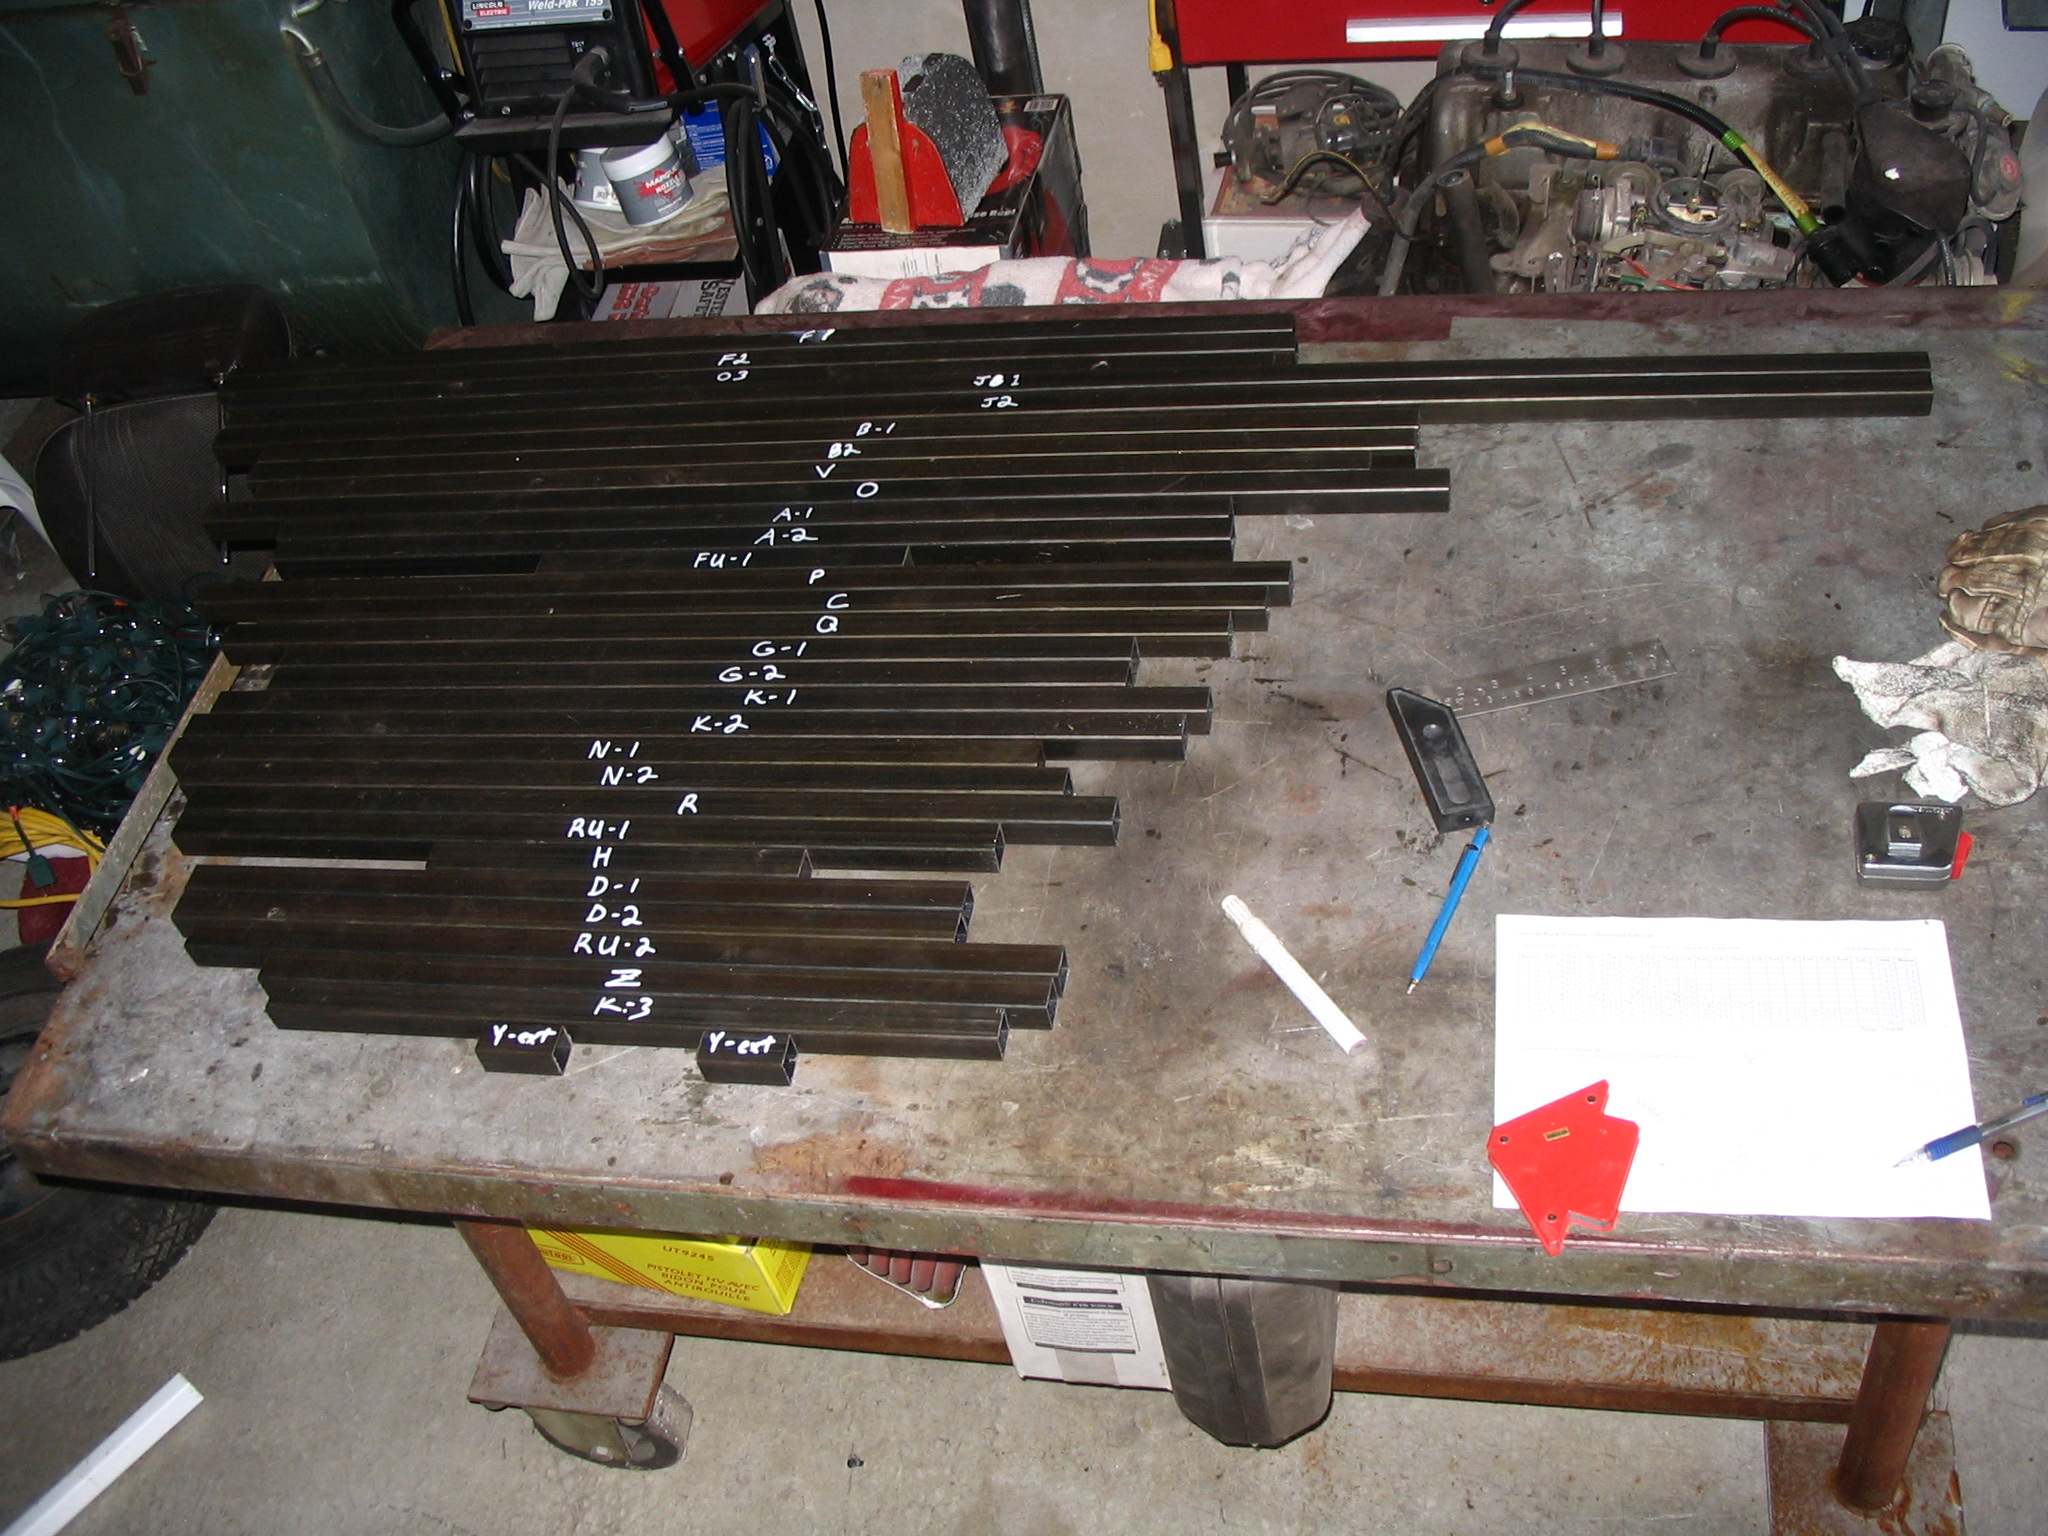
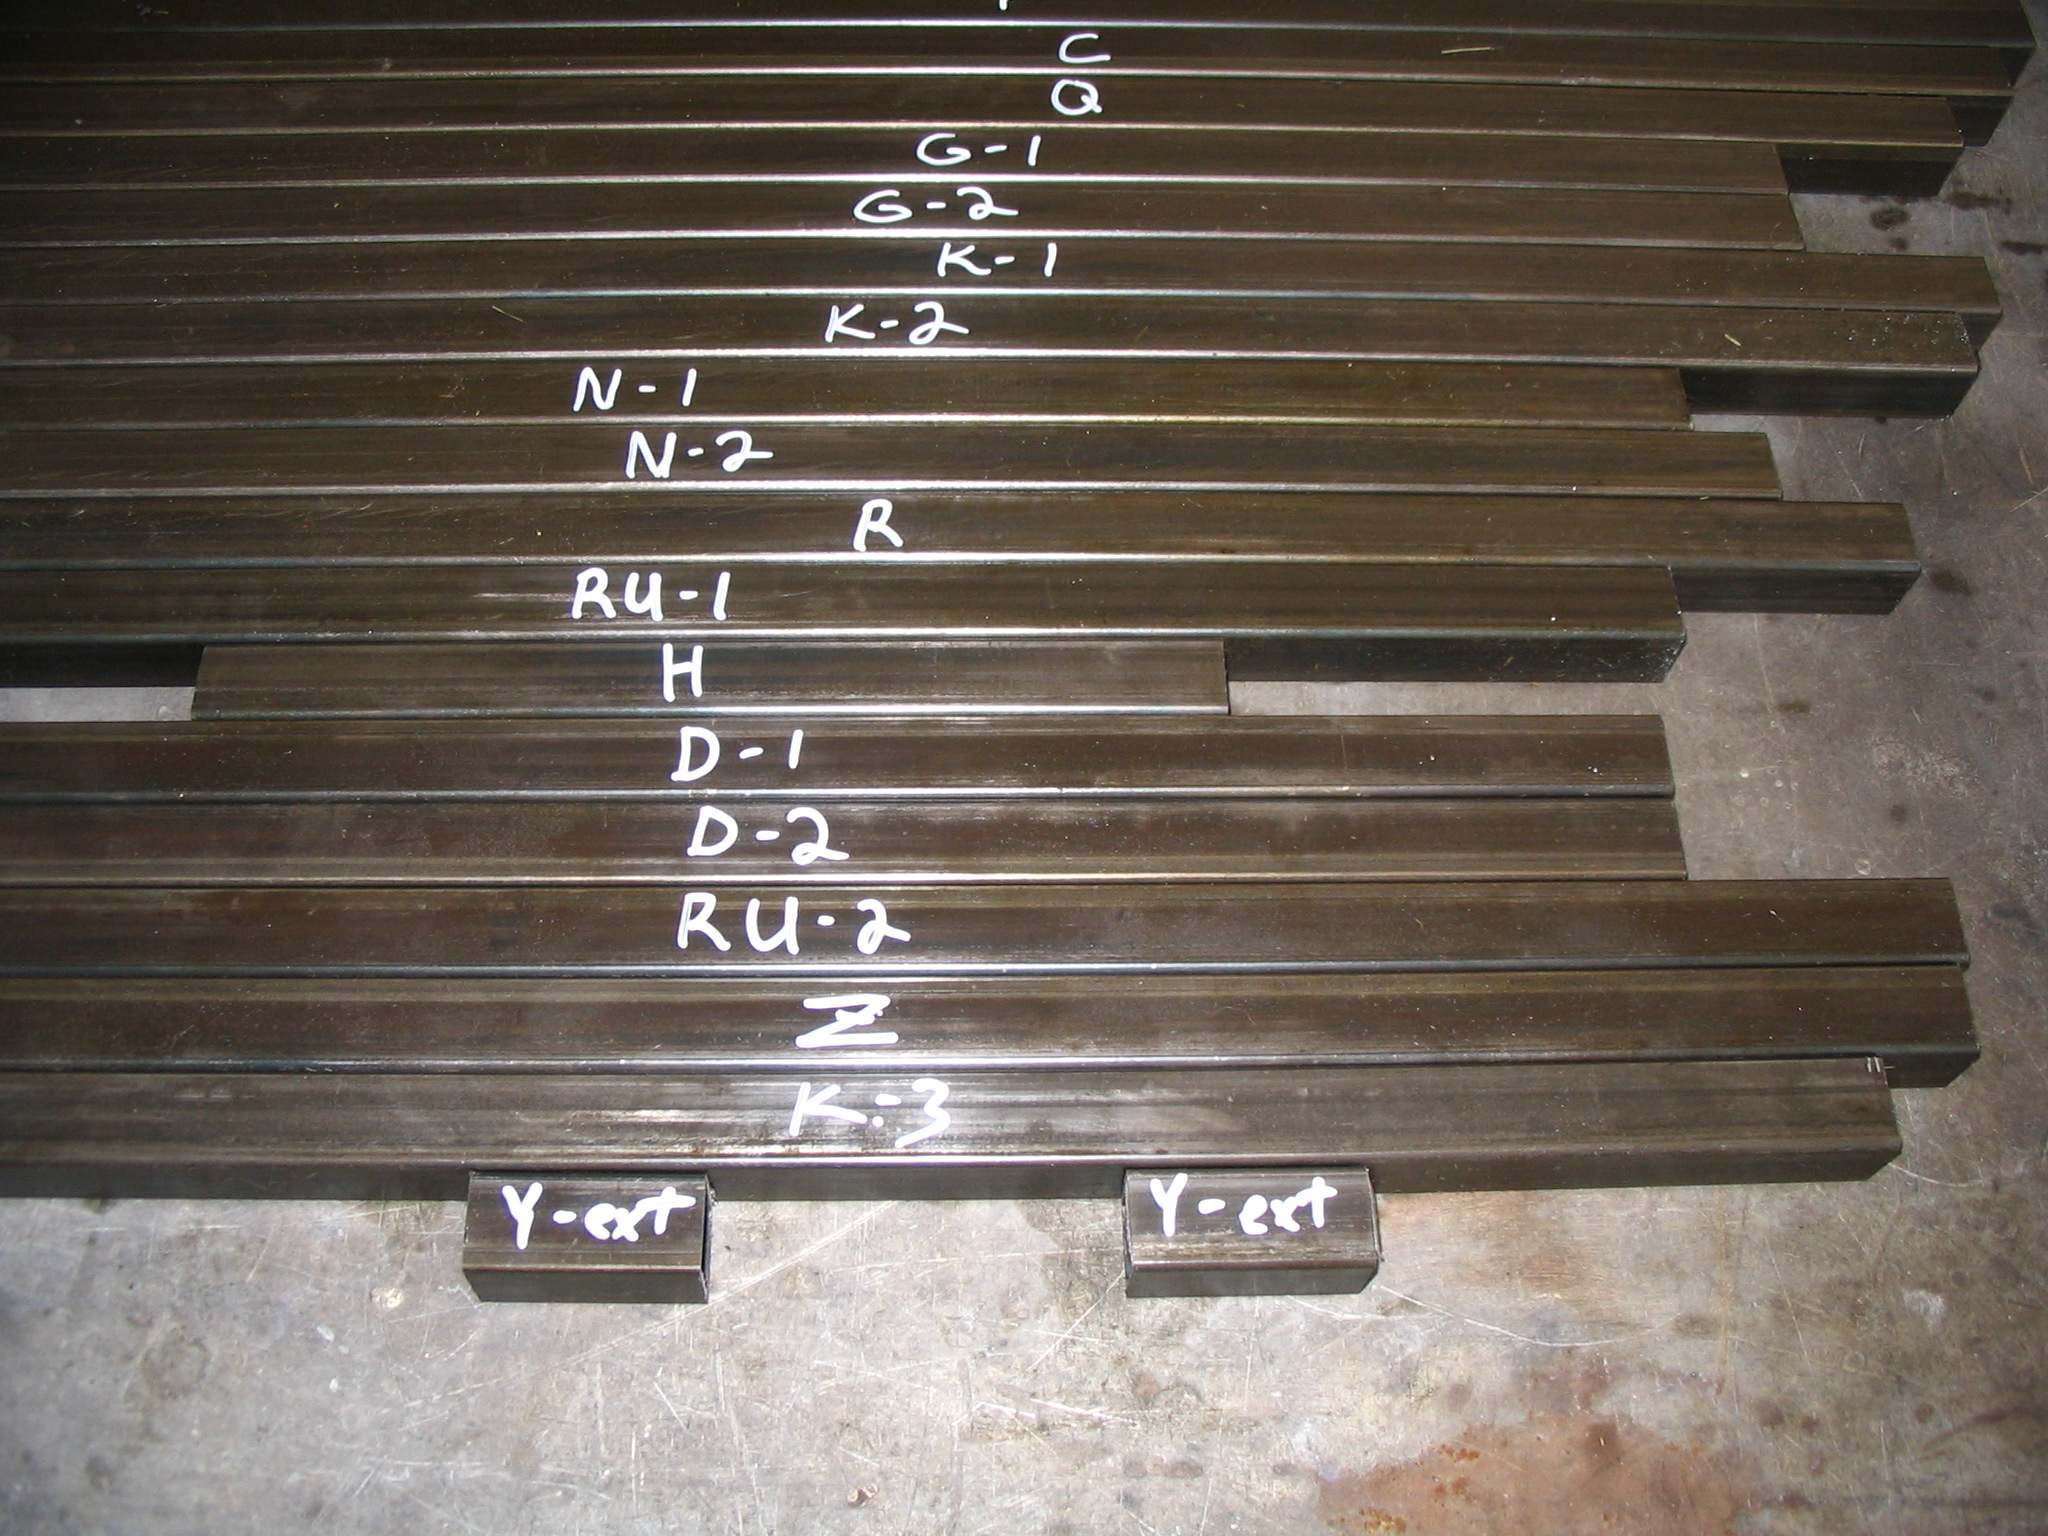
Today I started doing the angle cuts for each tube. About 5 hours work in between numerous interruptions.
I have about 50 - 60 percent of the 1" tubes cut to the correct angle. I'll finish off the rest of the simple angle cuts tomorrow, then tackle the compound angle tubes. My thanks to Rabin for explaining how to read the blueprints for the compound angles ! Told 'ya I was new at this !!
I have found one tube that I have cut too short on Day 1. The 'Y' tube was cut about 10 inches too short ! (measure twice, cut once.... measure twice, cut once)
Day 3, Sat. August 4, 2007
About 5 hours....
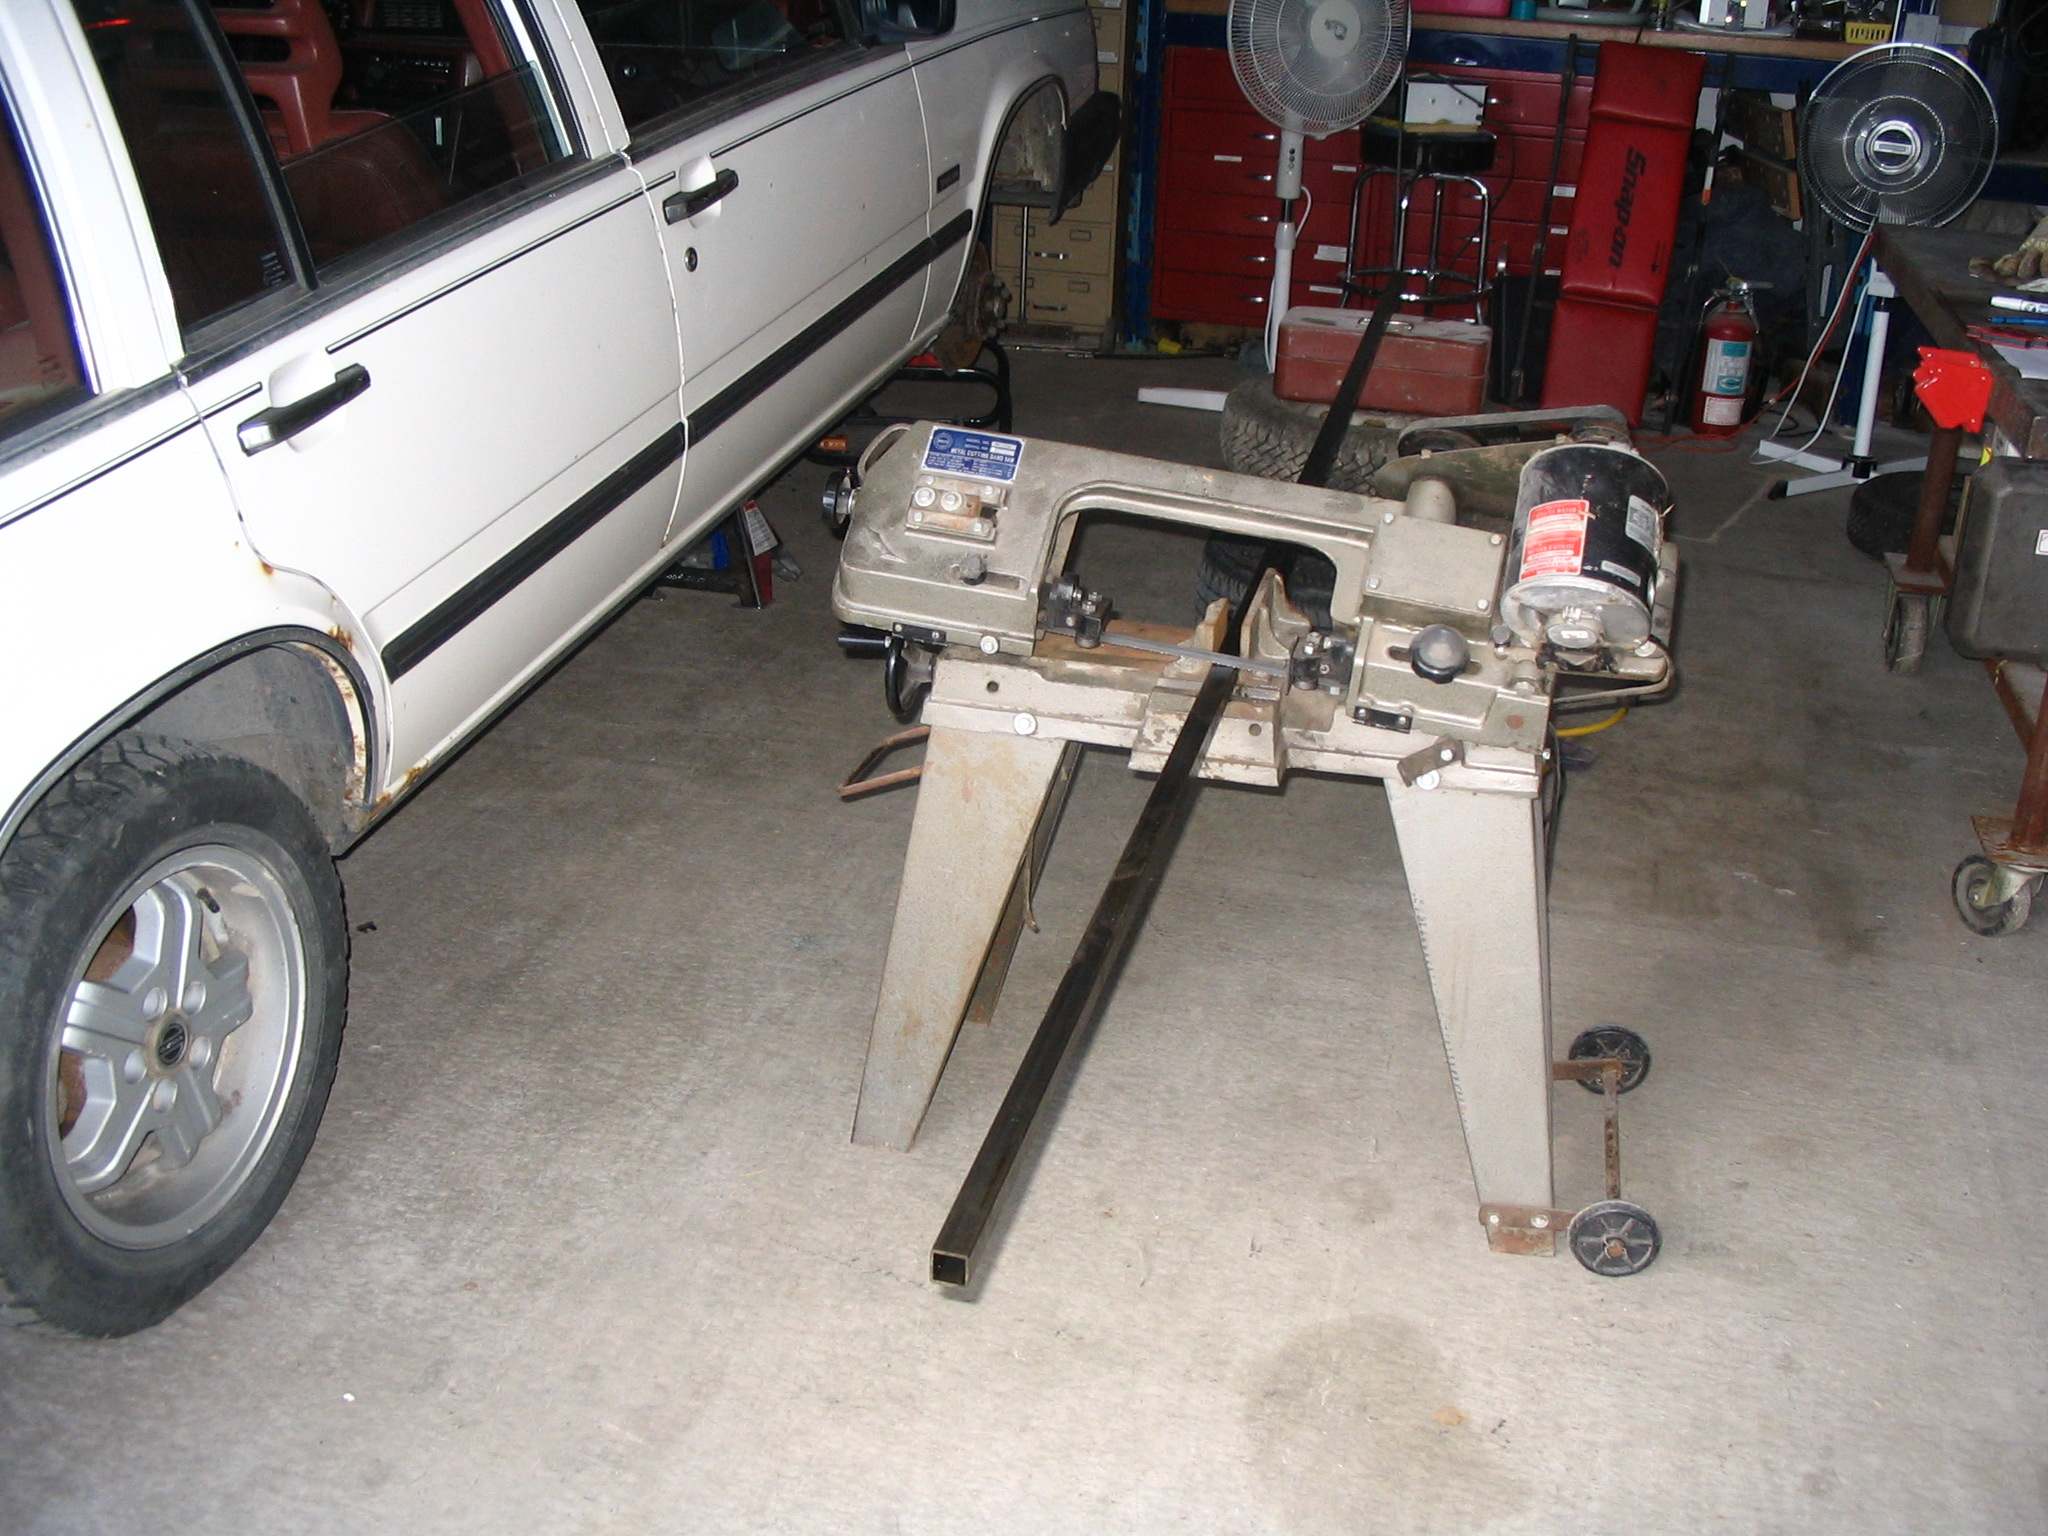
More angle cutting of the 1" tubing with the sander. Yes!... a chop saw for the rough angle cuts would have been much faster (reduce time on the sander) ! I have been using the band saw to cut some of the excess material off.
The last of the simple angle cuts are done. The compound angles are next.
Day 4, Mon. August 6, 2007
2 hours....
I am an idiot.
Compound angles only work if you get all four cuts correct (duh!)
I started by doing tube LB (part of the front nose of the chassis). Thinking I understood the topic well, I looked at the plans and executed the four cuts. As each cut was made I examined the plan and confirmed that it was correct. Three cuts, three good results. Fourth cut: consult with plan..... hmm.... doesn't look quite right !
I set up a rough jig with the 3" height difference between the top tube and bottom tube. I confirmed that tube LB will have to be redone. My last cut seems to be the reverse direction of what was needed. I should have created this jig before I started with tubes LA and LB. It would have been easier to visualize the end result. I will refine the nose jig before I try it again. There is a thread on www.locostusa.com that discusses compound angles so I'll have to read it (yet again).
I should be purchasing a build-table top tomorrow. The top of my auction-purchased welding table is not very straight. So the new top will be 4' x 8' - 3/4" plywood or MDF.
I am out of steel tubing so I need to track down some 3/4" tubing. I will be able to start of the bottom layout of the chassis using the 1" tubing that is ready. I'll need to re-learn what little mig- welding knowledge I have before starting on the chassis. I have some excess tubing to practice on.
Aug 10, 2007
My EDO today. No real work. I picked up table top and more steel. Gord recommended Allwynn Steel (just behind his shop in White City) for steel supplies. Very nice staff and they had what I wanted. The plans call for about 25' of 3/4" tubing. I bought 30' to allow for 'do-overs'.
Apparently I planned to do a bathroom renovation at my in-laws this weekend. I didn't know I had planned this until I was inform... er, -reminded- late last night.
Strange how that works, eh ?
Aug 29, 2007
Geez.... I might have to rethink my one-year build time frame. It's been a month already and I still just have a pile of tubes.
The two-day bathroom reno @ the in-laws turned into 11 days (and it's still not done). I also took a week to go to Edmonton and Saskatoon with the family.
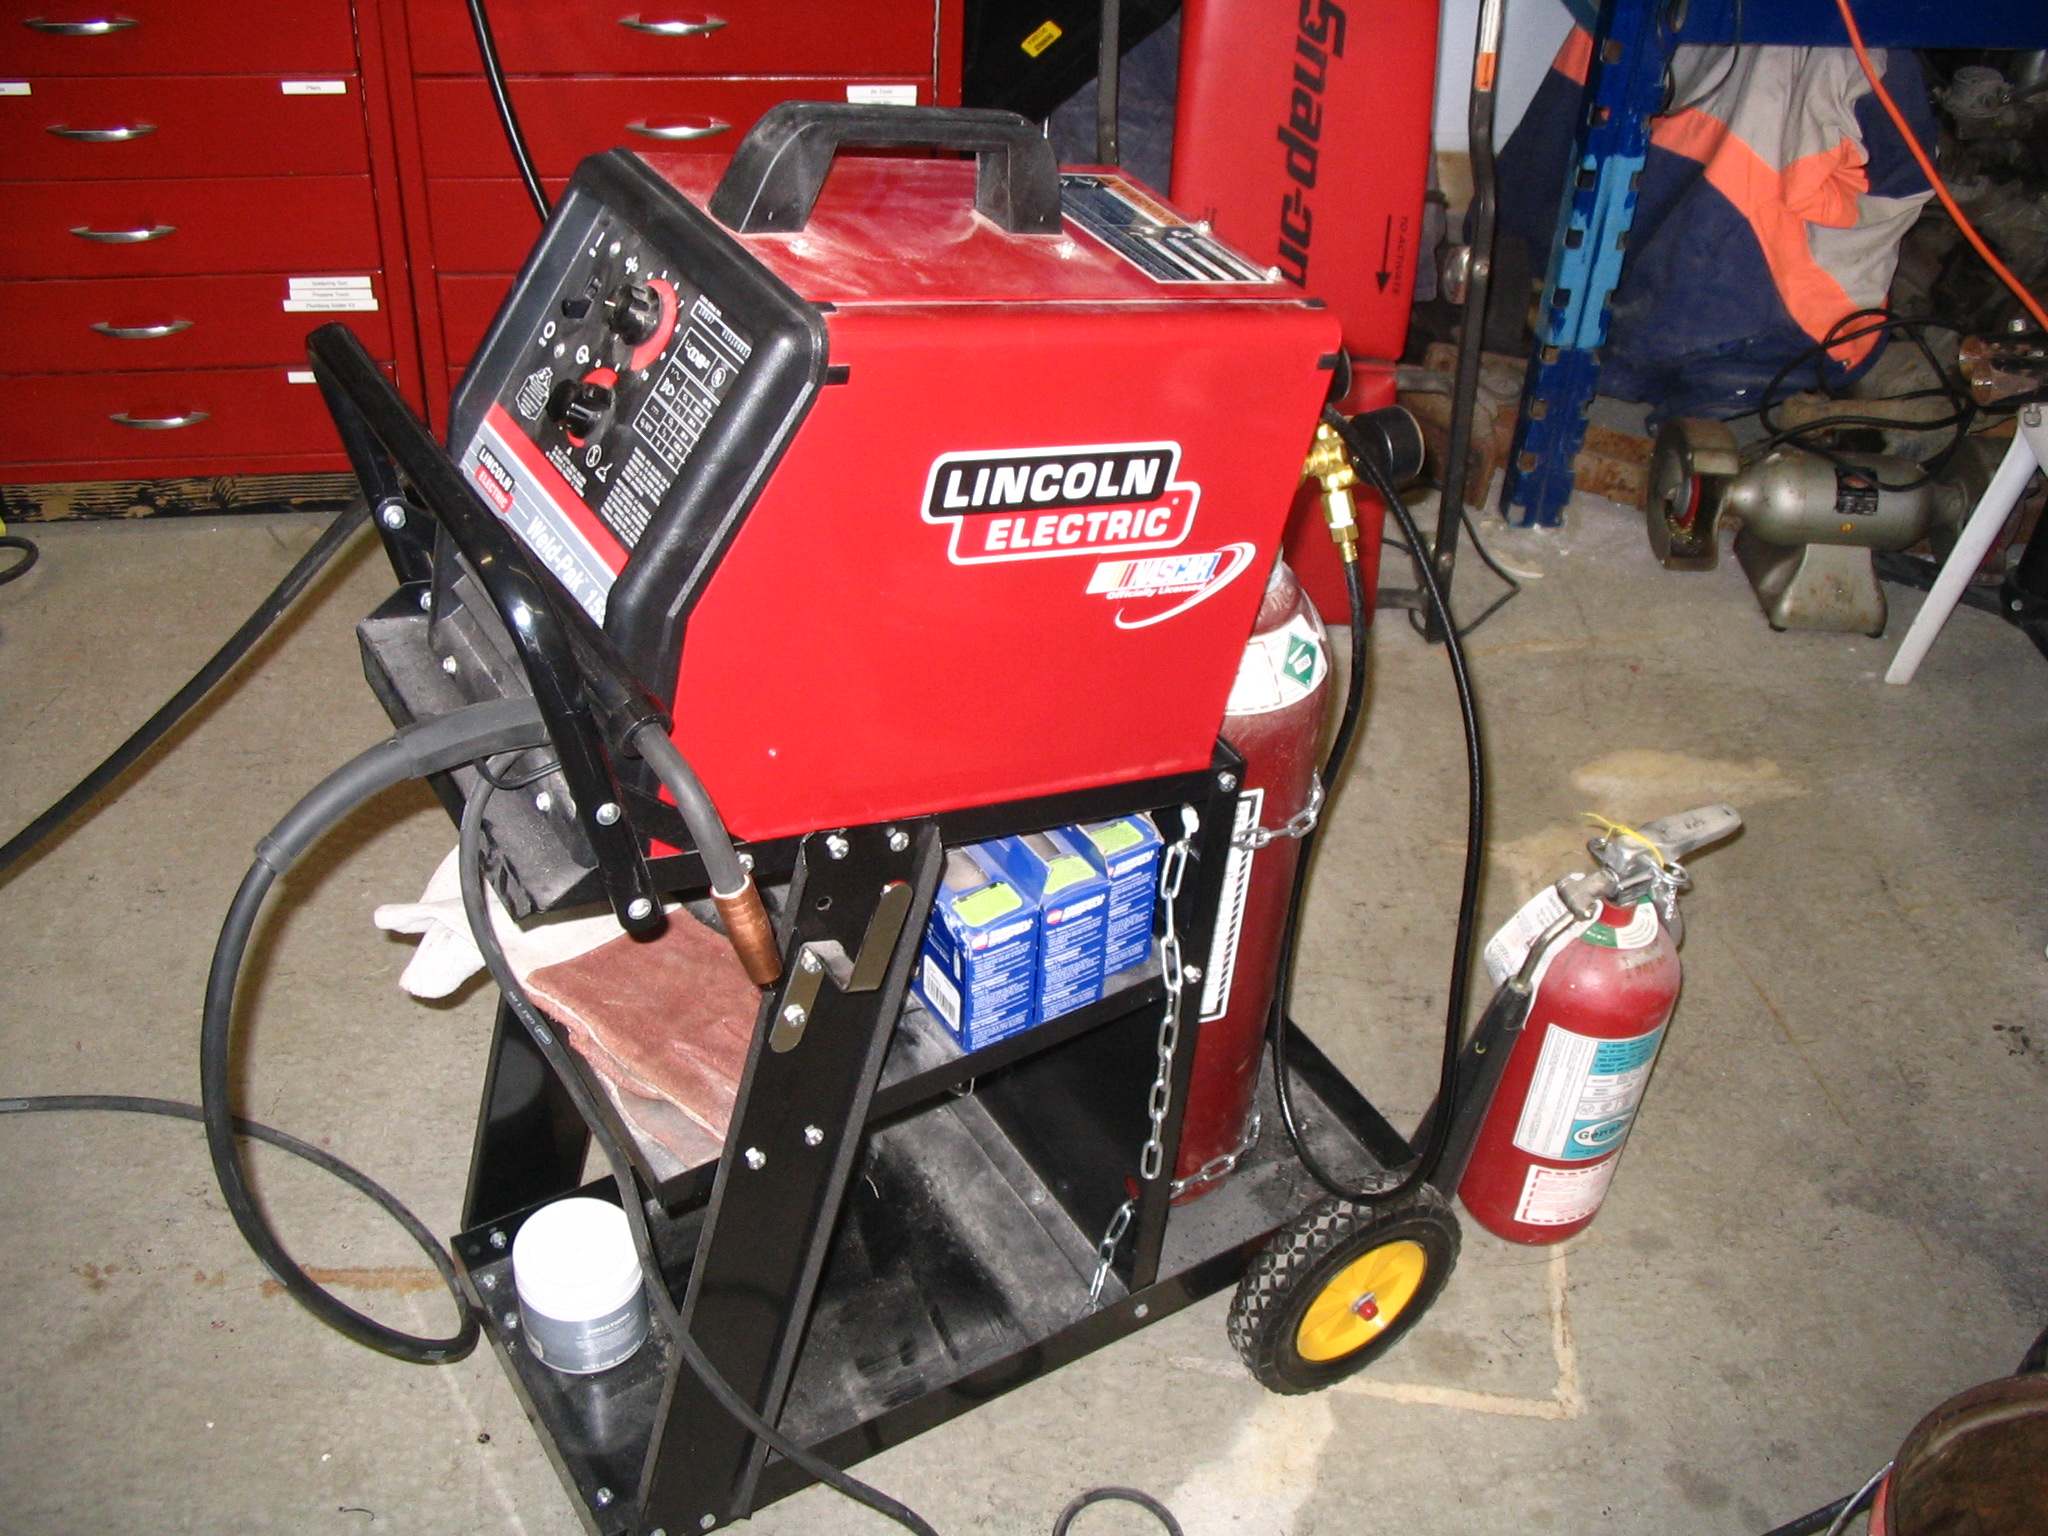
On a sporadic basis I have been pissing around with the welder. I have probably spent about 8 hours dicking around with the settings. I tried three different gauge wire spools , multiple wire feed and voltage rate settings, roller tension, etc. This stuff is not second nature to me. I think I have finally got the machine set to something that works for me. Perhaps in the future I'll look back and shake my head at taking so long to figure this stuff out. At this point I'm just thankful this thing only has a limited selection of settings!
Here's the rig: Lincoln 155 with 72/25 argon mix bottle with .030 gauge wire:
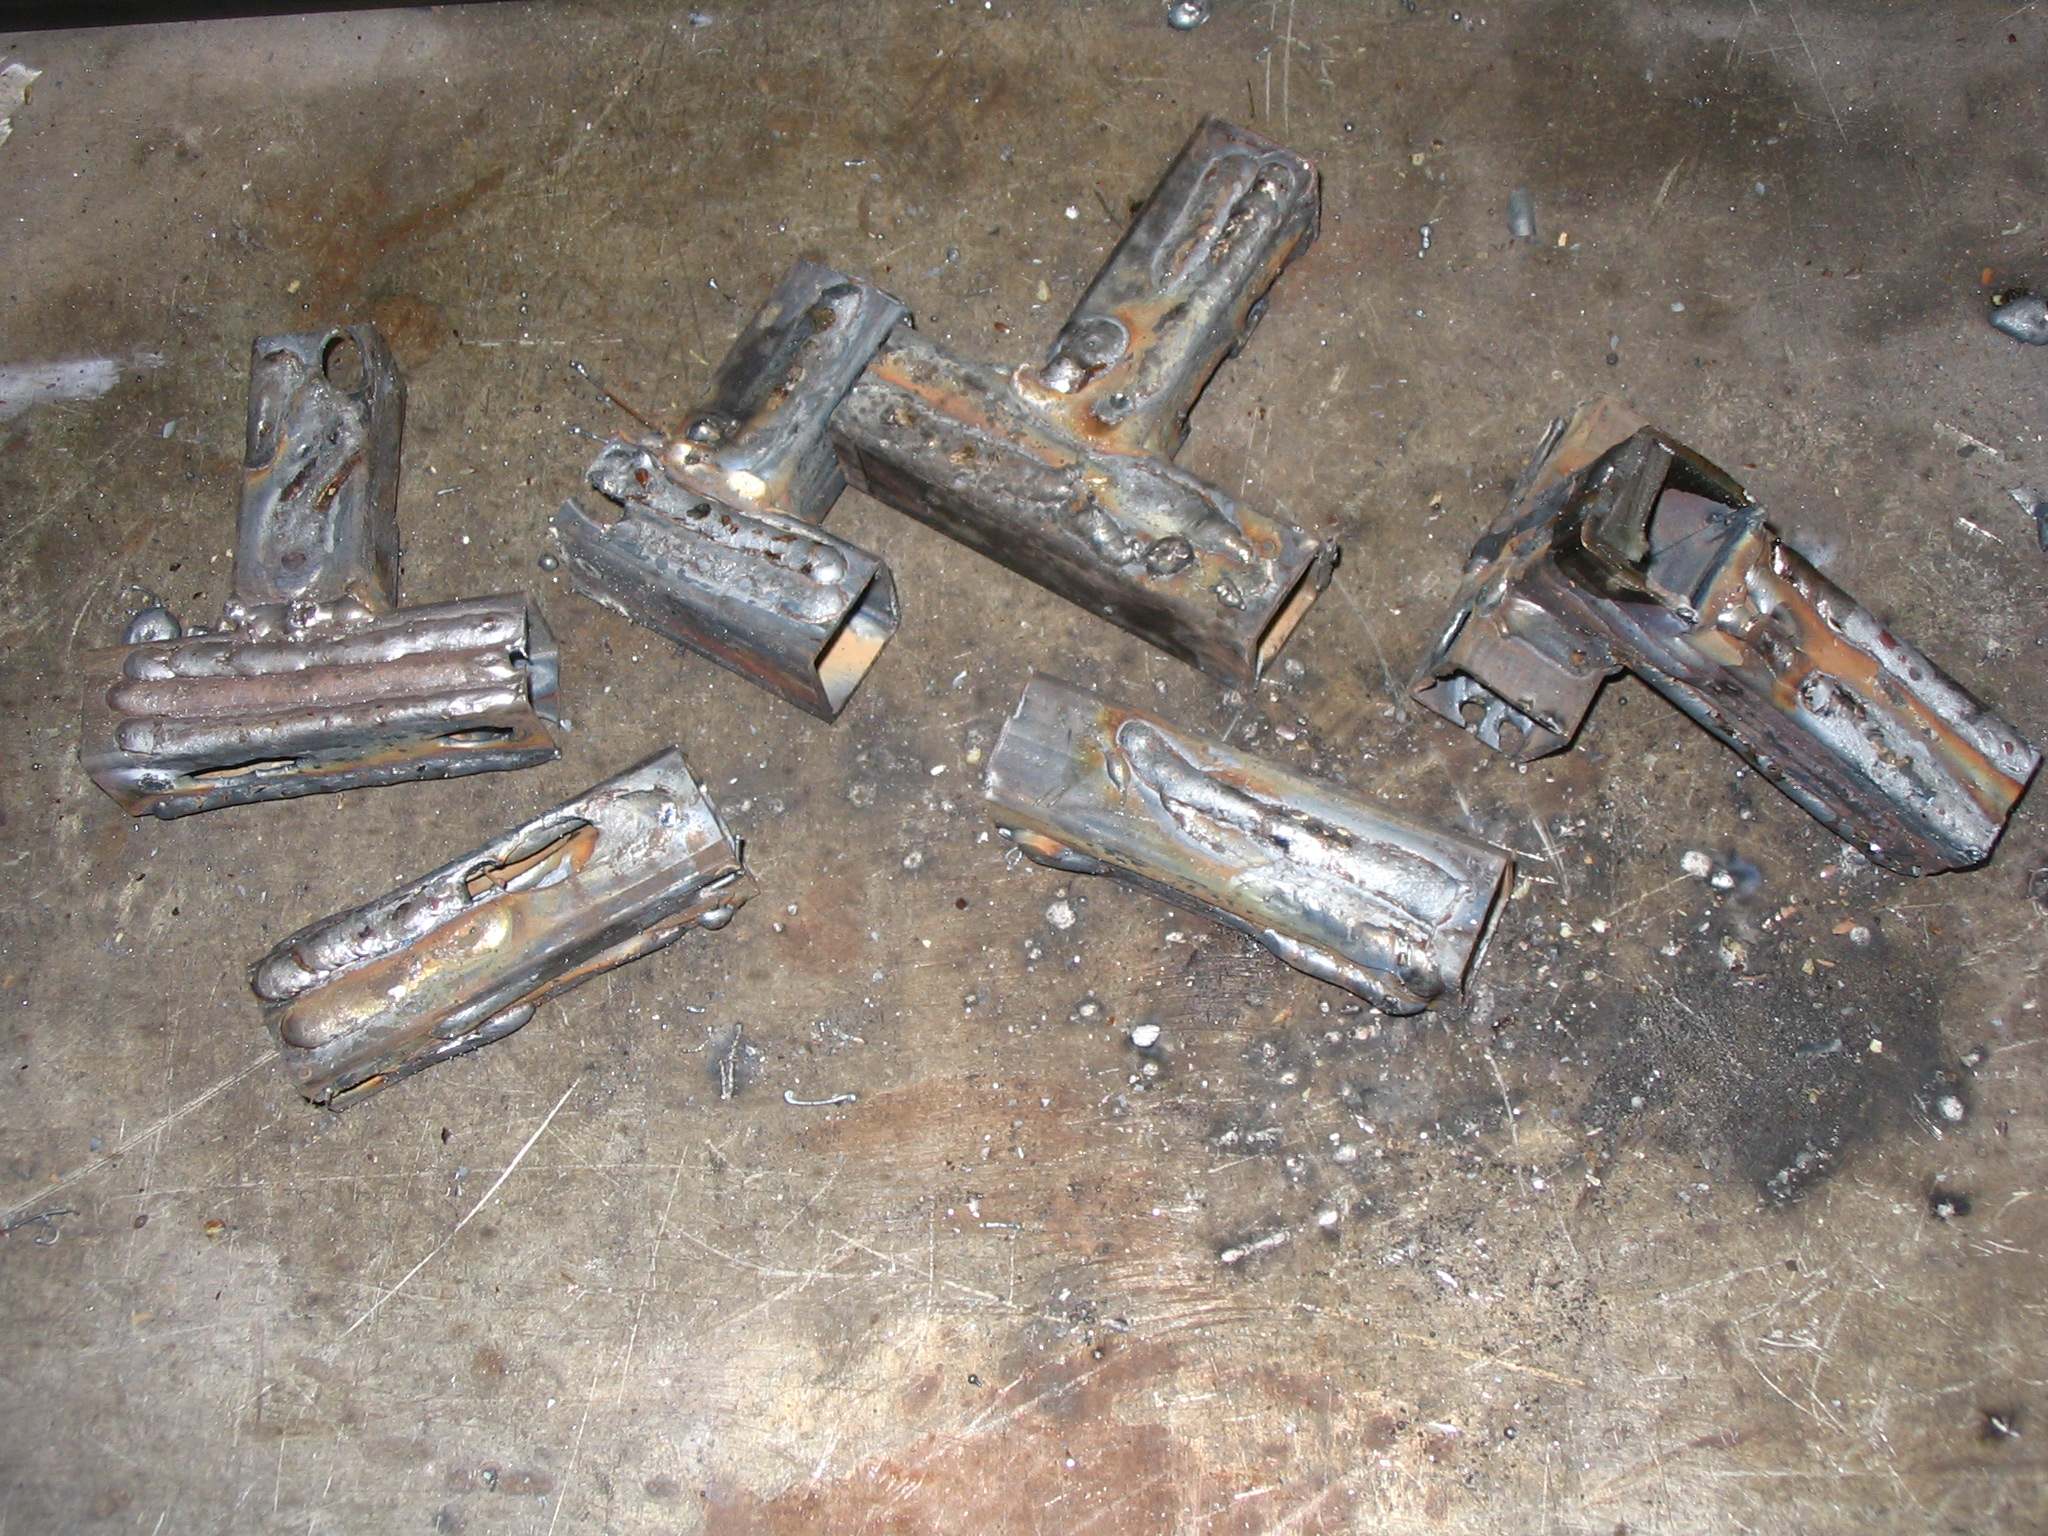
Here are some ugly test pieces from my numerous attempts to dial-in the machine. I was very good at blowing holes in the tubing.
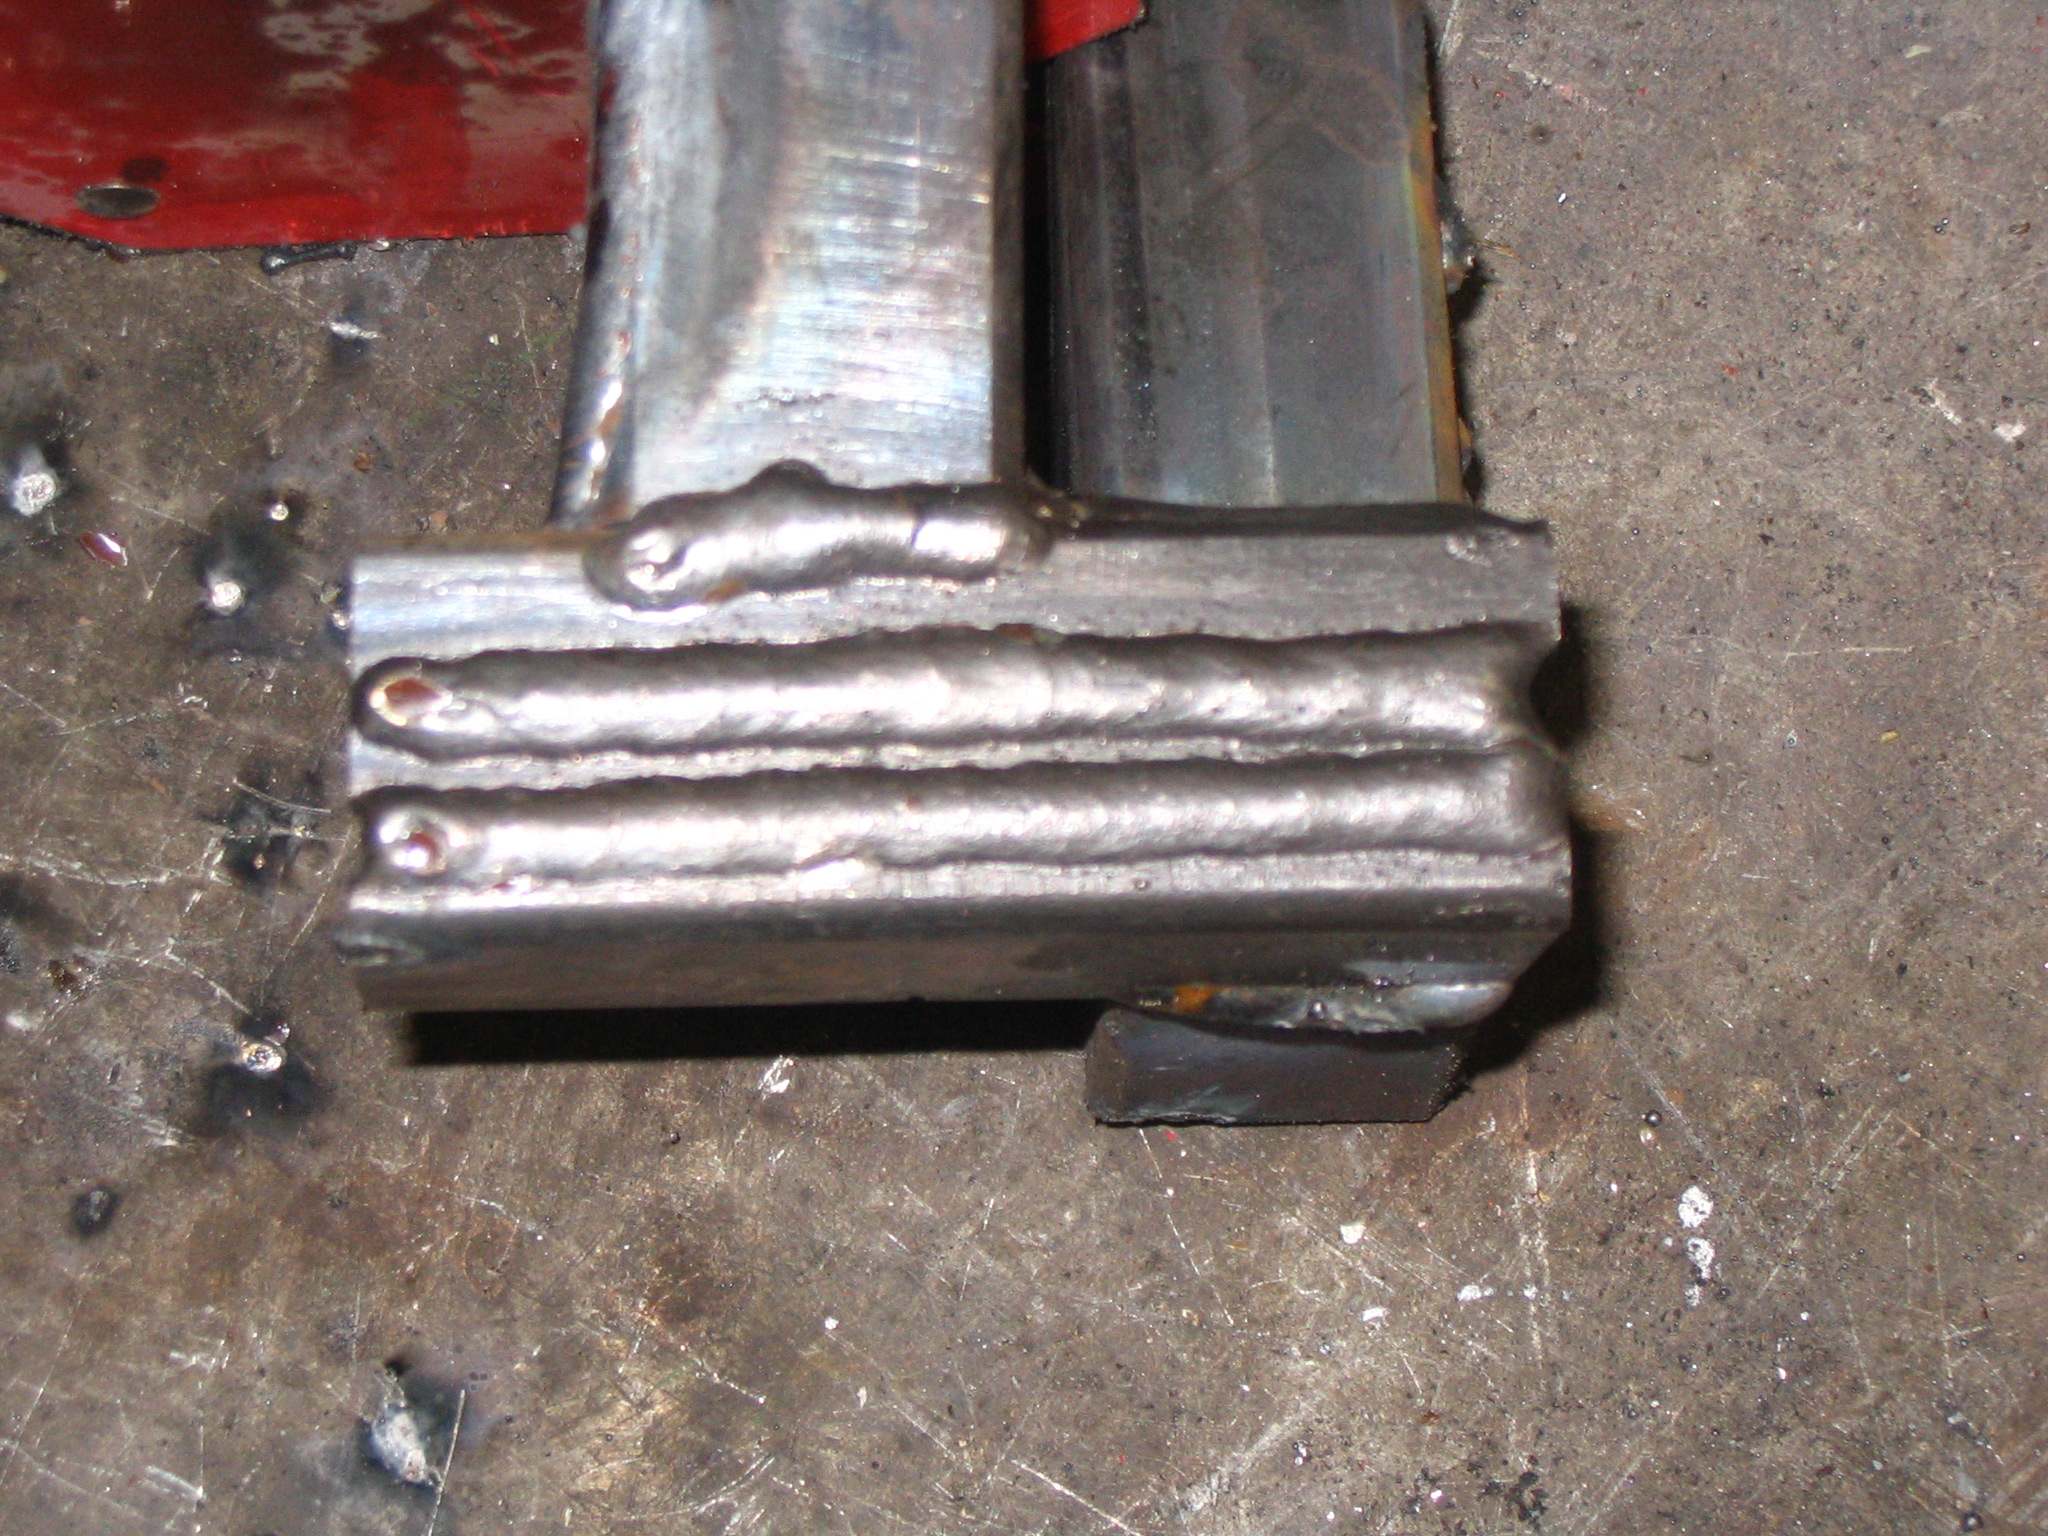
Here is some of todays progress. Not great but at least you can't see through it! Please ignore the top weld! Decent penetration on the inside of the tube.
Sept 2, 2007
Build table completed. I have an auction sale welding table and I used several large pieces of 1/4" plywood recycled from an HP printer shipping crate with a new 3/4" full sheet of plywood. Levelled front to back and side to side.
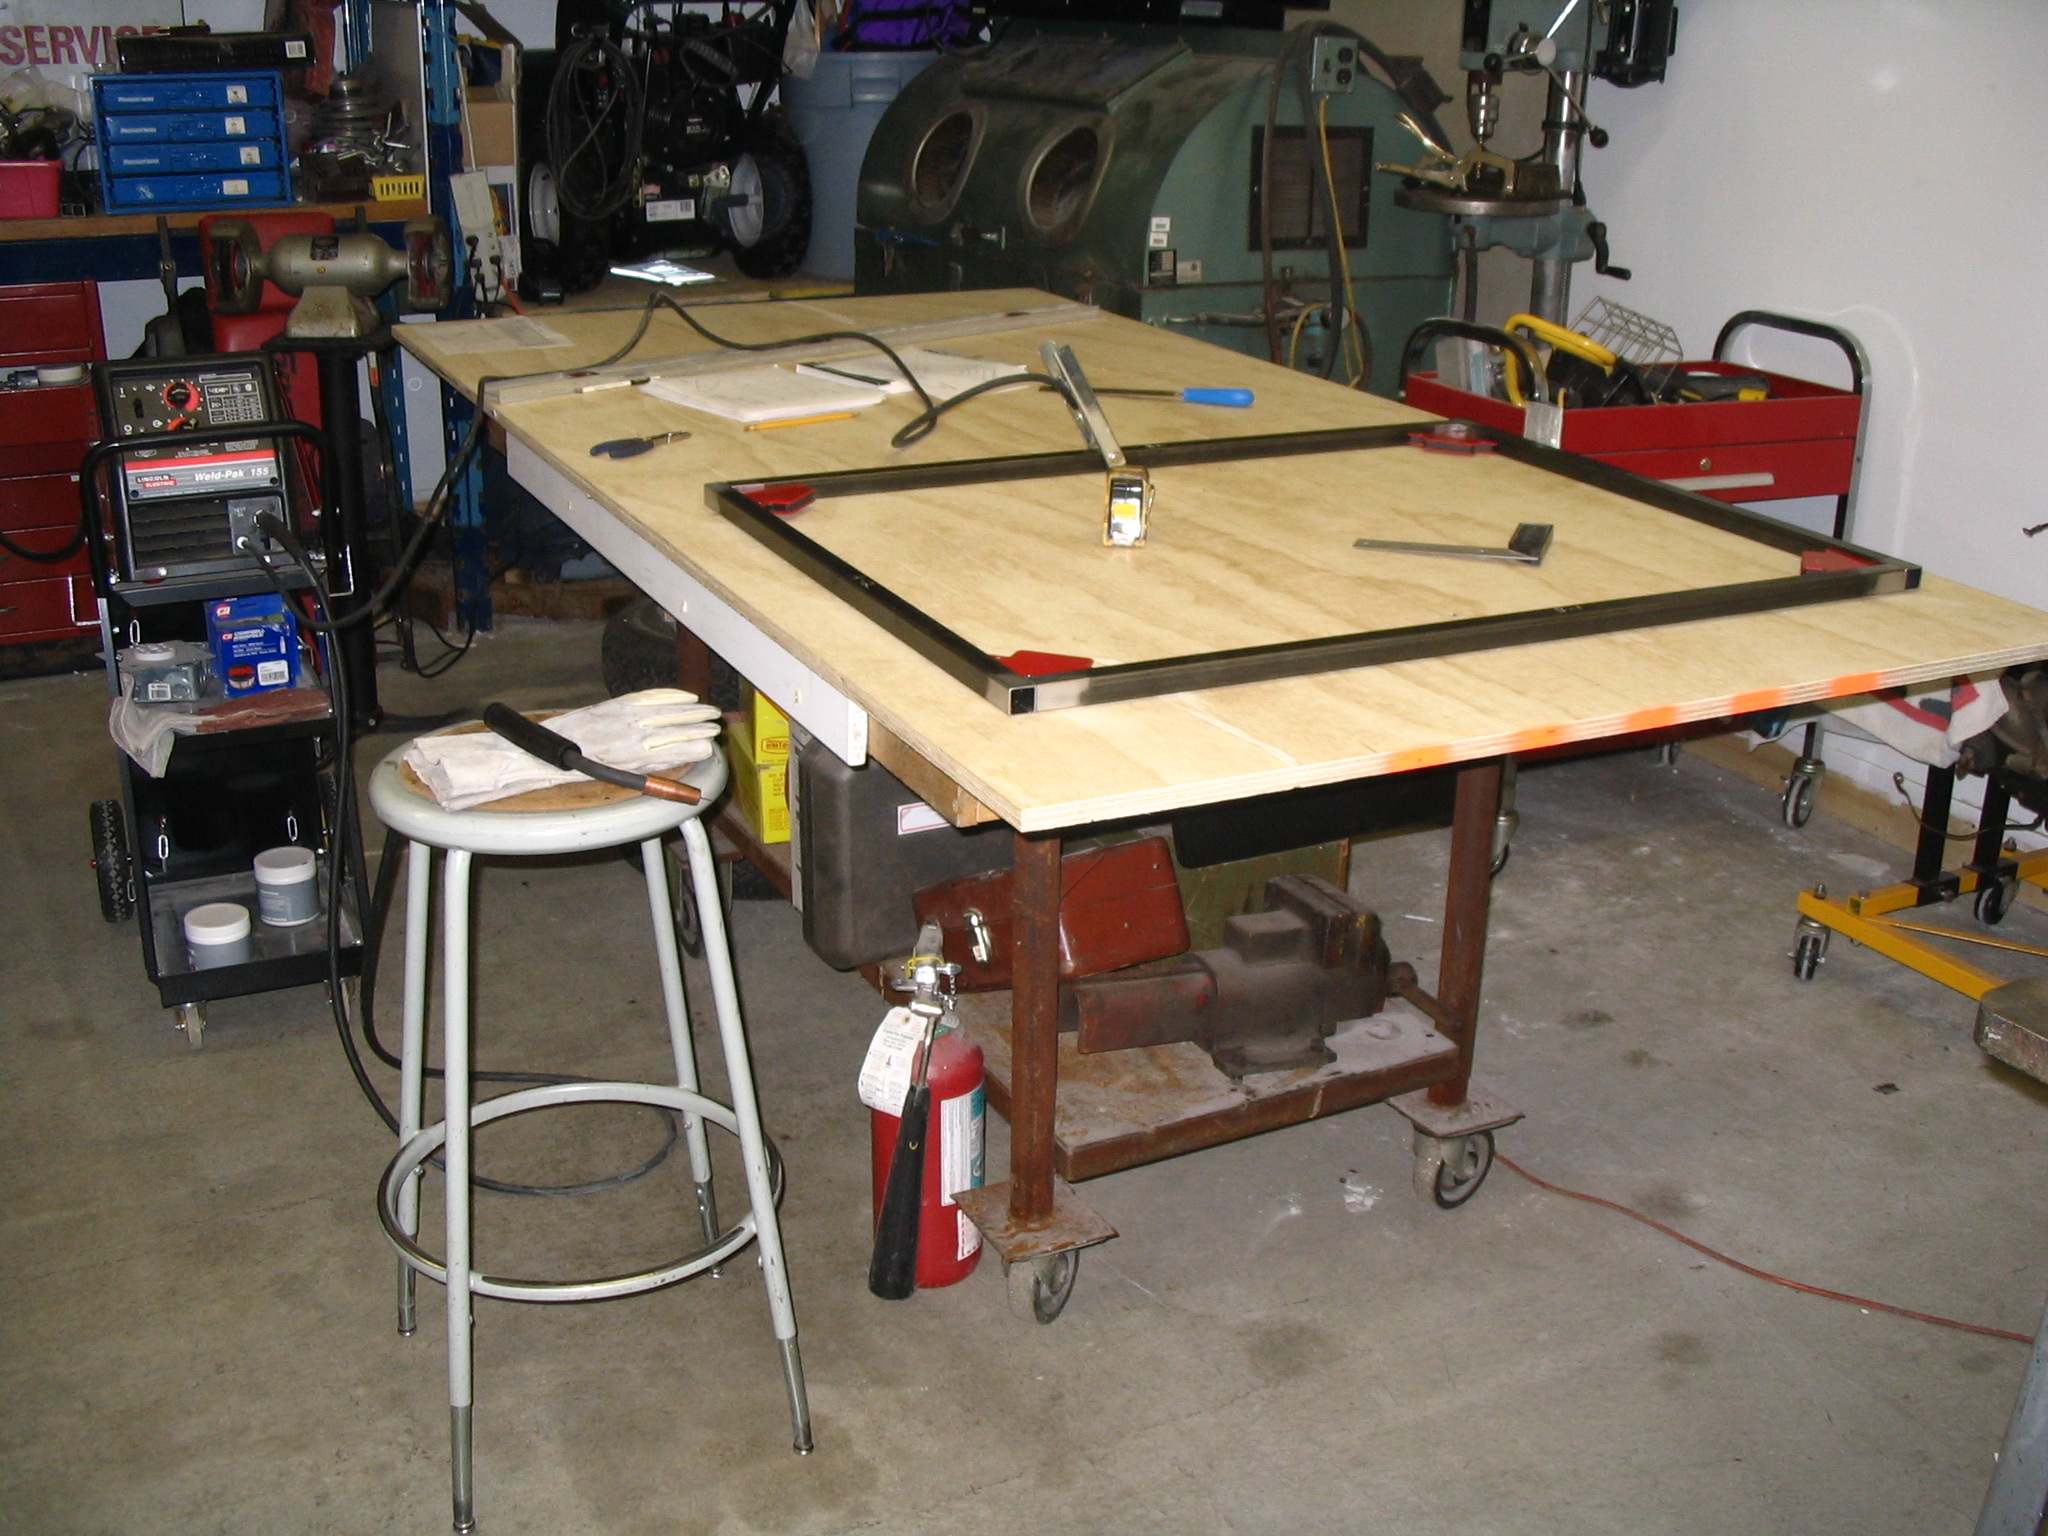
I laid out and tack welded the first part of the bottom rail of the chassis (the A and B tubes).
My first thought was how the hell am I going to fit my ass between the trans tunnel and the outside wall ! Some quick measurements confirmed that it should (hopefully !). Another good reason to start hitting the gym.
I tried some cheesy corner clamps from Canuck Tire, but I found these magnets from P.A. worked very well. About $3 each if you get them on sale.
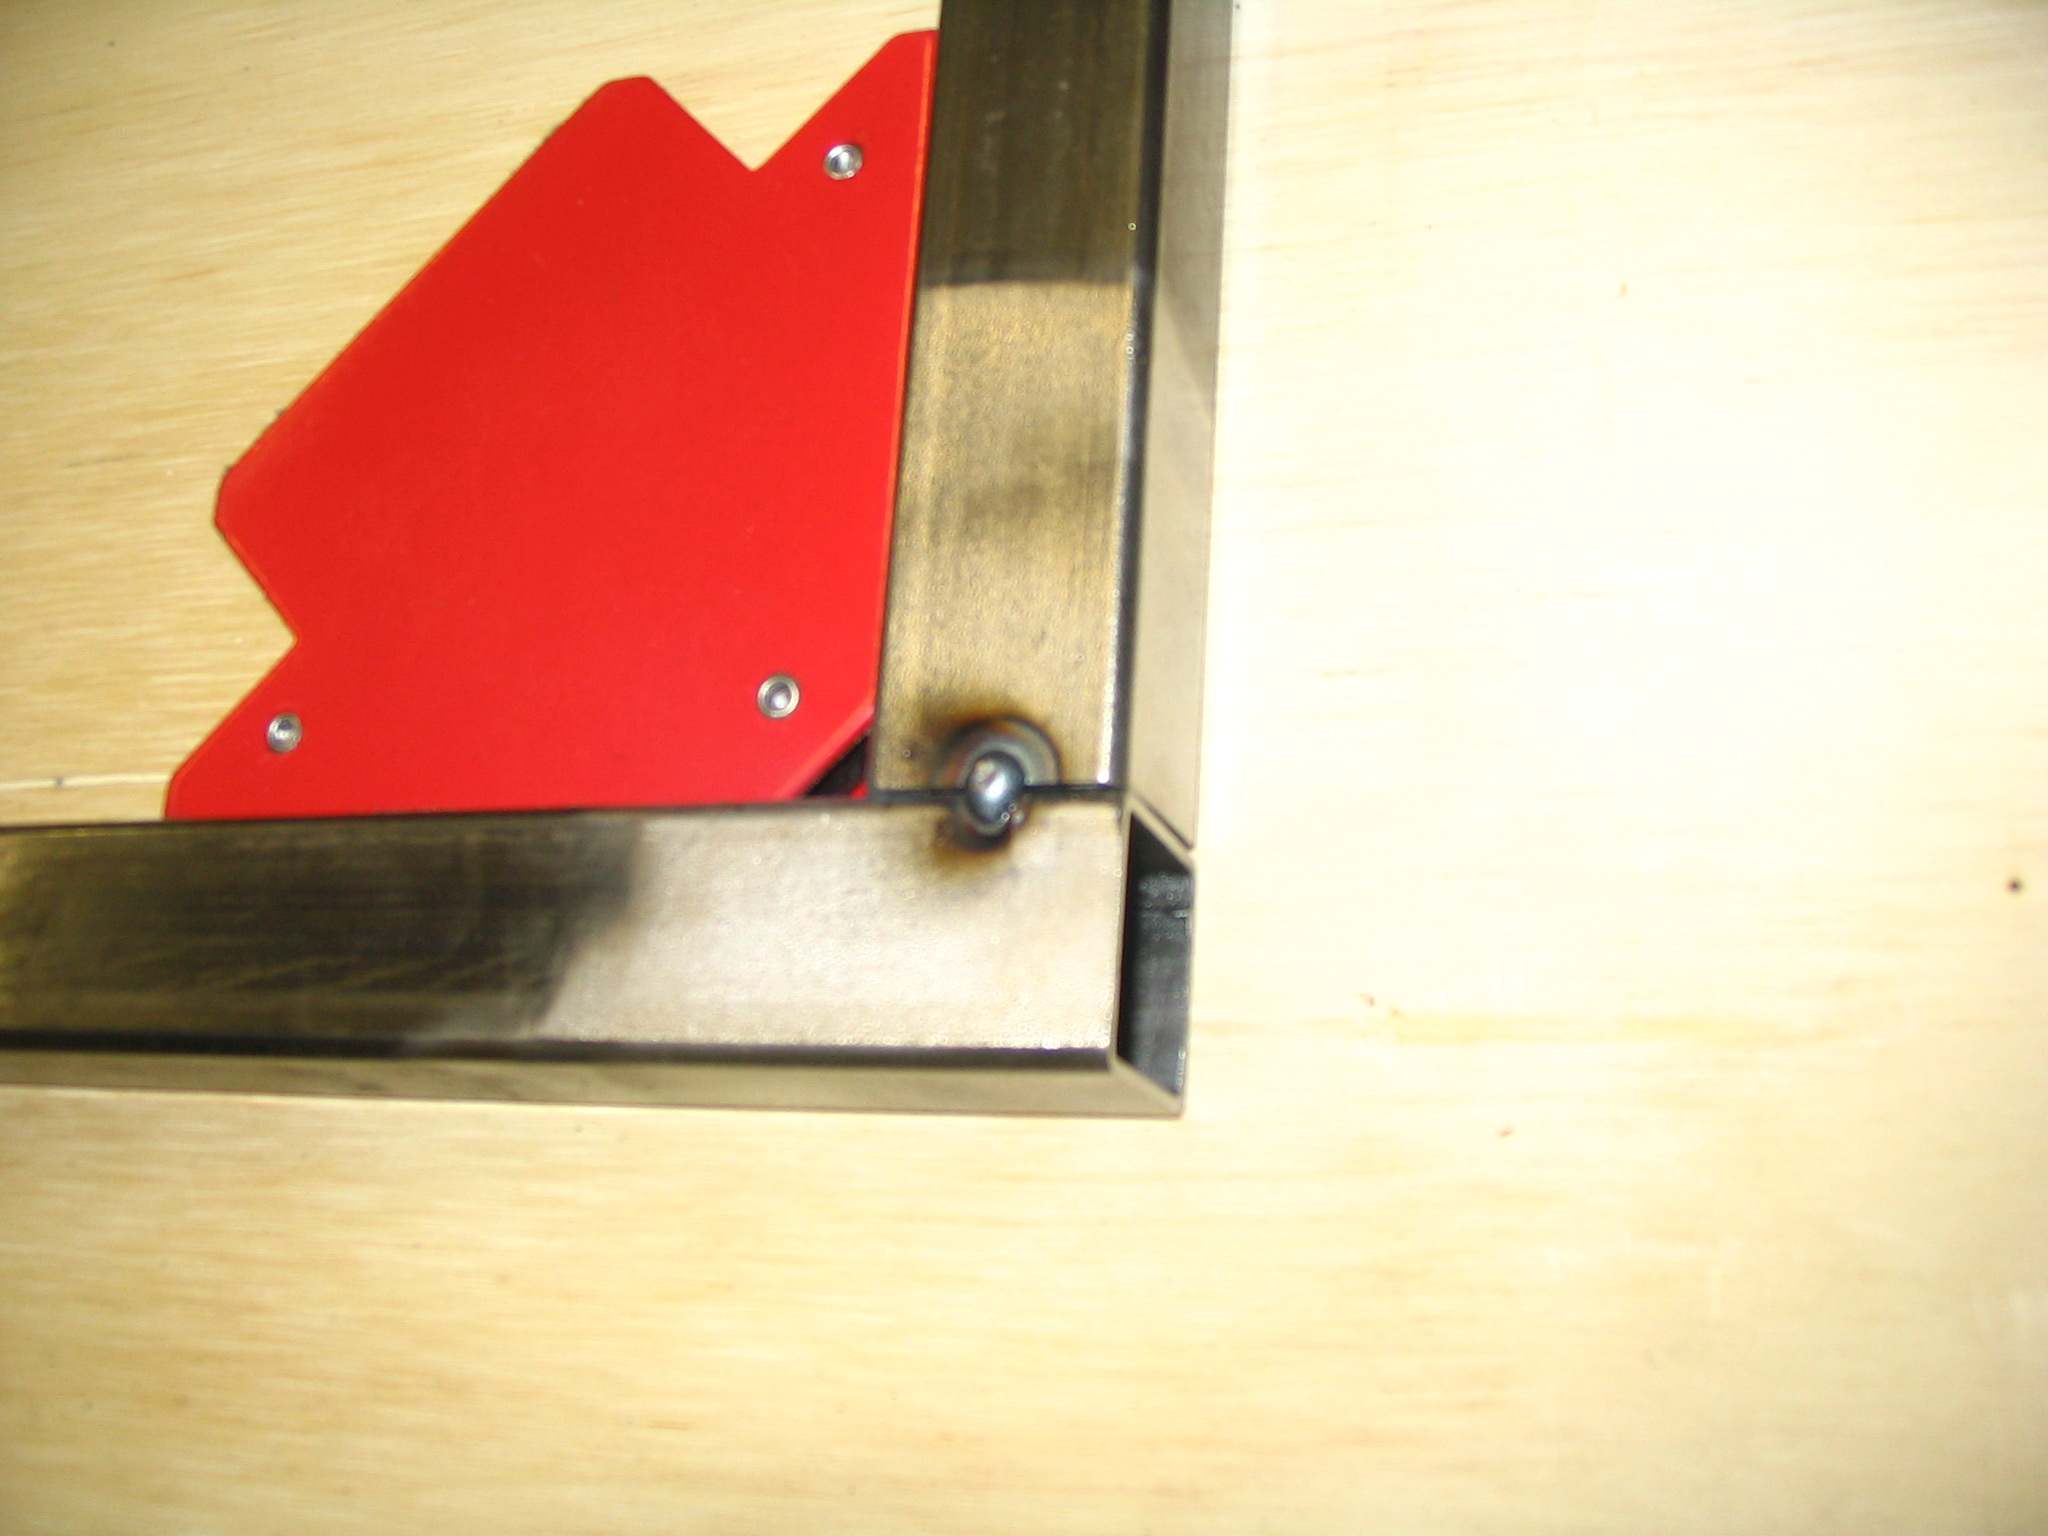
My welding helmet (solar powered, auto darkening) started to act up so all I was able to accomplish tonight were the four corner tacks.
Sept 19, 2007
Found a clutch kit for the 3TC engine/ 5speed combo: $86
Sept 23/24, 2007
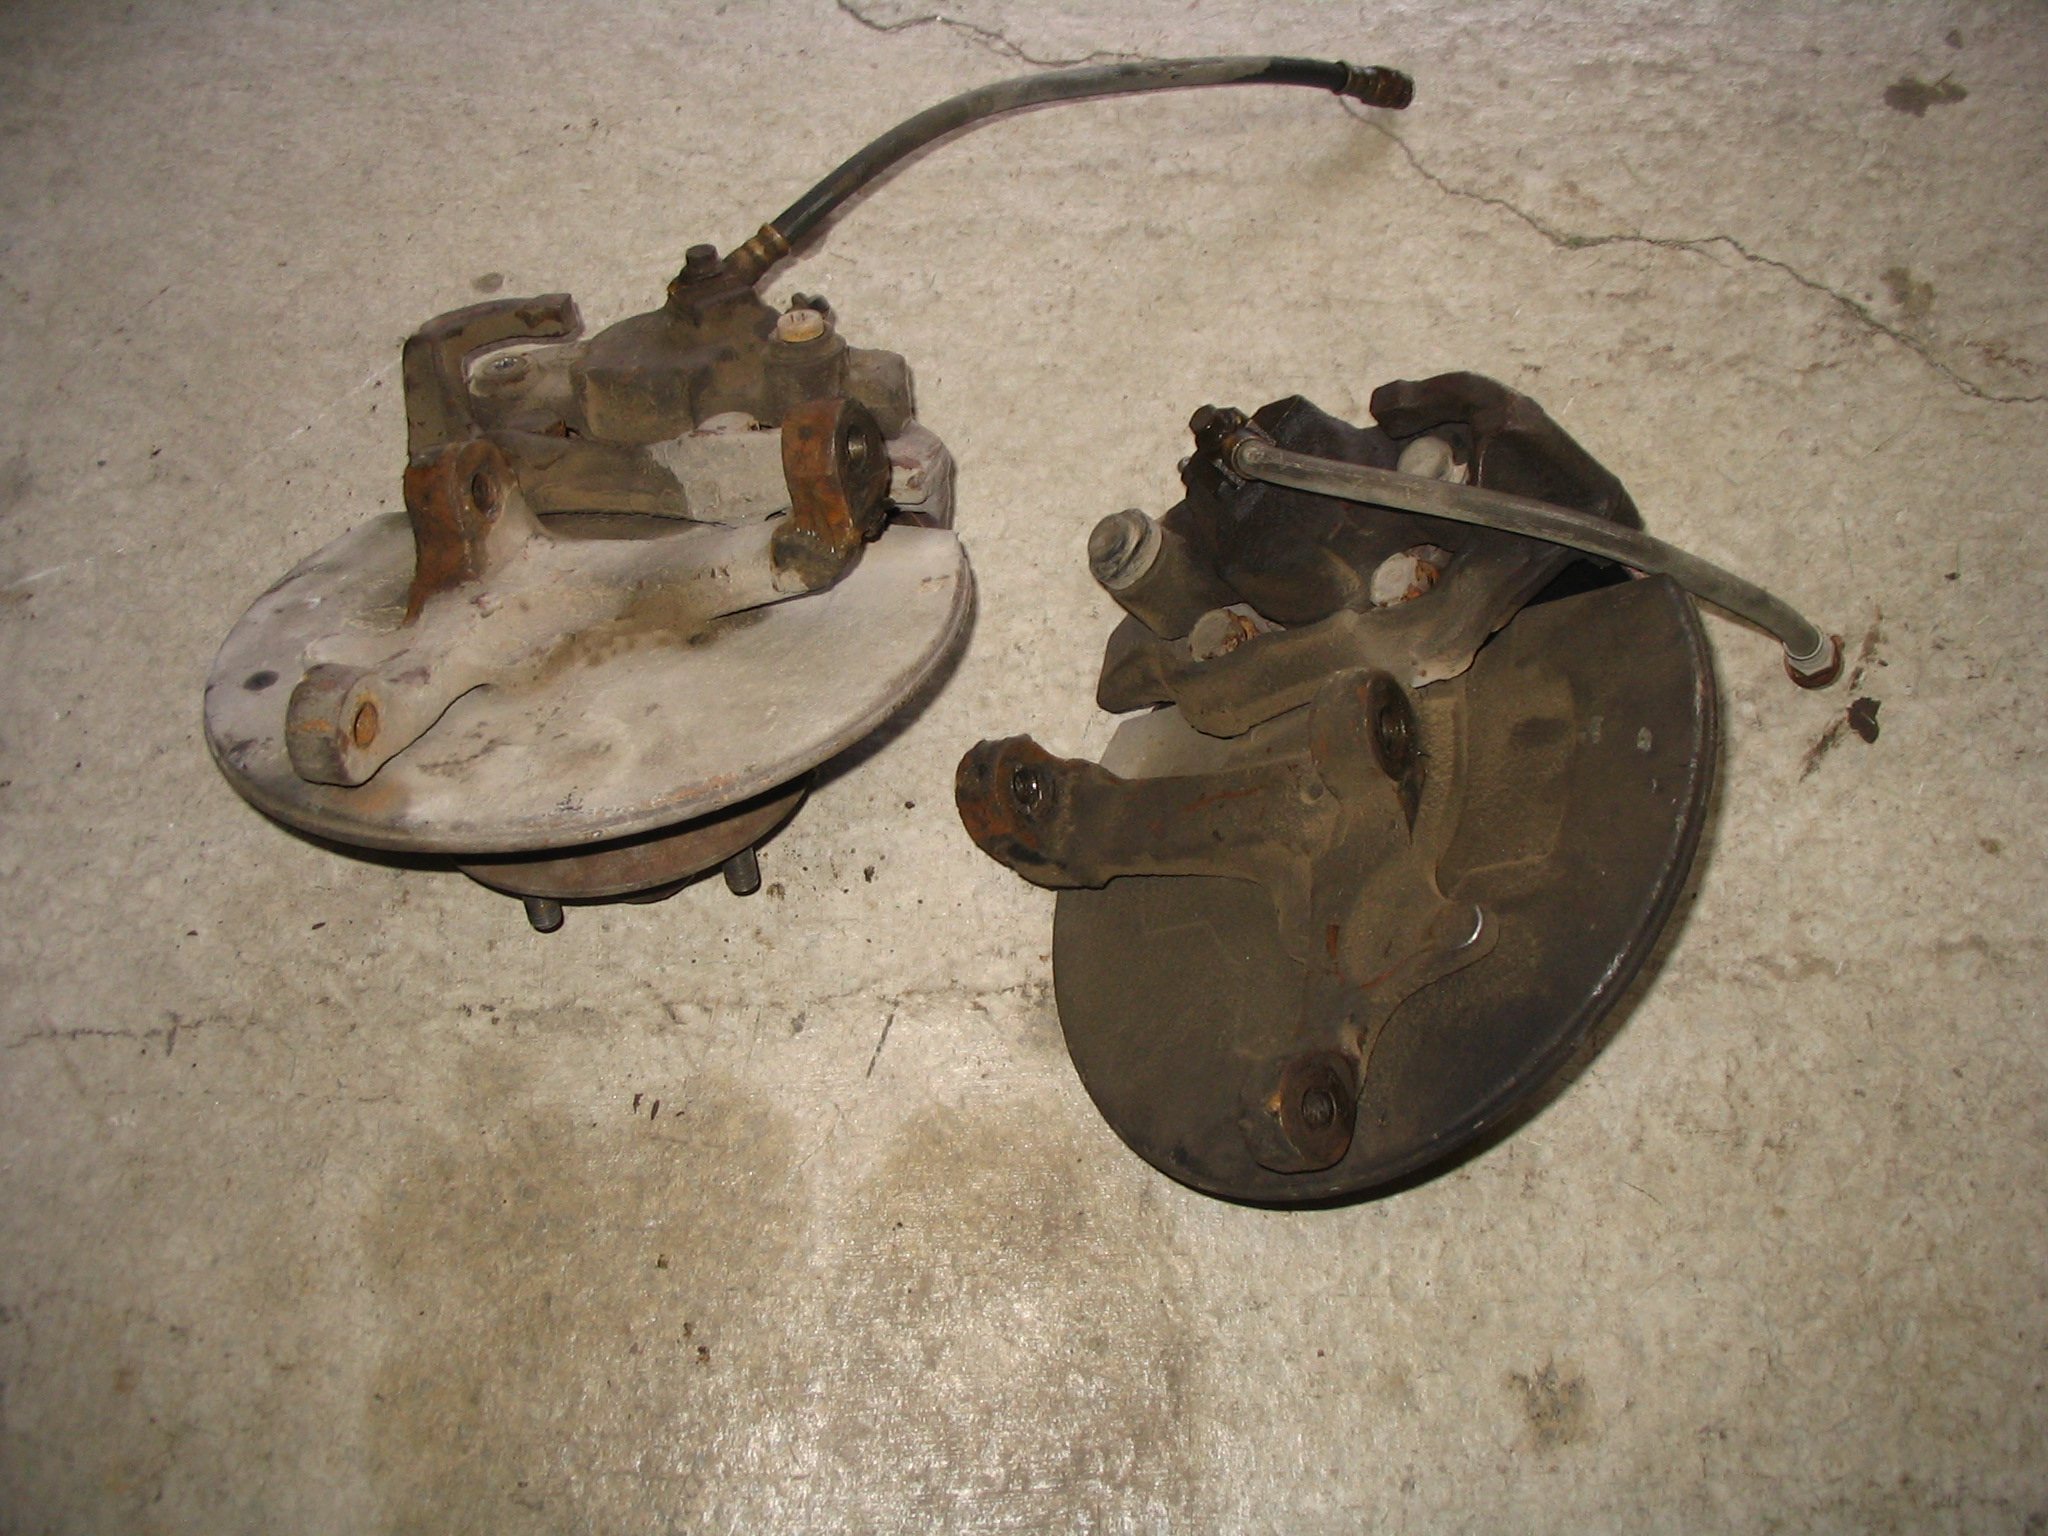
I pulled front spindle/brake disc assemblies from '86 Chevette. $50 for the pair from Bucks. As I understand it the spindle /brake caliper can be used with a Nissan 210 brake rotor and a Datsun B210 seal to give me the same bolt pattern as the Toyota diff. I'll be using Datsun 280ZX wheels until I can locate a set of suitable Minilites or Revolutions. The calipers will need rebuilding, or replacement, but will do for fabrication purposes.
I laid out the plan measurements on the build table. Checked, checked and rechecked my measurements. As I laid out the rest of the tubes for the bottom of the chassis I did find several (hopefully) small errors in cuts. The errors are small: 1 mm too short on one tube. I need to resize tubes F1 and F2 which are about 3 - 4 mm too long. I could have sworn they were balls-on accurate!
Where possible, I started using a steel measuring ruler rather than a measuring tape and I find it easier and more accurate to use.
![]()