JJan 5, 2008 weekend
The project starts again ! Over the last several months of non-progress, I rebuilt my build table with 3/4" plywood and 4"x4"'s and replaced my defective auto-darkening welding helmet.
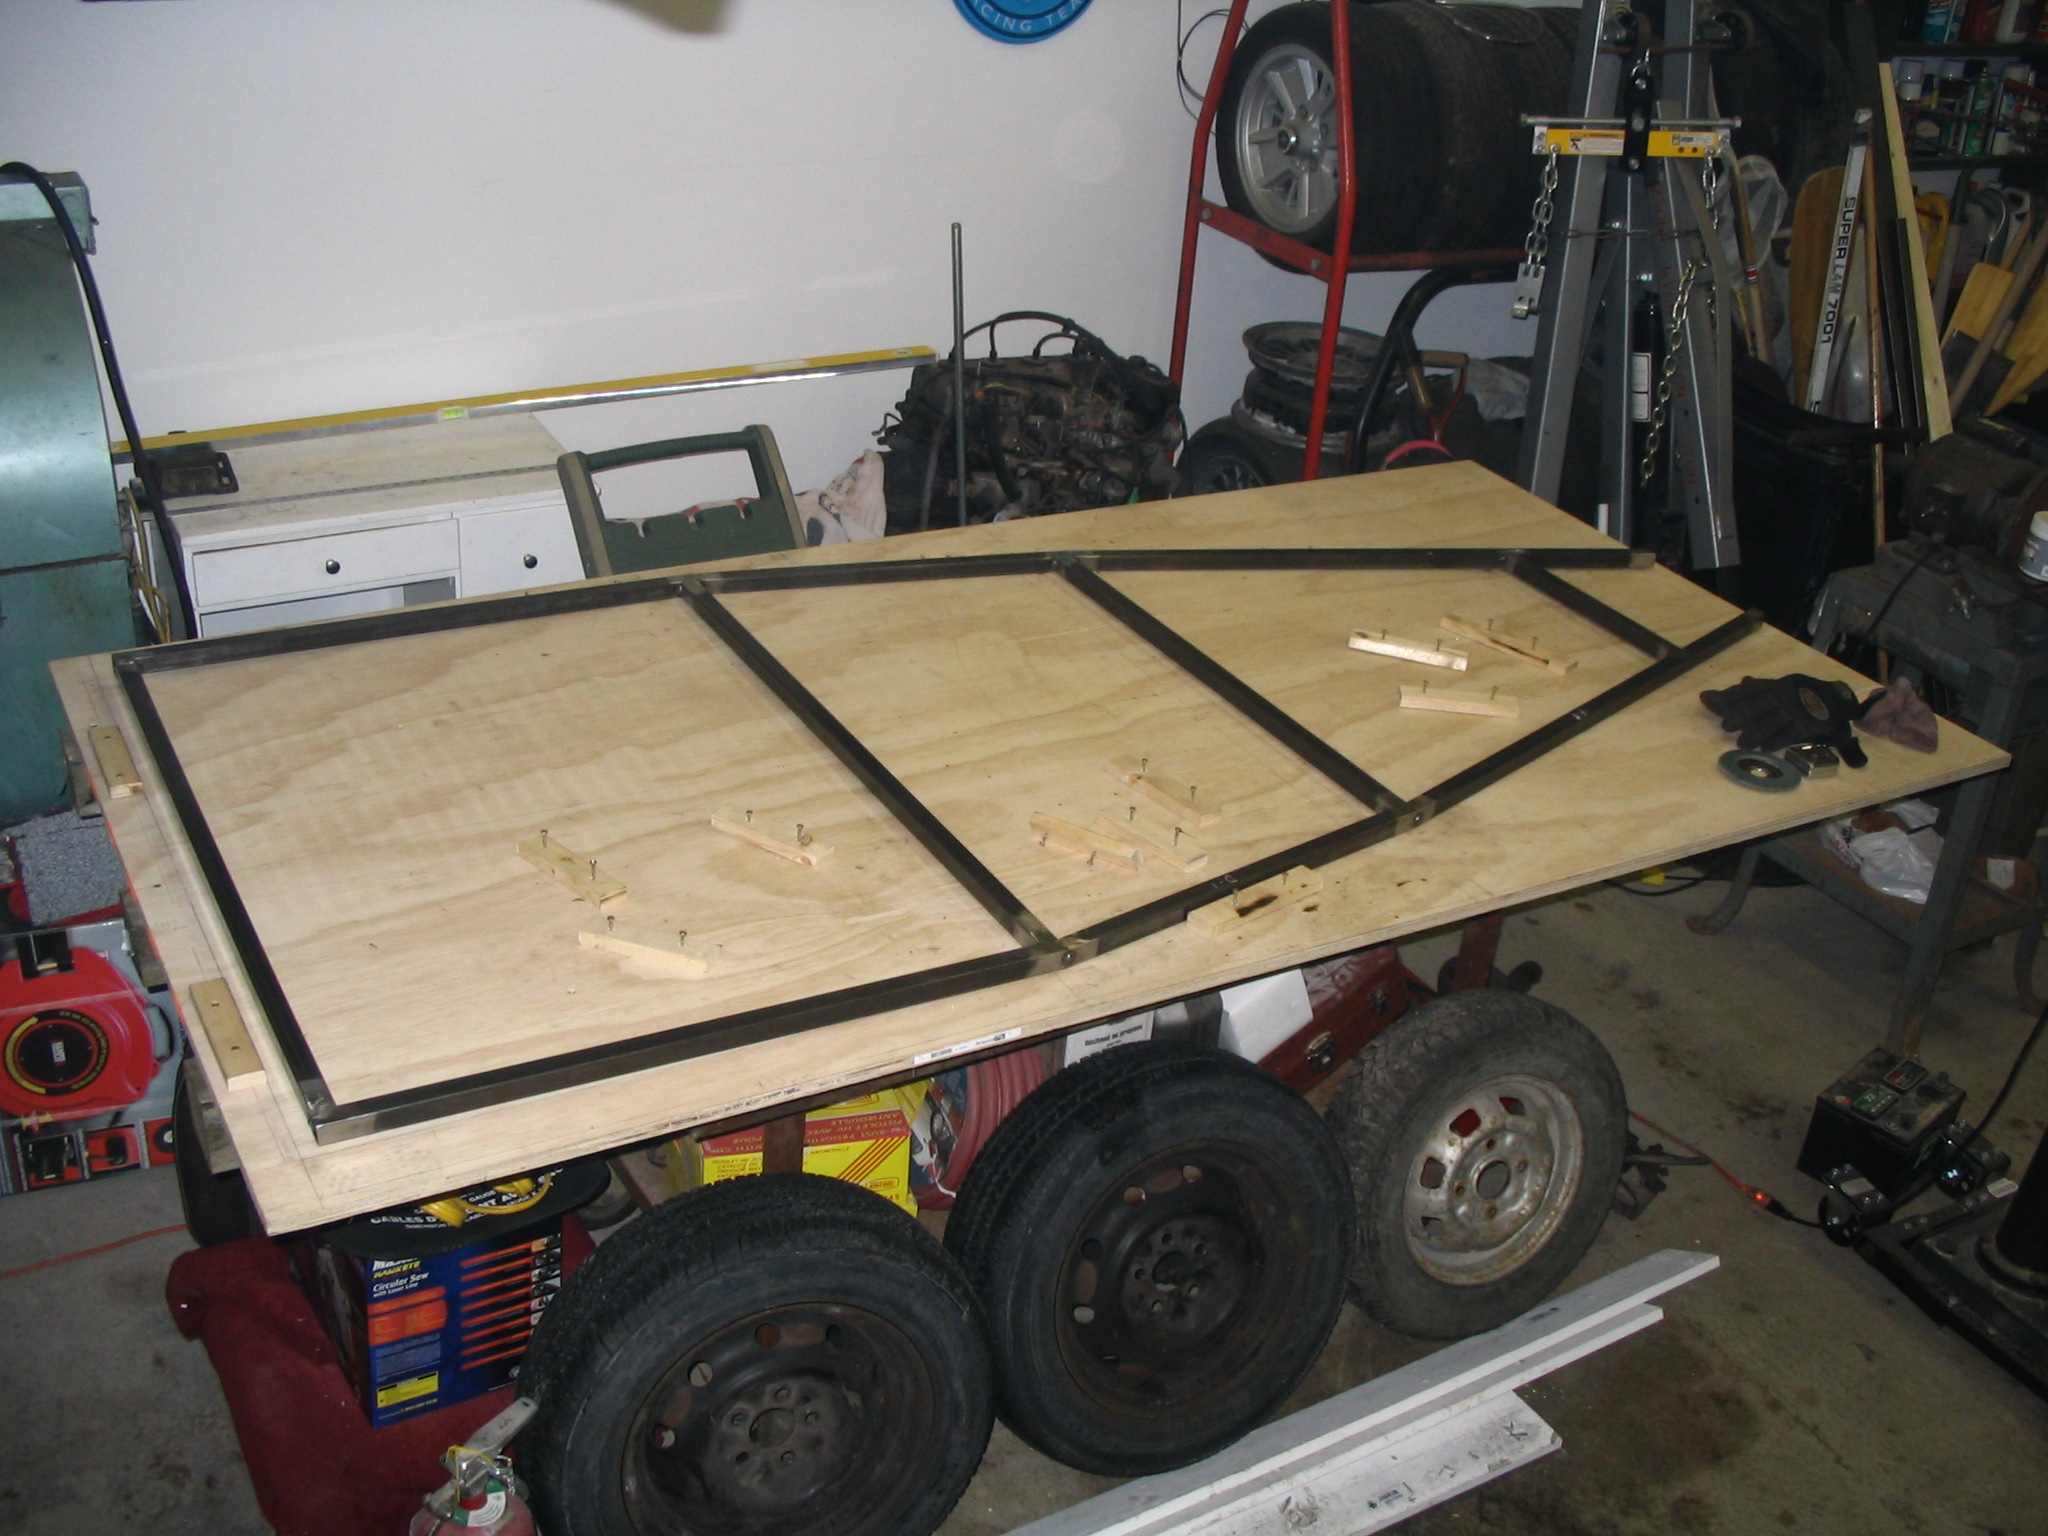
The weekend I was able to complete Stage 1 of the chassis (bottom rail layout from McSorley plan). Yes, a very tiny victory, I know!
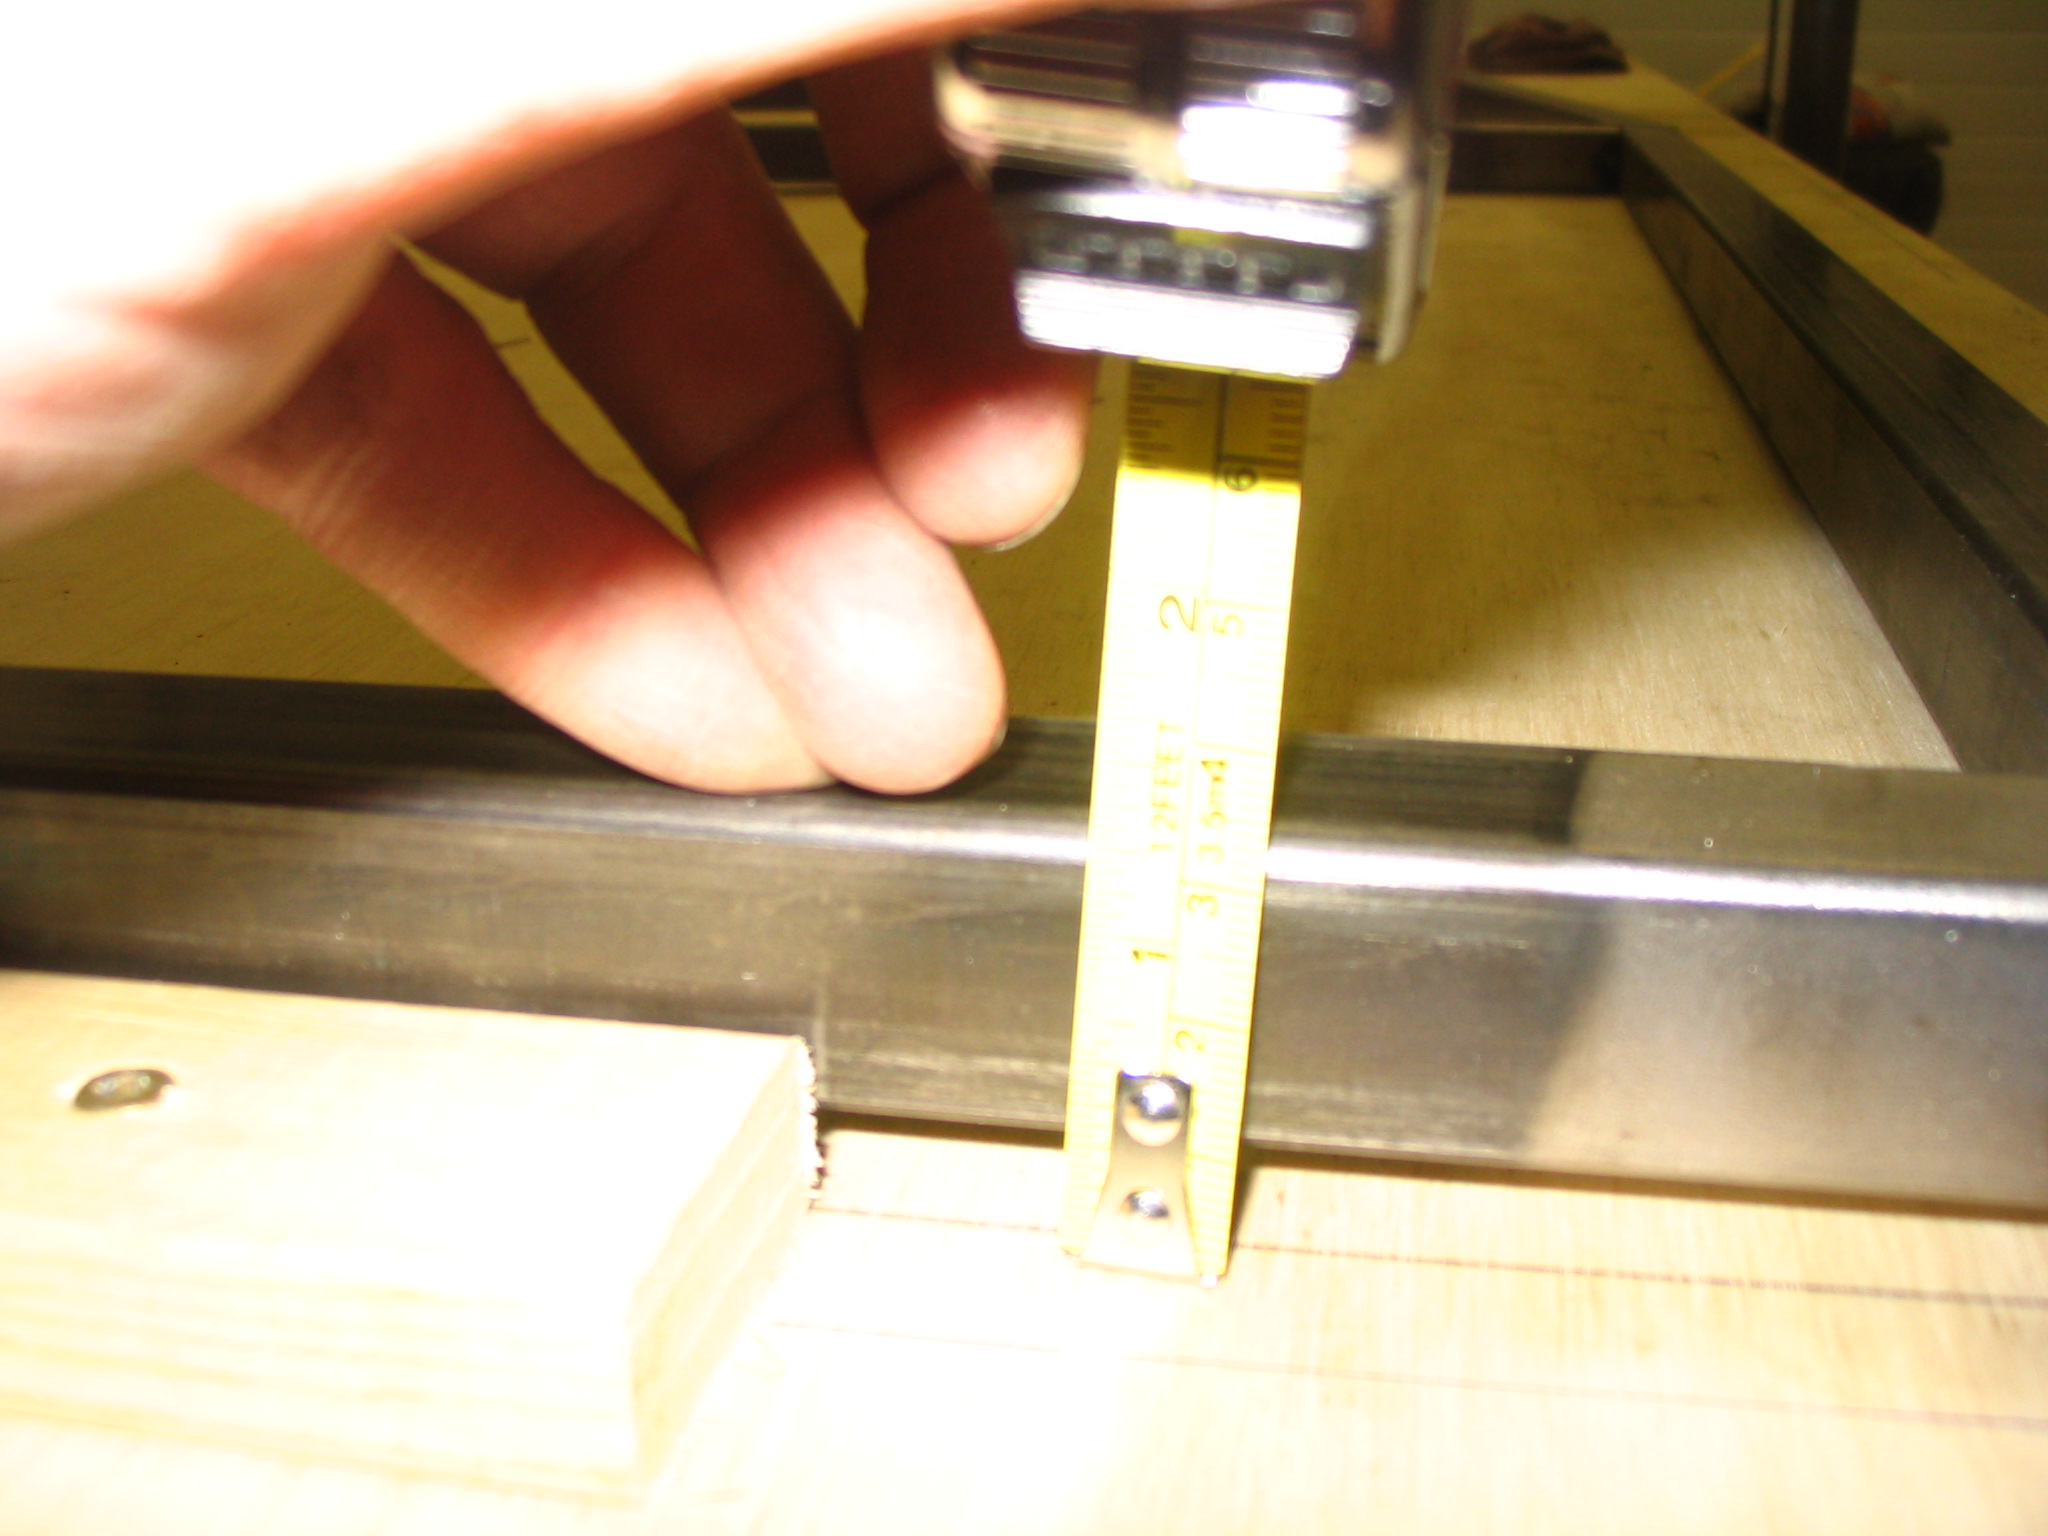
I tacked the tubing on the top side, used cleats to keep the tubes from moving side-to-side, then tacked the sides of the joints. I then removed the cleats, flipped the assembly over, and found that the assembly was no longer straight. I had a 10 - 15 mm gap when looking at the back of the chassis (tube B1):
Not the best picture, but you can get the idea.
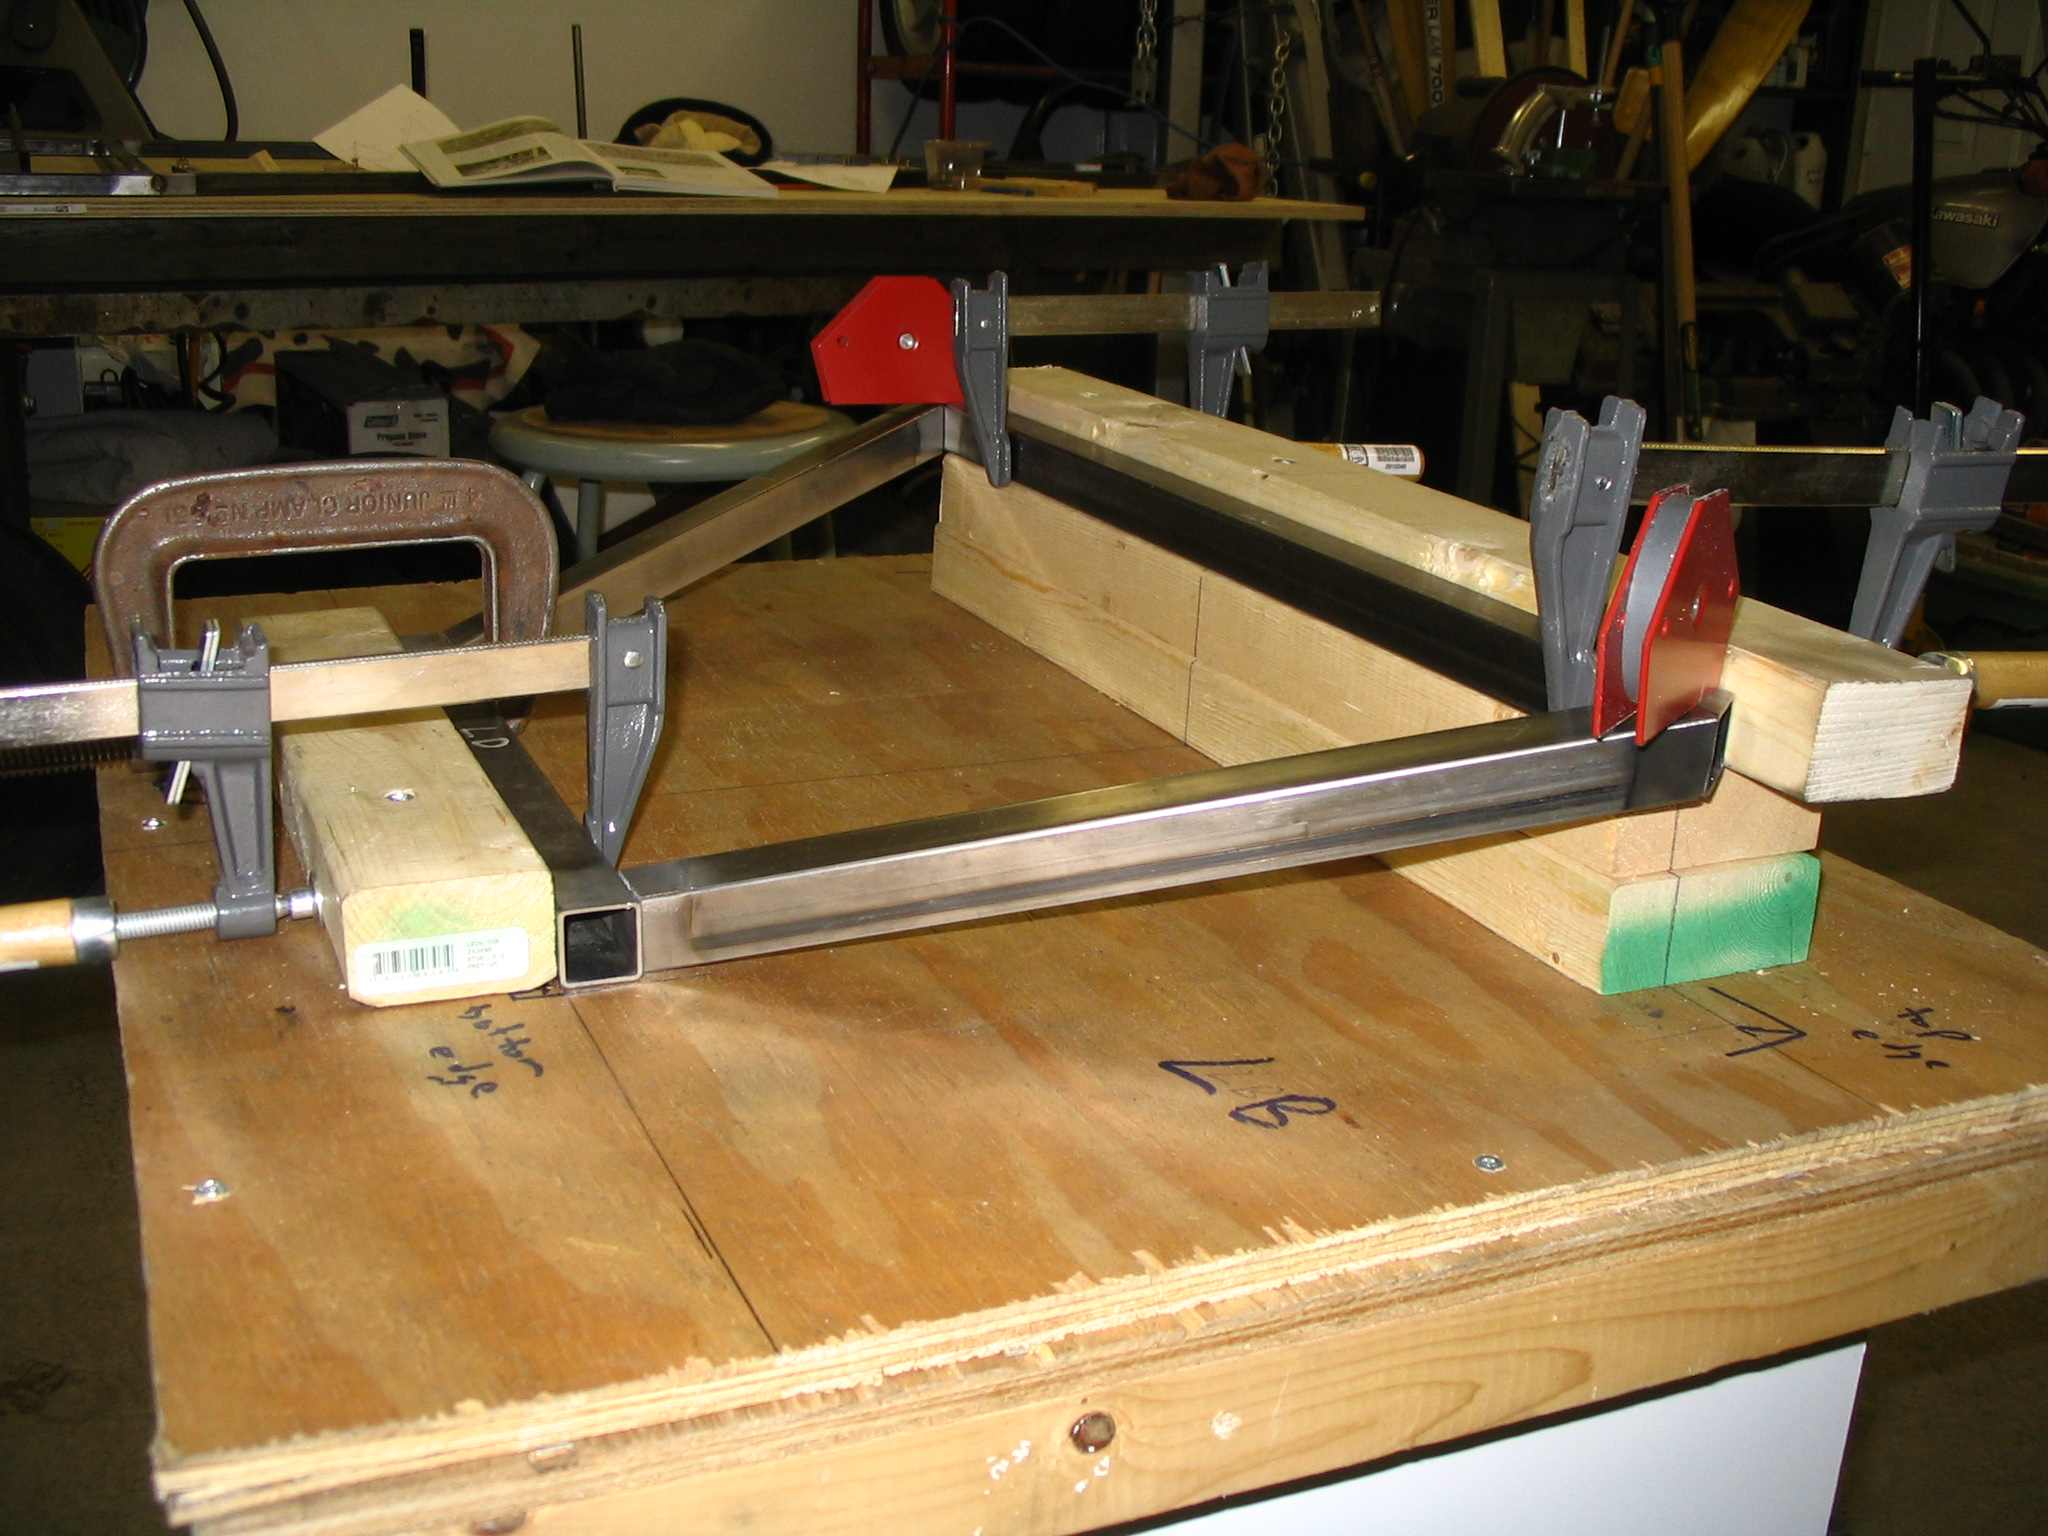
I posted some questions to the LocostUSA.com forum and received some good advice on what went wrong and how to resolve it. I decided to put sandbags on the assembly then tacked the remaining side.
I will refasten the assembly to the build table, again using cleats to stop side-to-side movement. I believe that by using additional cleats, across the tubes, fastened to the build table, it will pull the assembly back into alignment. I understand that the remaining tubes, once tacked, will hold everything in it's correct position, until the final welding stage.
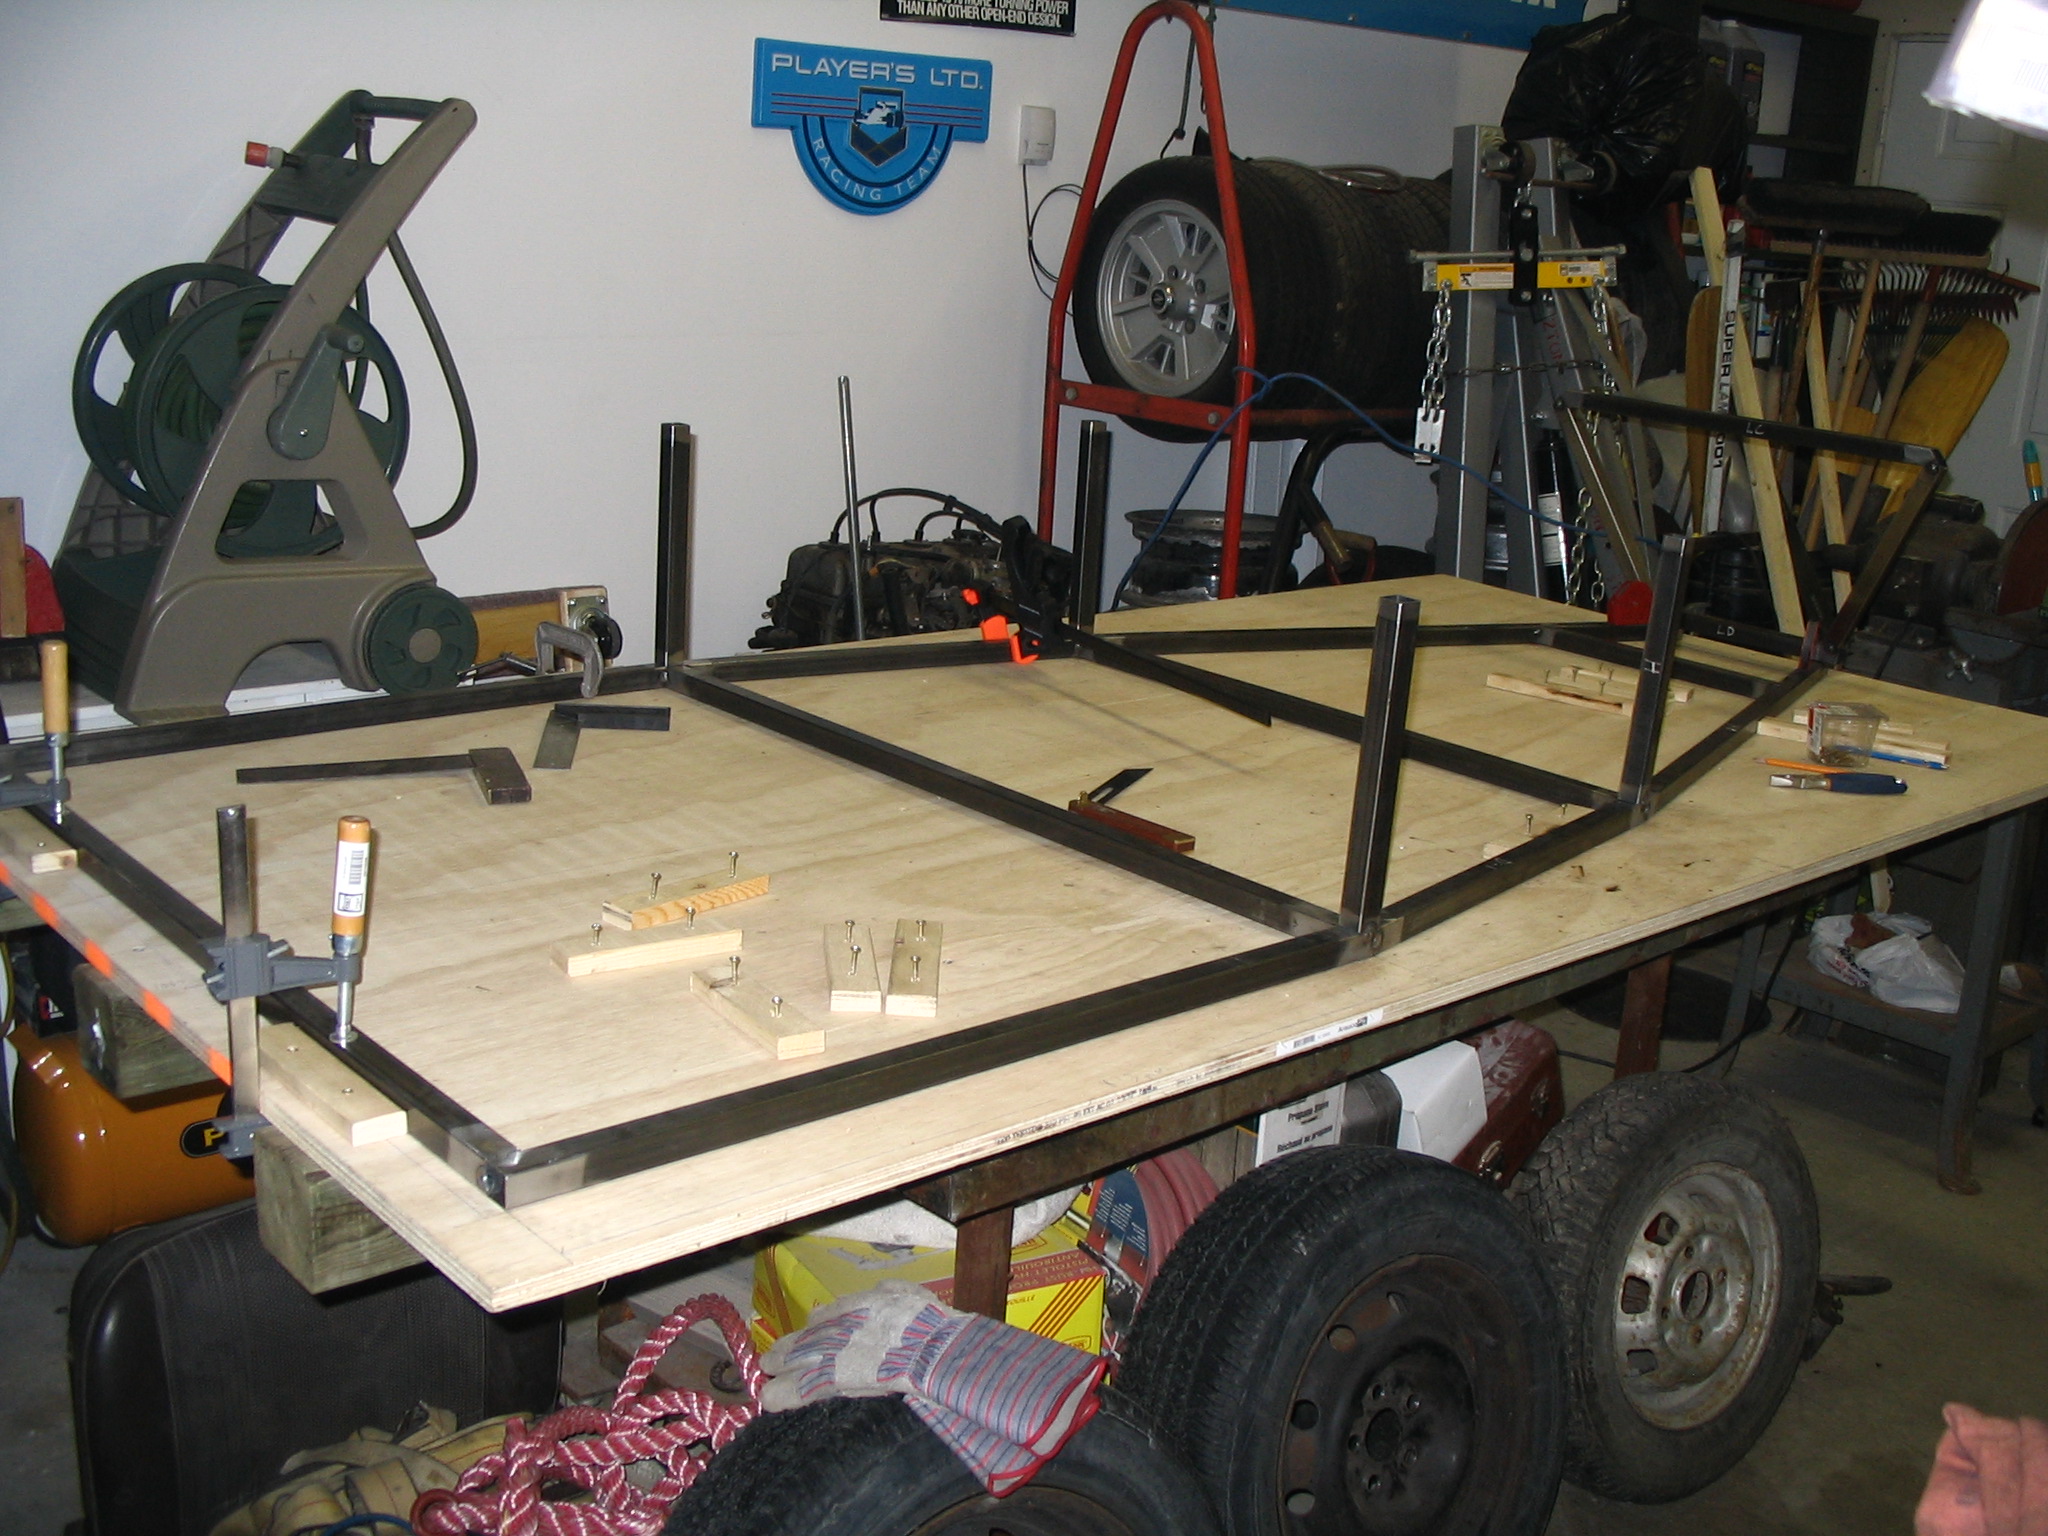
Here is today's progress. Tacks welds completed and ground smooth on both sides.
Next up: H tubes, and I need to build a jig to get the nose sub-assembly (tubes LA, LB, LC and LD) correct.
Jan 27, 2008 update
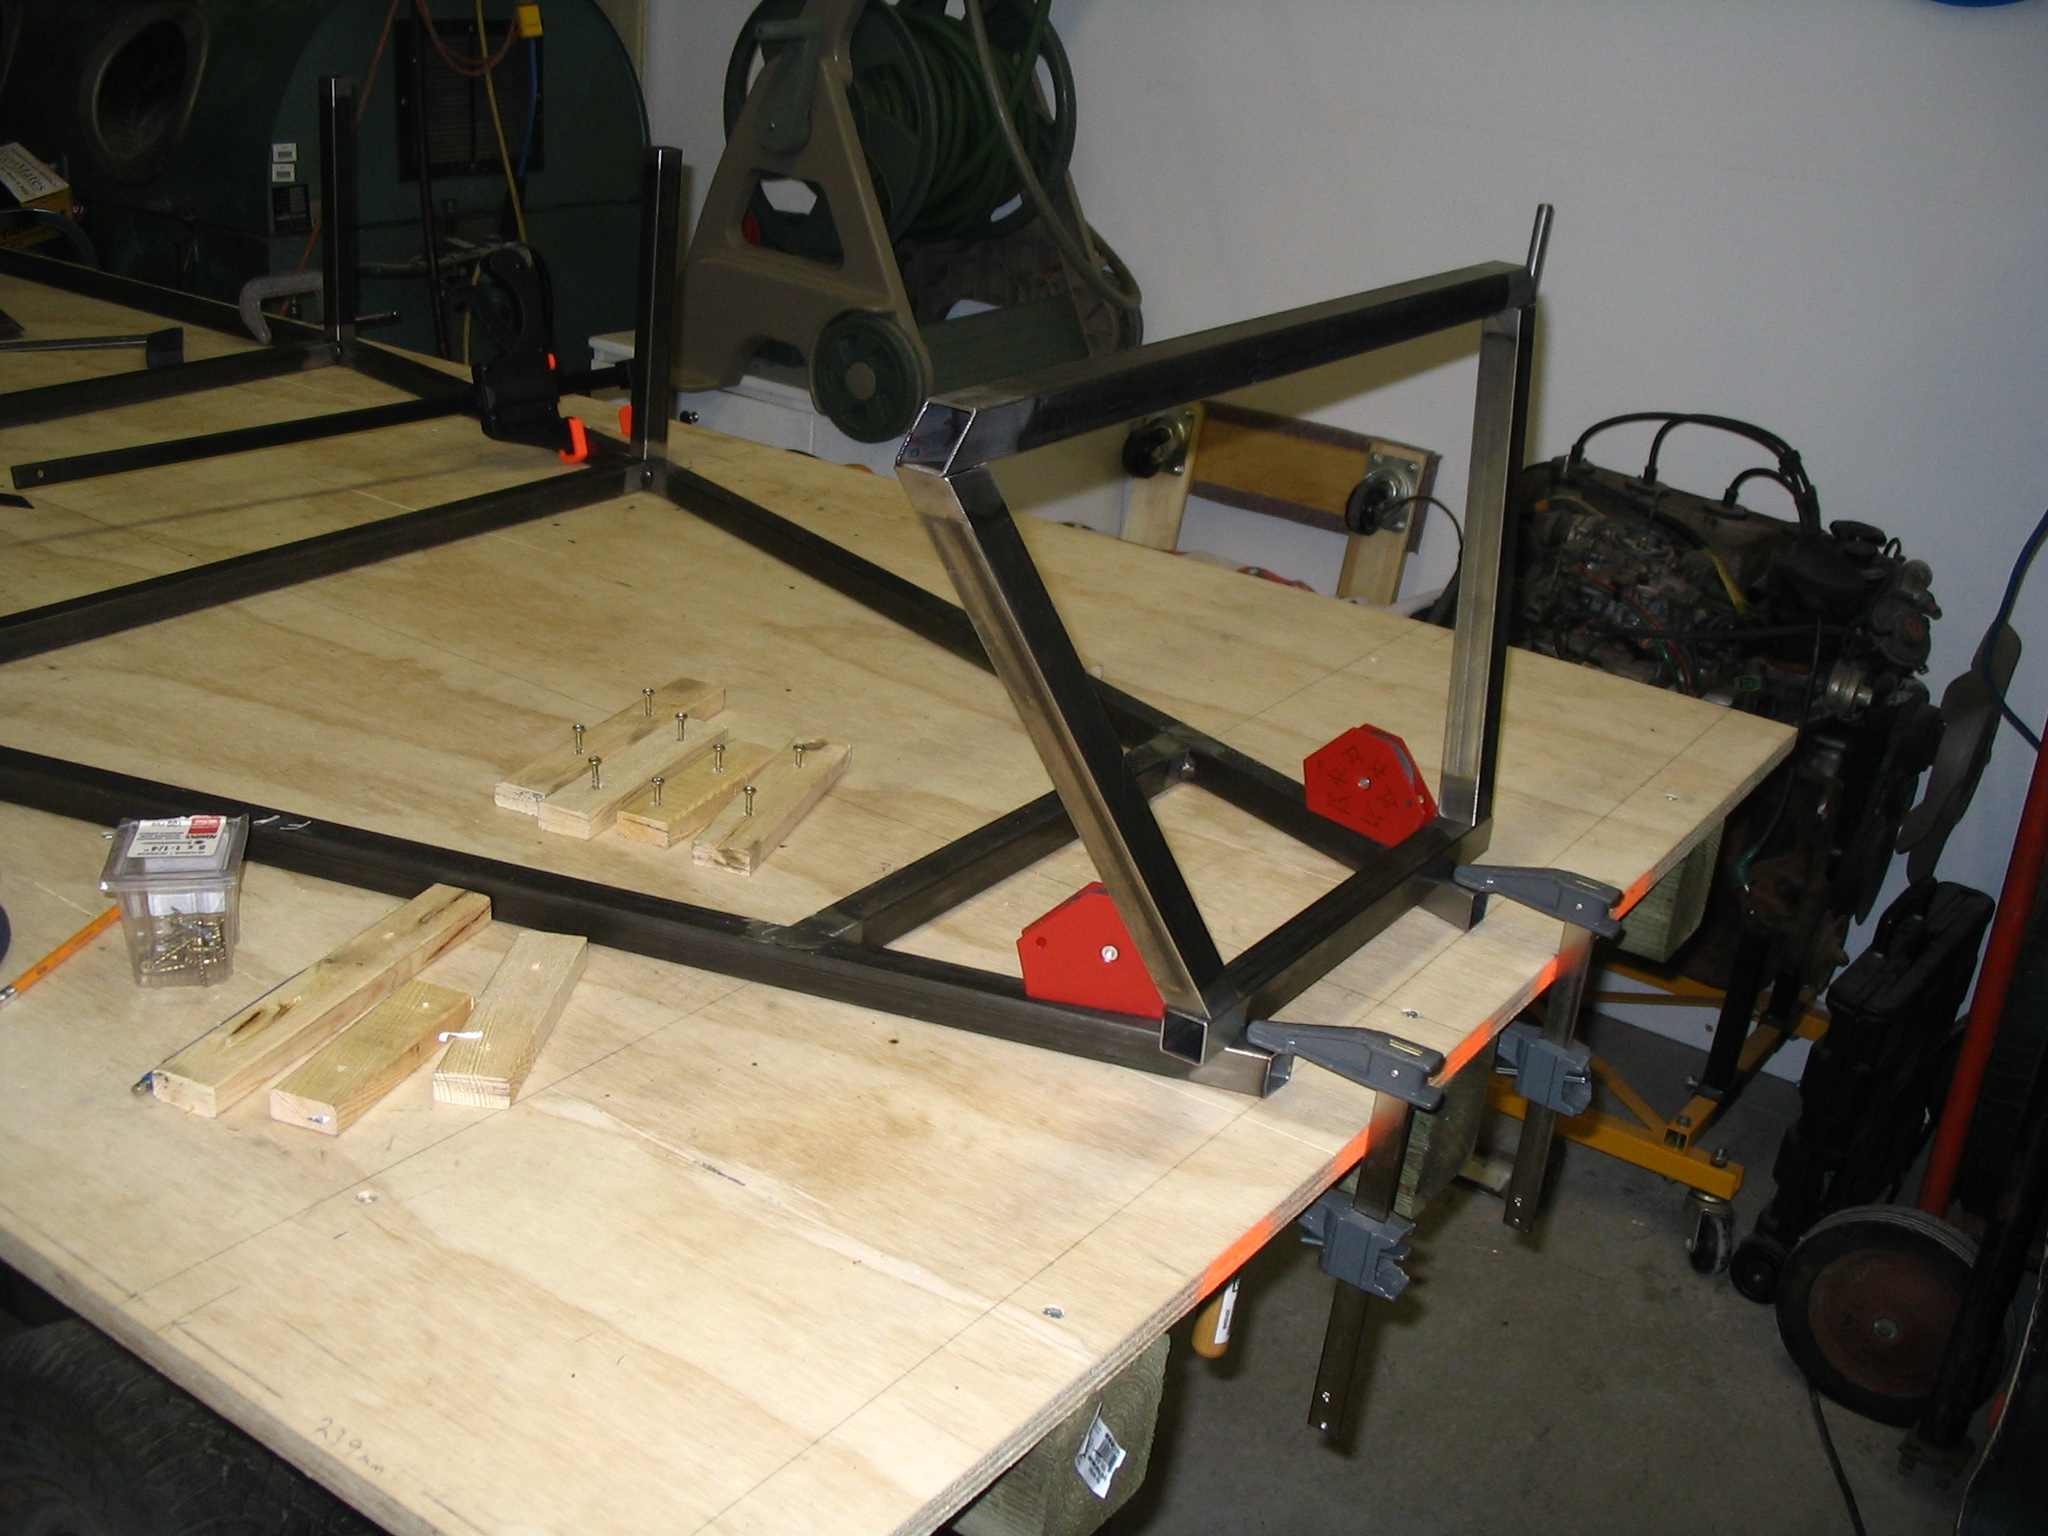
I built a jig to assist building the front nose assembly.
I tried marking and cutting the compound angles by hand... with no success and a lot of swearing. I bought a compound mitre saw which made the job much easier but I still added to my scrap metal collection. I decided to leave the side tubes (LA/LB) a little long and then using the disk sander slowly easy up to the final fitment. Lots of trips back and forth!
Project goes Vertical!
This weekend saw the first tubes go vertical ! The H tubes were tacked into place.
After I tacked the nose assembly in the jig, I wanted to see it on the the front. It is just in place with magnets. It will soon be tacked to the front of the frame, so it is flat with the rest of the bottom of the chassis. First I want to do a trial fit of the engine and decide where to place the engine support tubes.
Feb 11 2008 Update
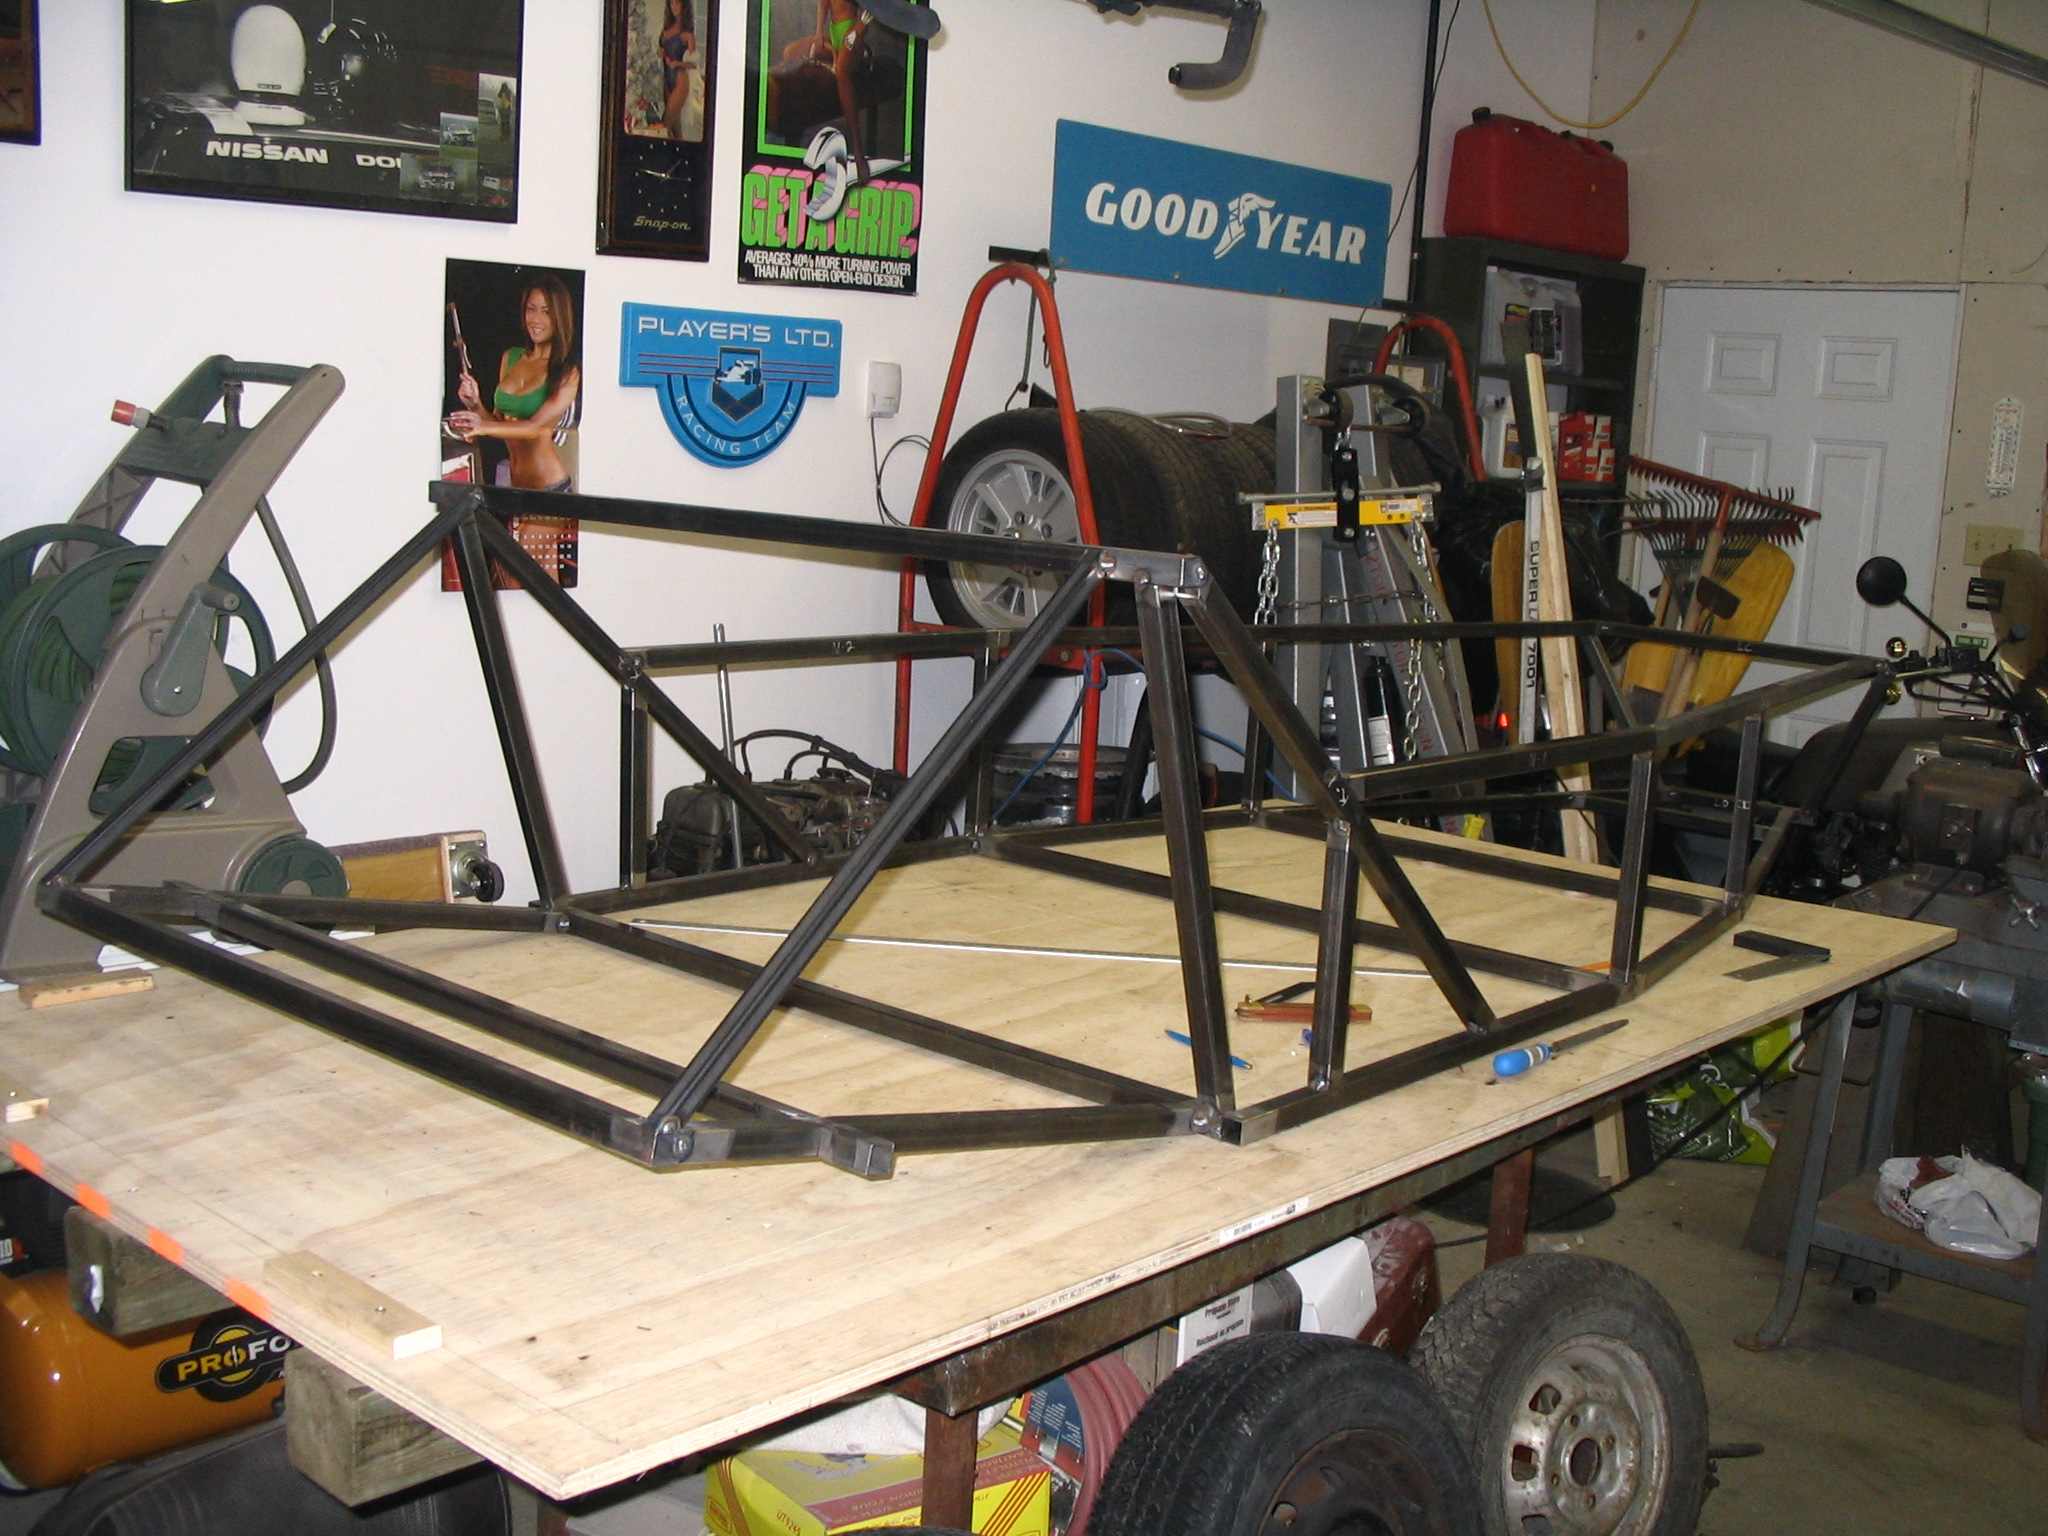
I have Stage 2 about half done. I found a couple more tubes (K3 / K4) that had been cut too long. Fortunately it was an easy fix rather than more additions to my scap metal pile!
An update about my previous issue with the bottom chassis which had a slight bow in it. After I took this picture I removed the clamps holding the bottom chassis down and the assembly sat
flat and level. This was a big relief to me as I didn't want to start redoing work to solve that issue. Next up: the continuation of Stage 2 - the back half of the car where the rear axle and gas tank sit.

Feb 18 2008 Update
Back section is about half done. Next steps involve 3/4" round tubing... which I don't have. A lack of planning on my part meant I was SOL, a statutory holiday in Saskatchewan means the metal supply houses were closed today.
![]()