March 2, 2008 Update
I tried to make the rear bar top tube. That is the 3/4" round tubing at the back of the chassis, 42" long with two 3" radius bends in it. My attempts turned out like crap. I succeeded in making some wavy bars with squashed corners that were suitable for the scrap pile. I found Russel Metal Specialties was able, and willing, to bend the tubing to the dimensions I needed... for $28! Even my low budget* can afford that. They also supplied two 2" radius bends that are needed for the rear end bottom corner tubes for $10/pair, It took a week to get the top tube fabricated.
* or my cheap-ass self, depending on your point of view <grin>
Yaa... I cheated a little bit by outsourcing these two problem areas. I think if I had an O/A rosebud torch I might have been successful by heating up the bend area but I don't. YET.... I'm always looking for something that fits my budget though !
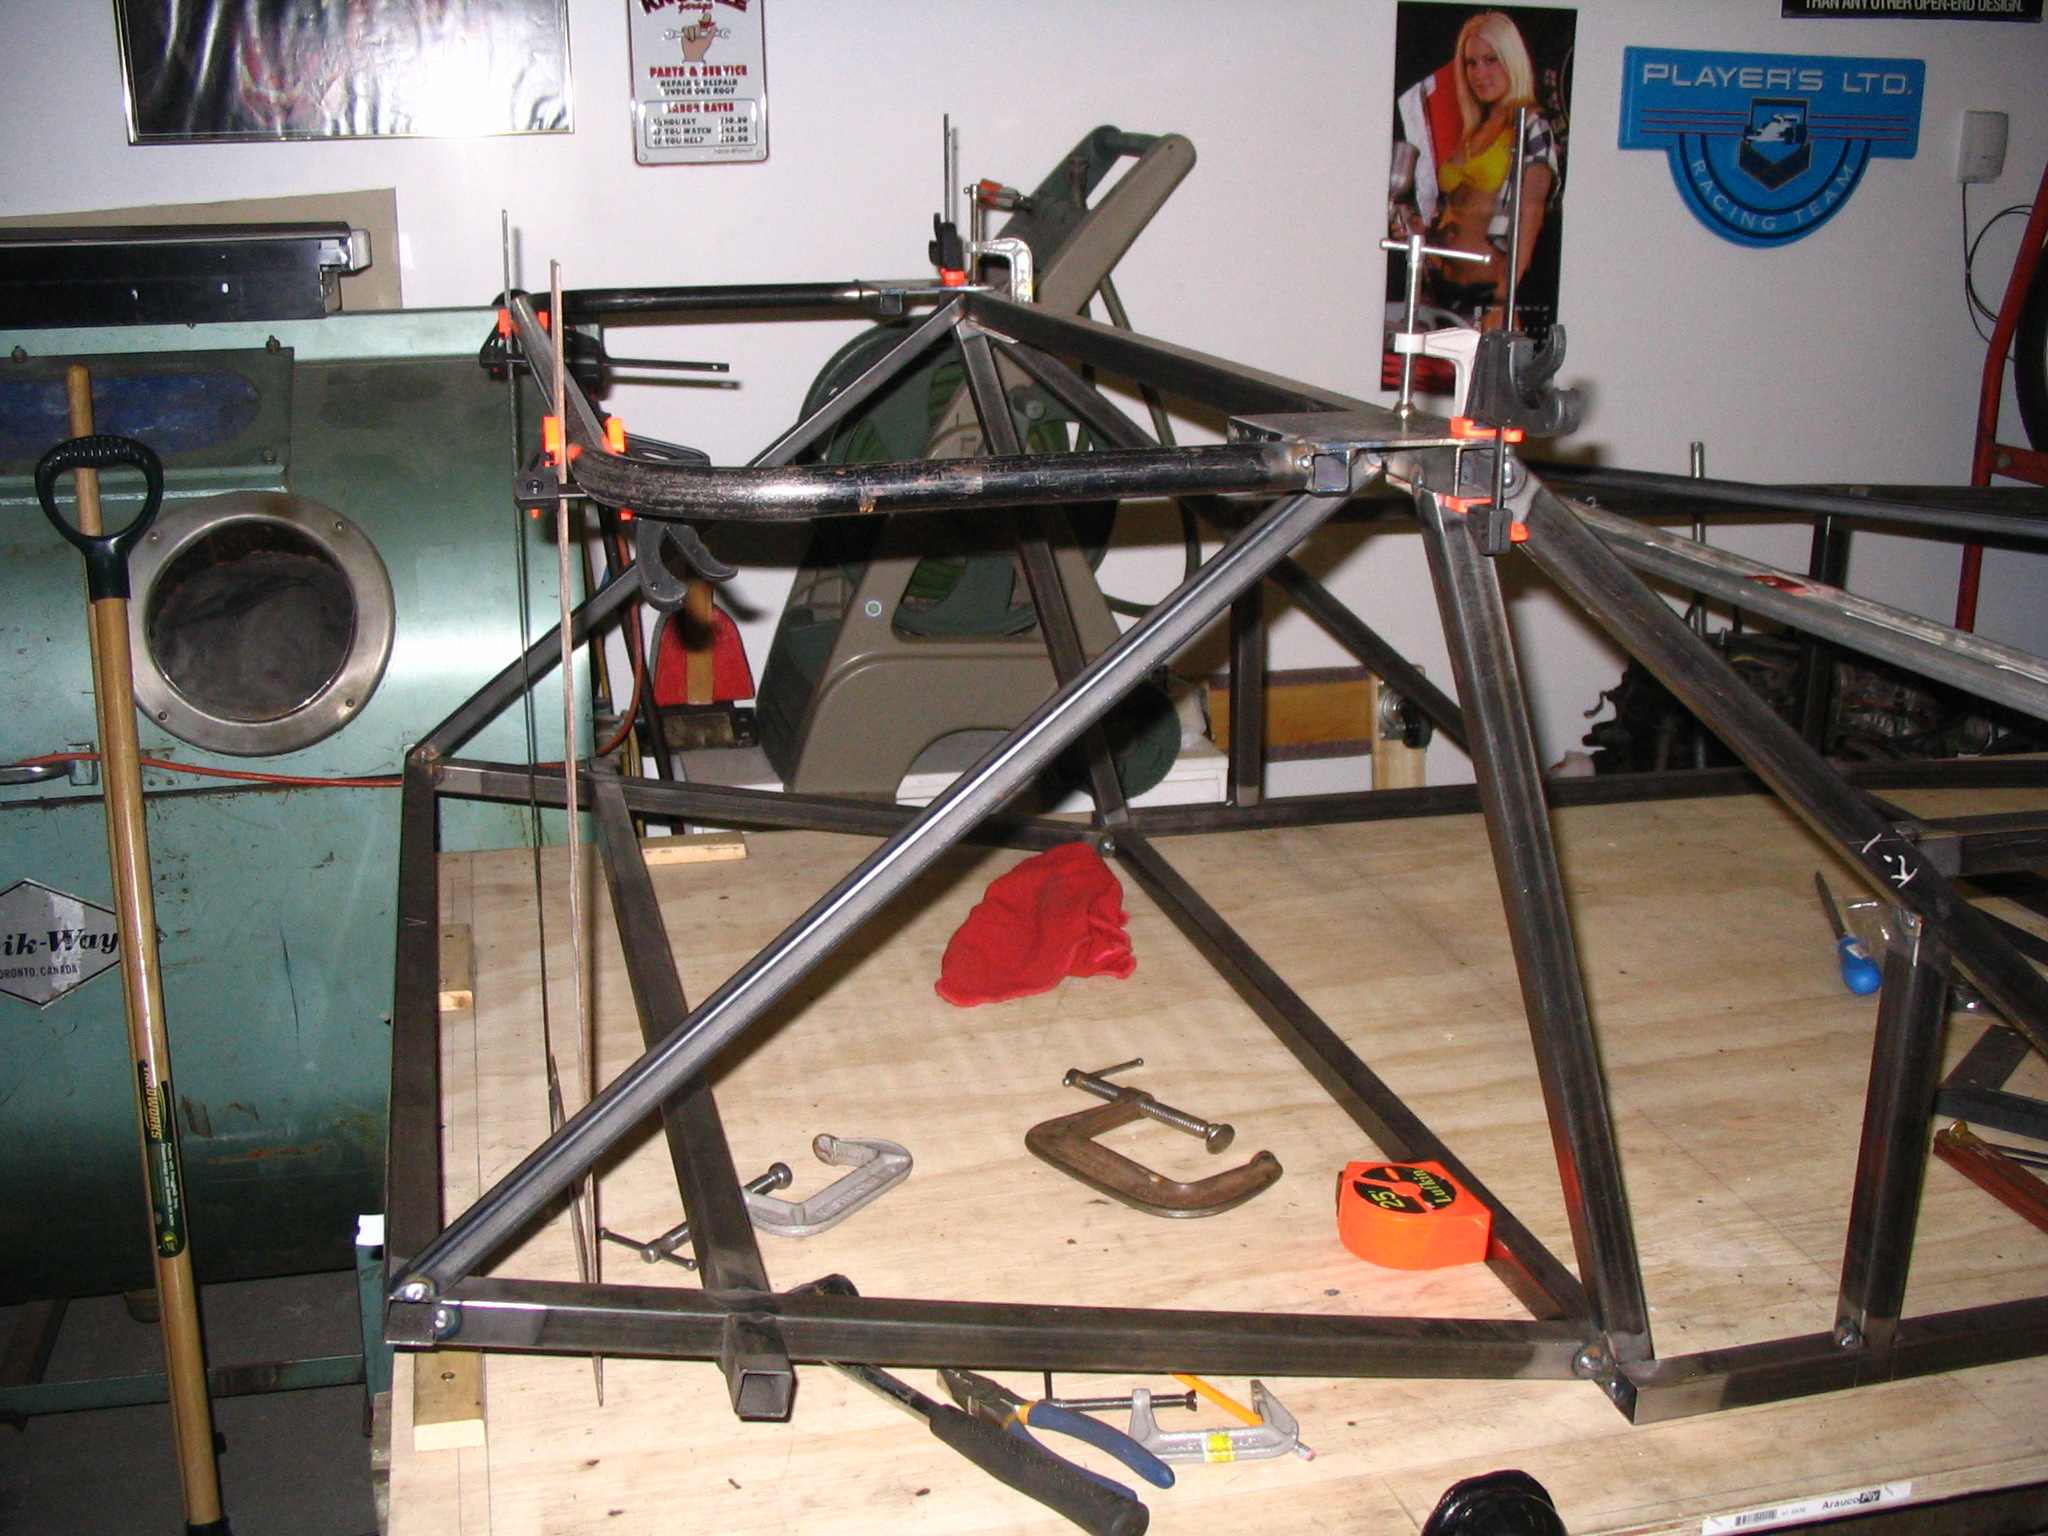
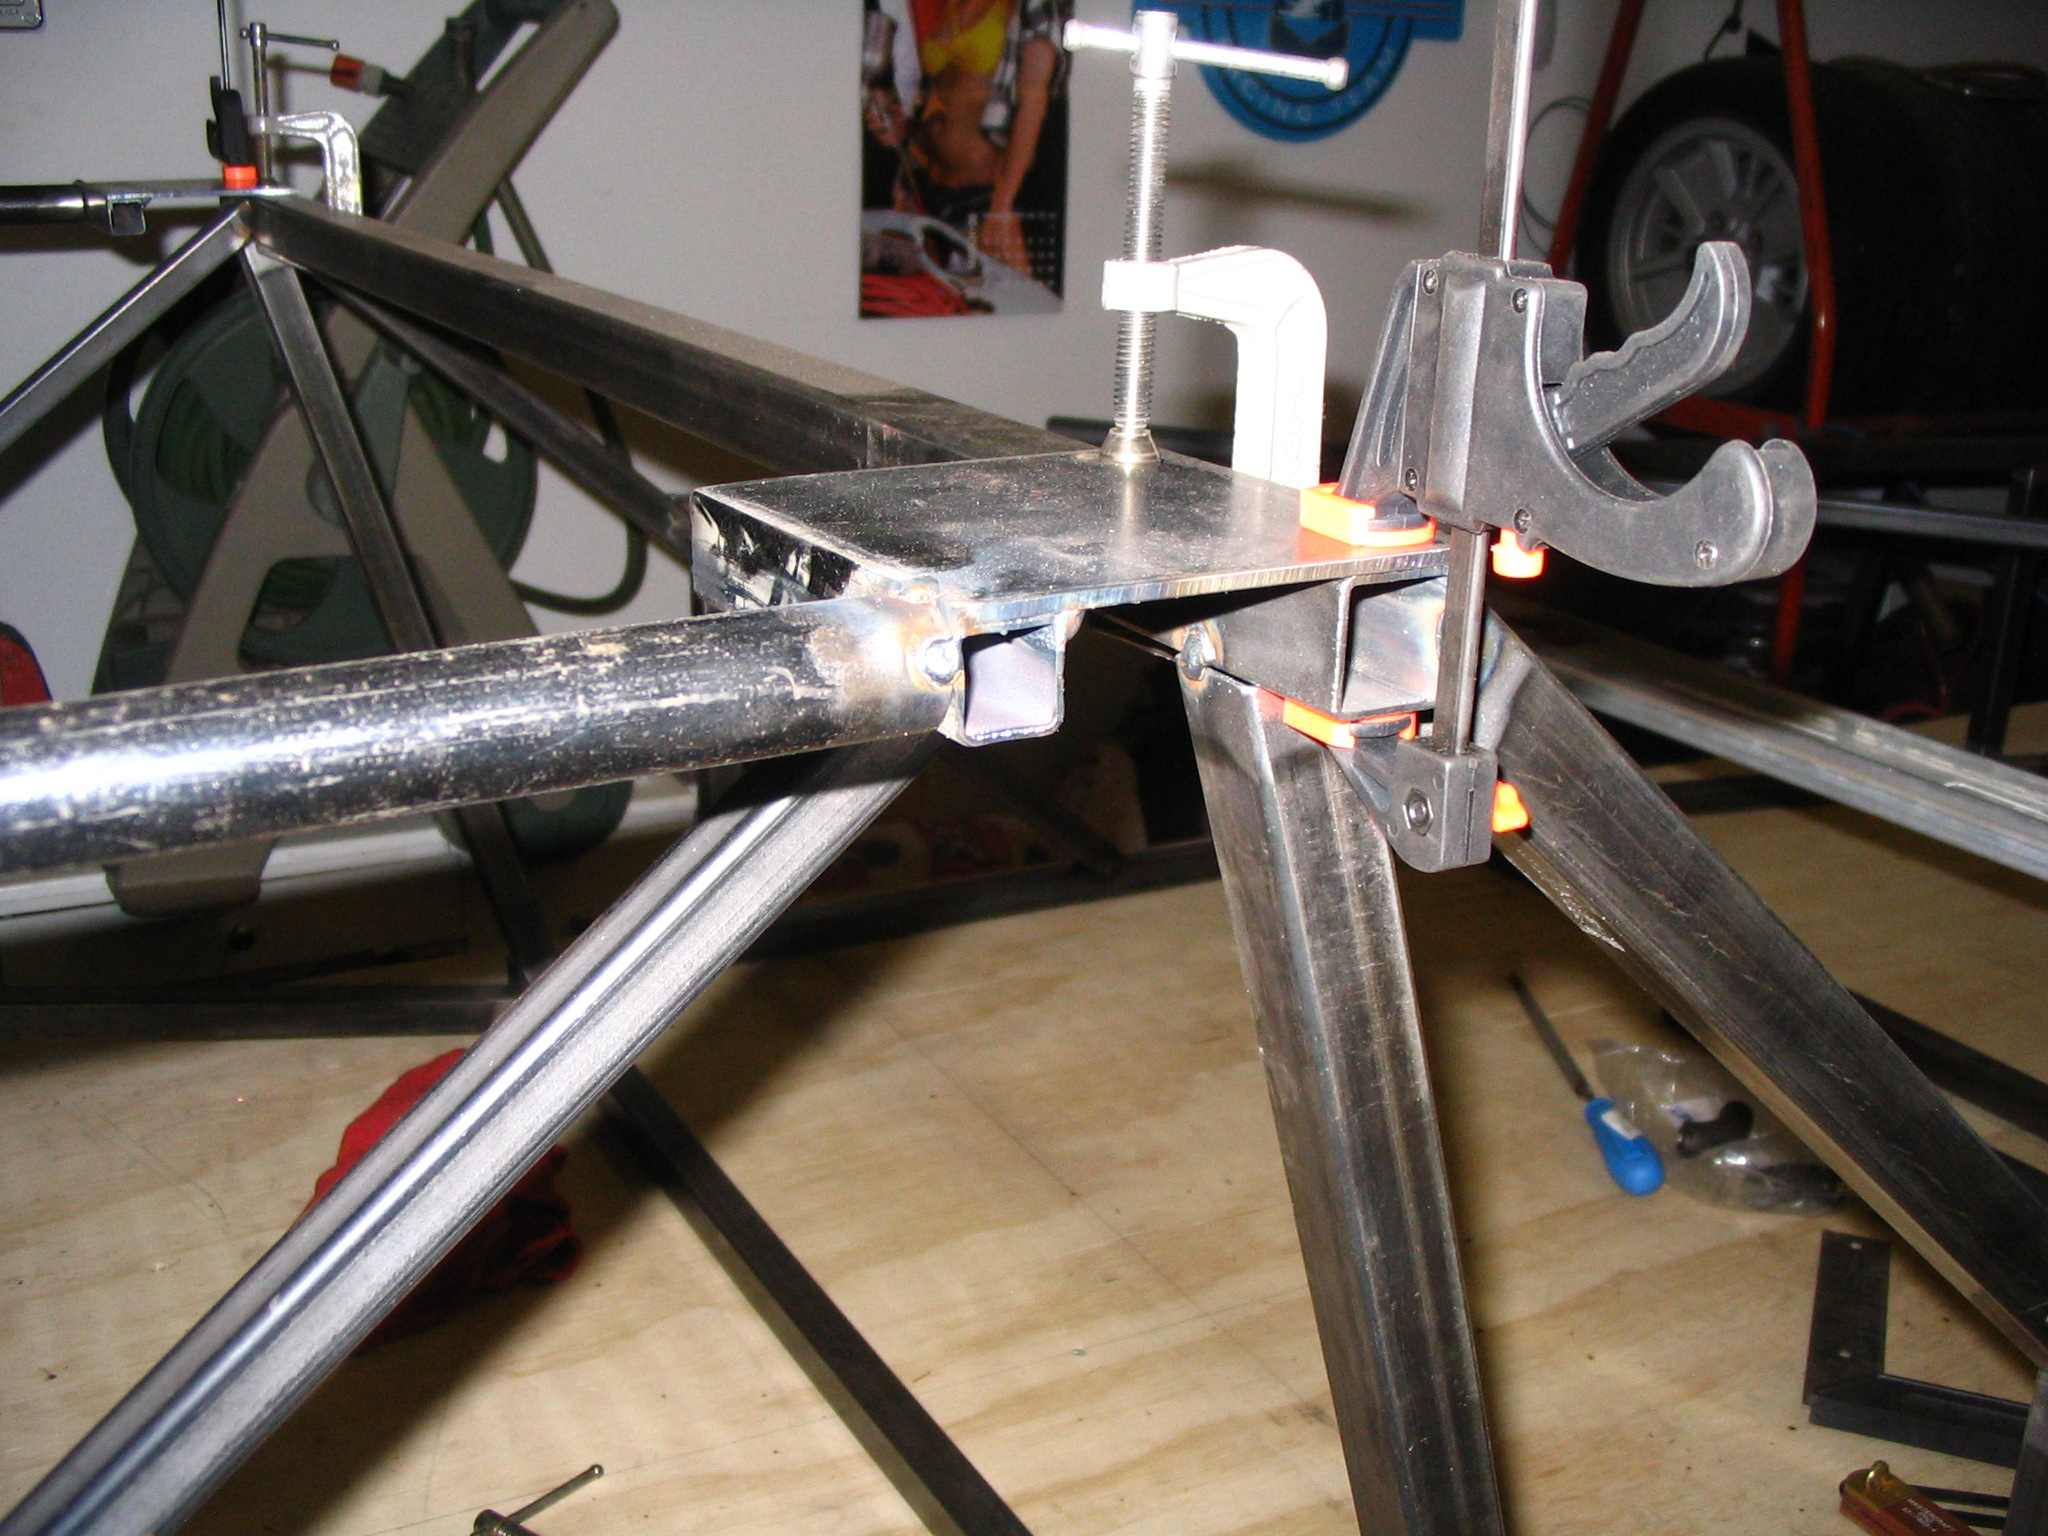
After much floundering at the work table, I decided to make the top bar into a sub-assembly consisting of the top bar tack welded to the 4" square plate and the 4" long, 3/4" square tubing. Once I had the sub-assembly together it was clamped in place. I have two framing squares clamped at the back of the main tube. They are just supporting the main tube until I get the back support tubes in place (X3 and X4). I don't have the 4" square plate tacked onto the main chassis yet.
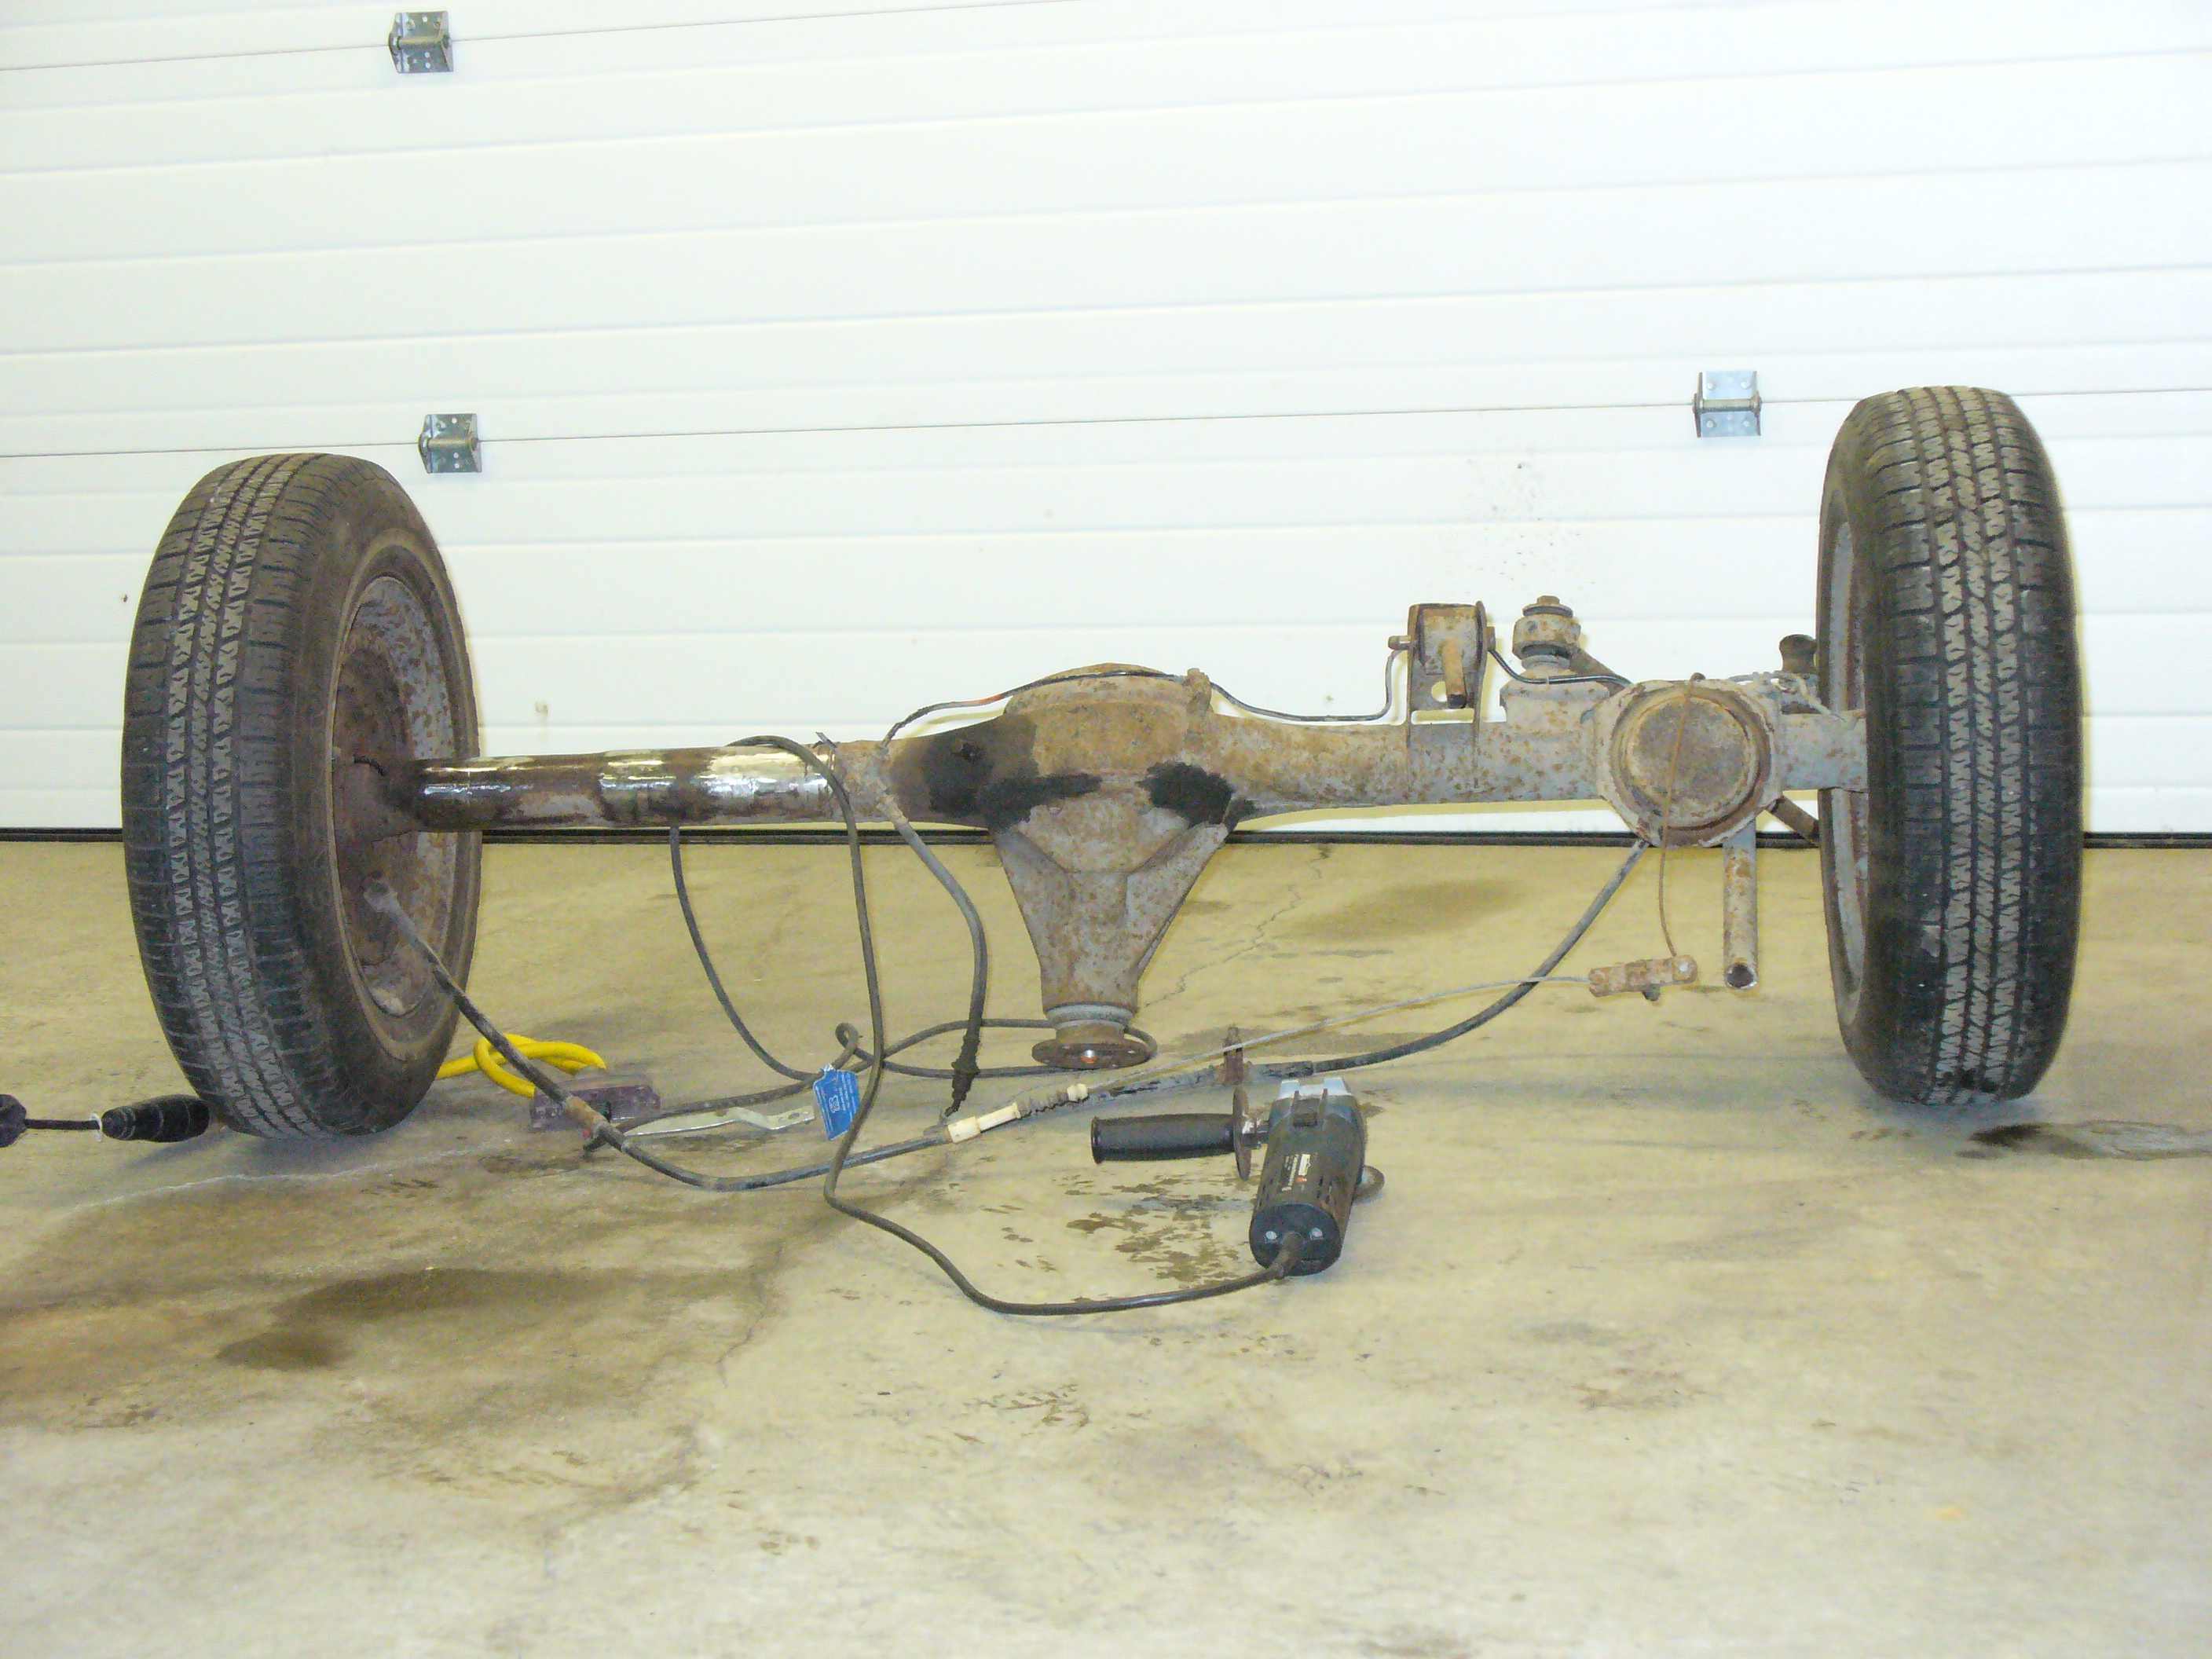
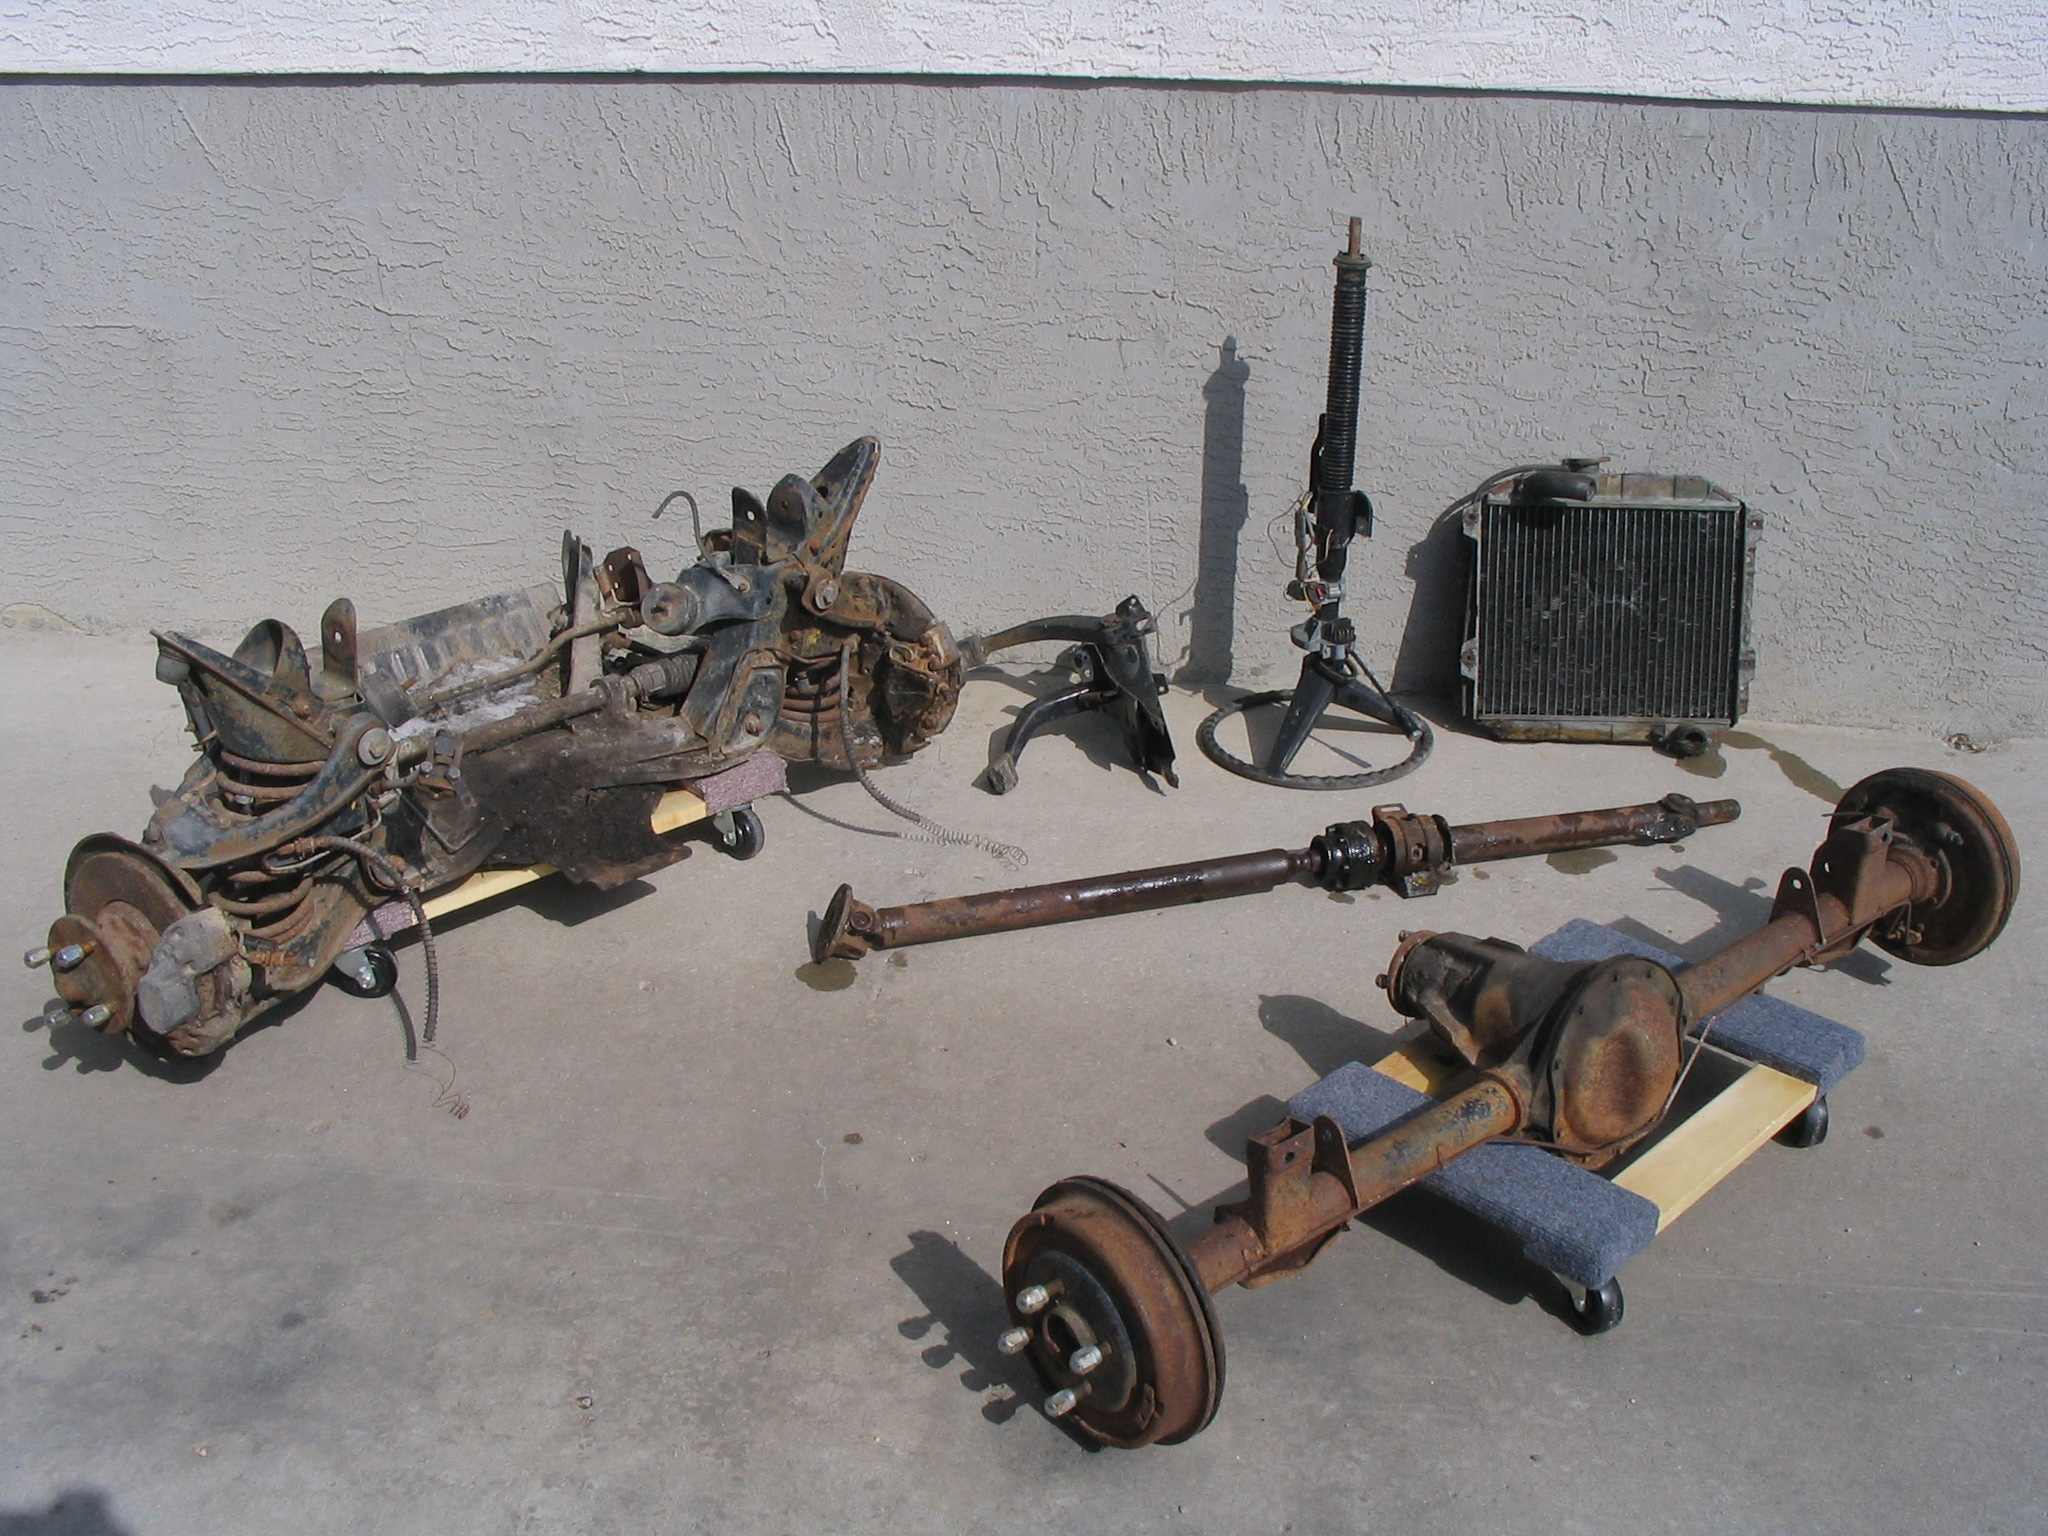
While waiting for fabrication of the rear bar top tube, I decided to clean up the rear axle. This involves the removal of all factory brackets and clean up of the old welds. I used a grinder with a cutting wheel disc to remove the brackets. Then ground the welds as close as possible. I then the other grinder with a flapper sanding disc to smooth out the areas.
Rob's Tool Whore Tip of the Day: This is where a second grinder comes in handy instead of swapping discs all the time.
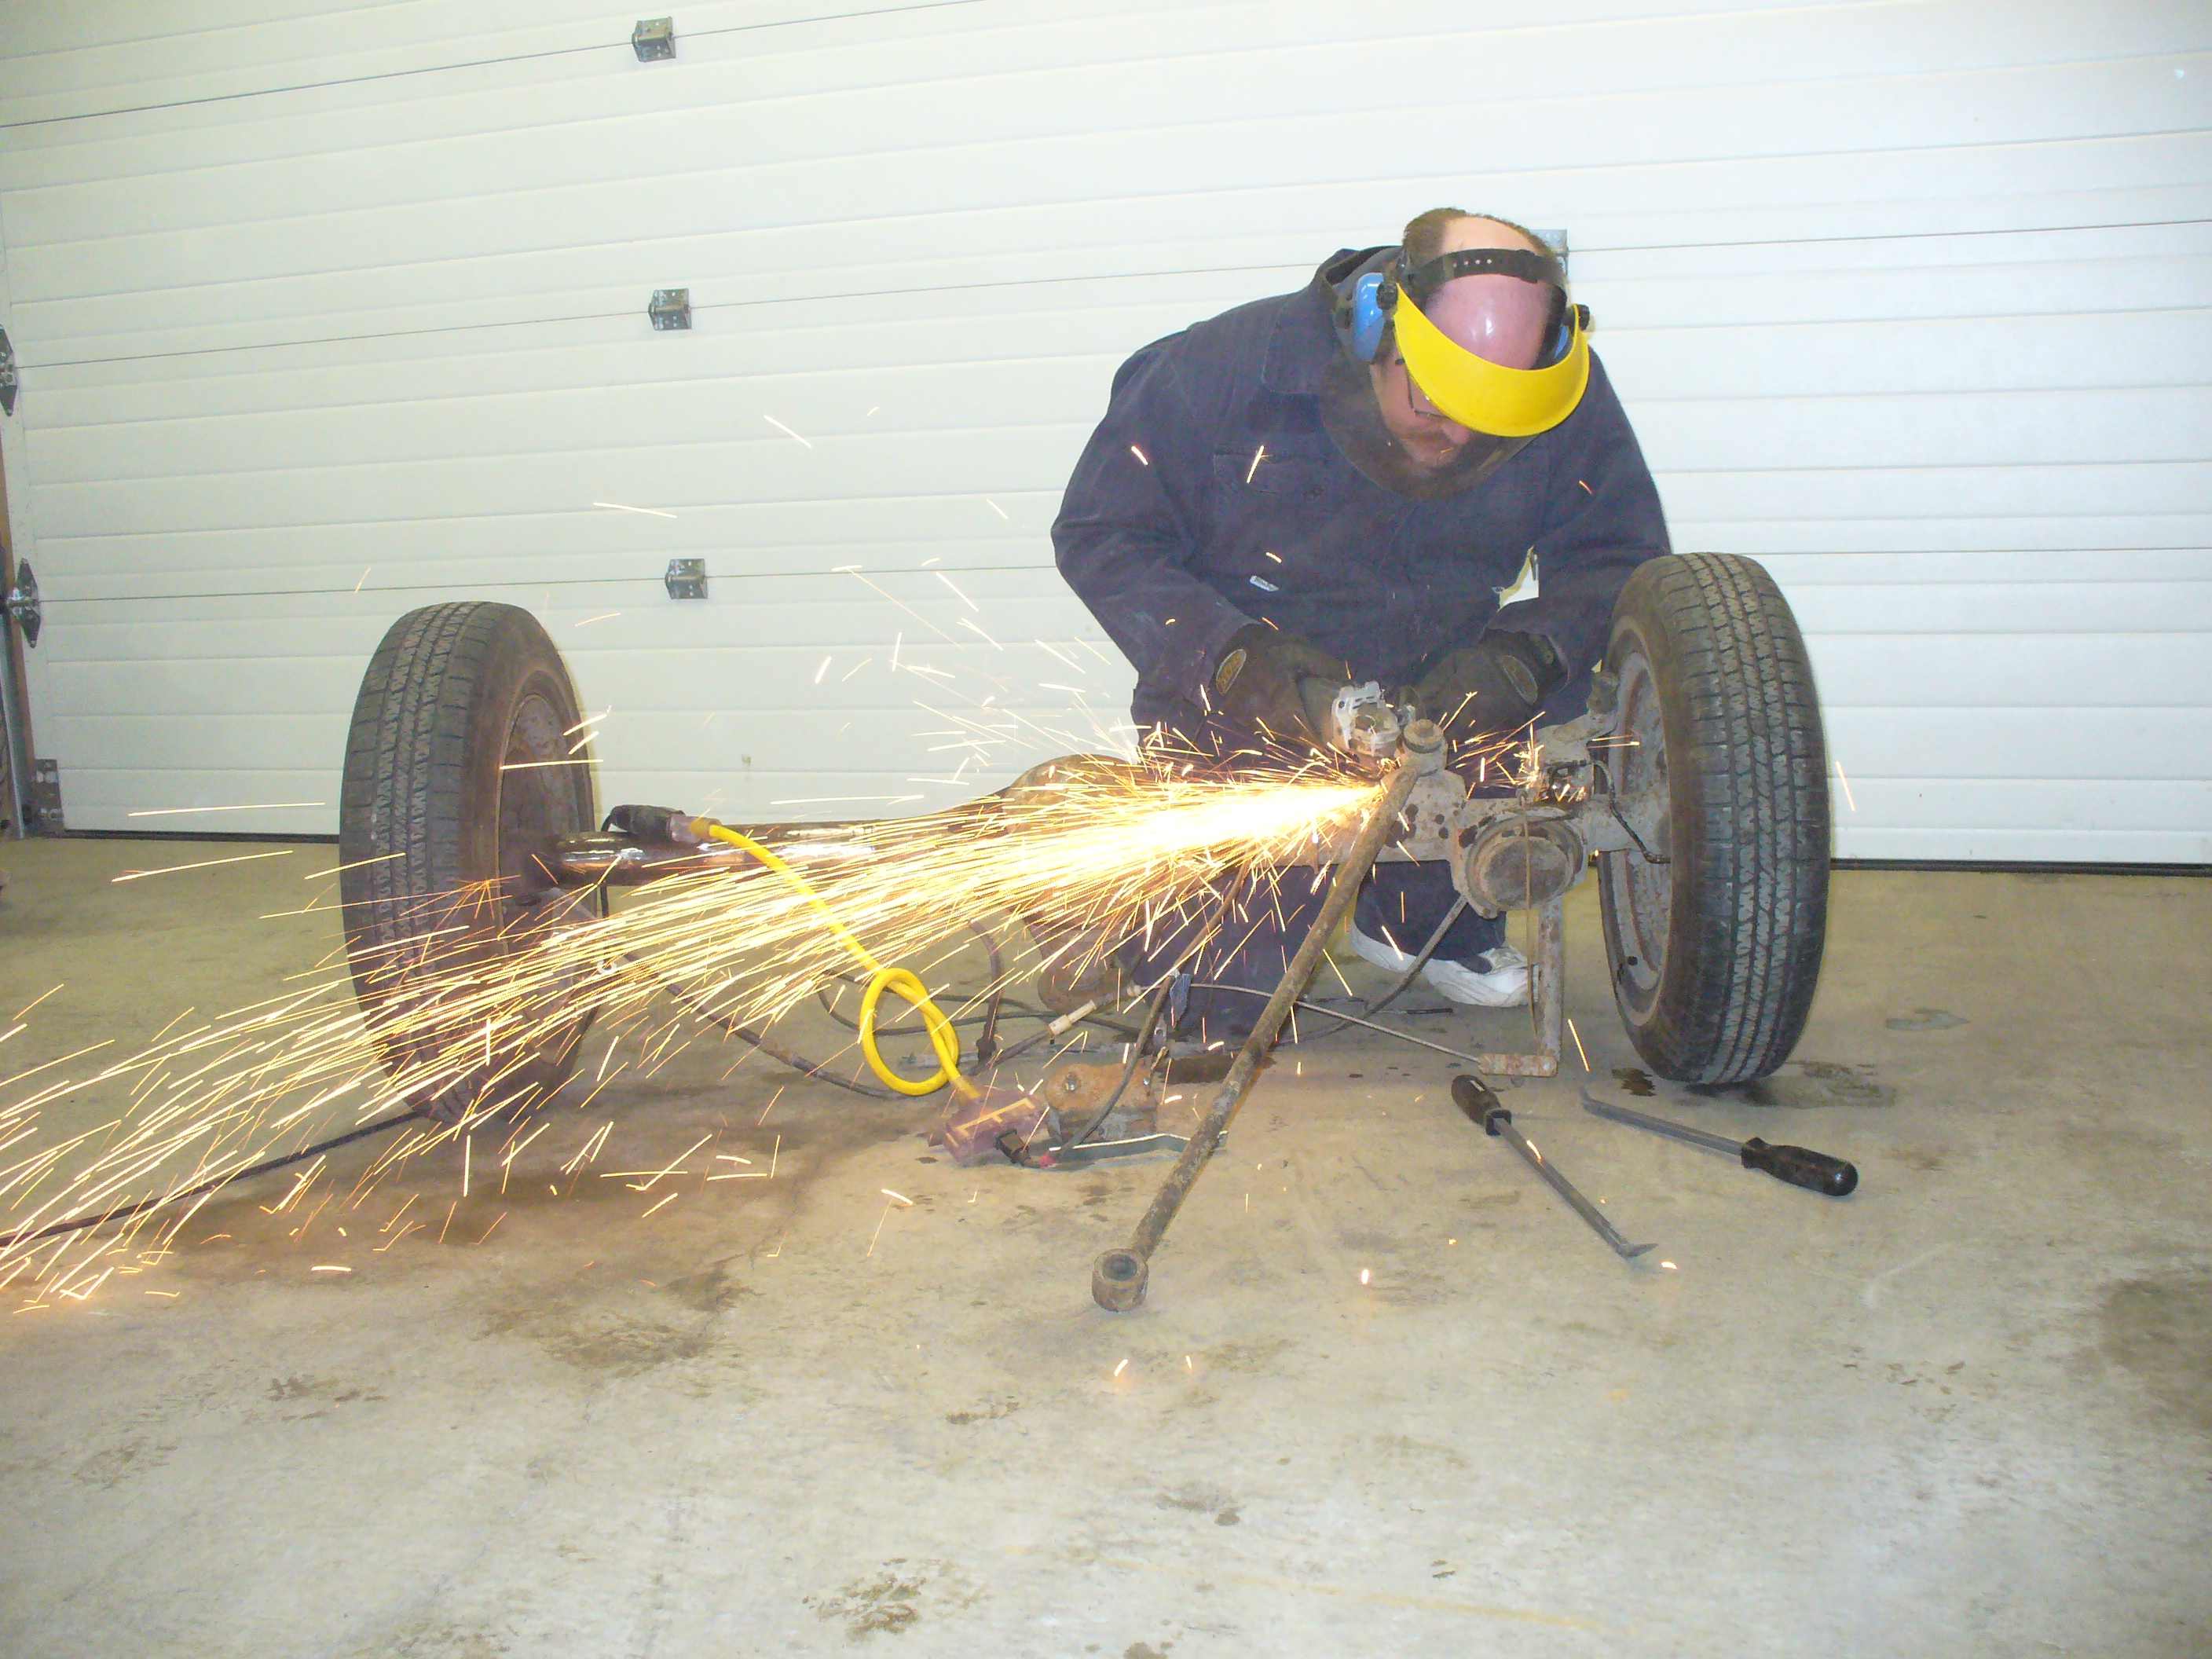
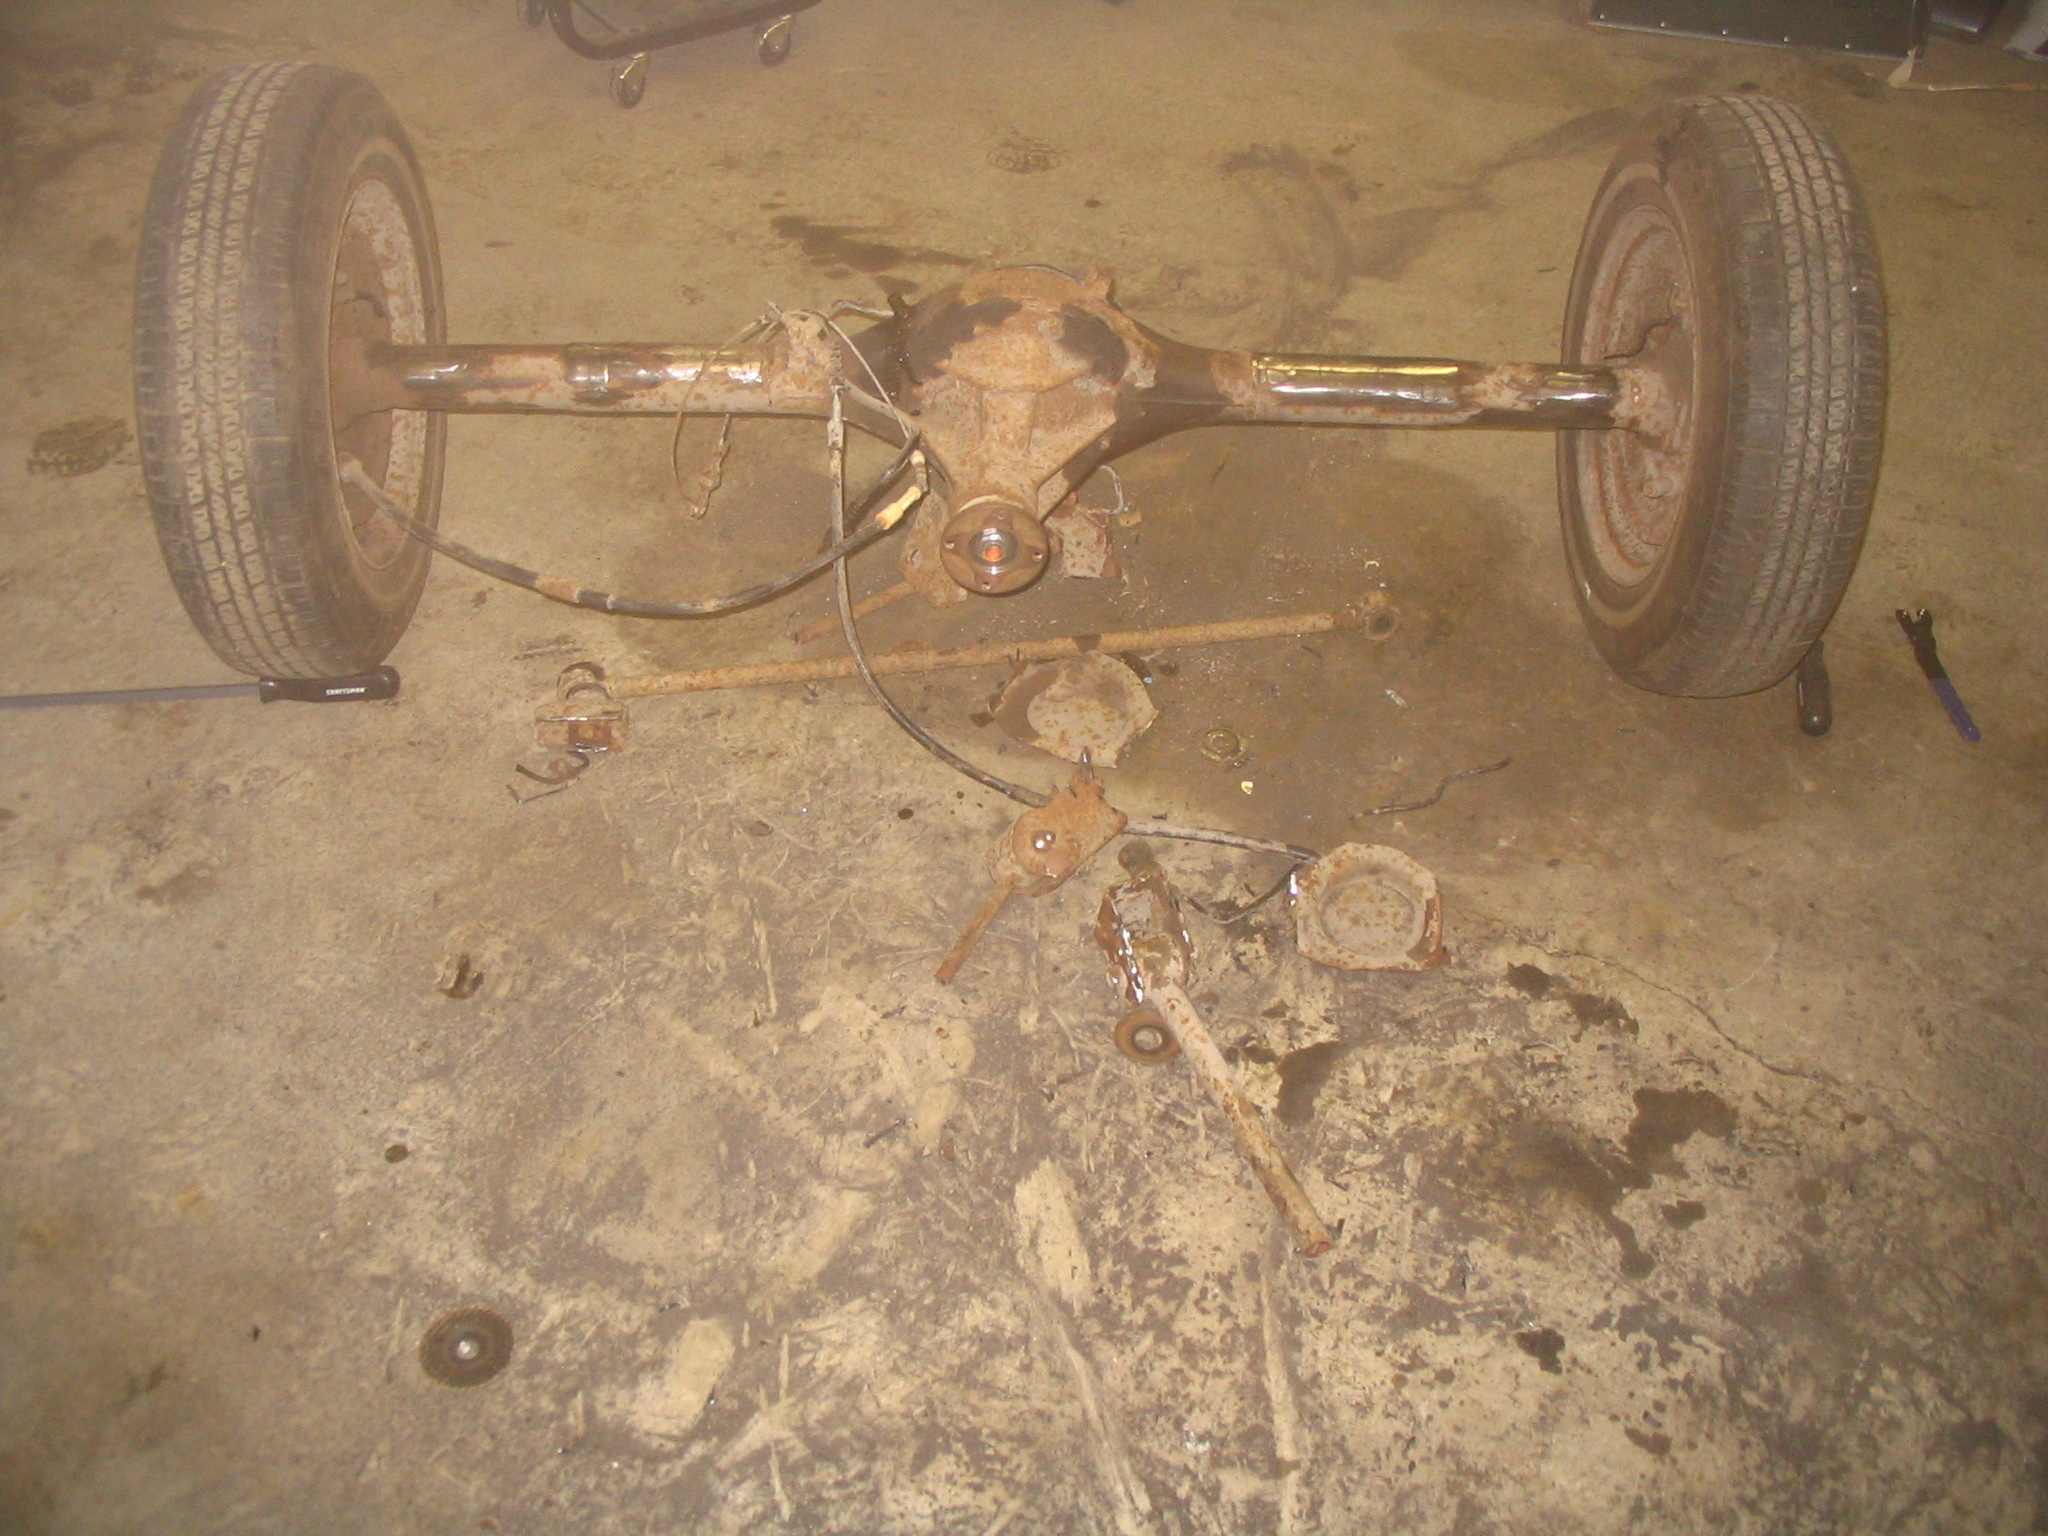
Caution: This is very messy work. A face mask -should- have been used. This can't be good for your lungs.
March 11, 2008 Update
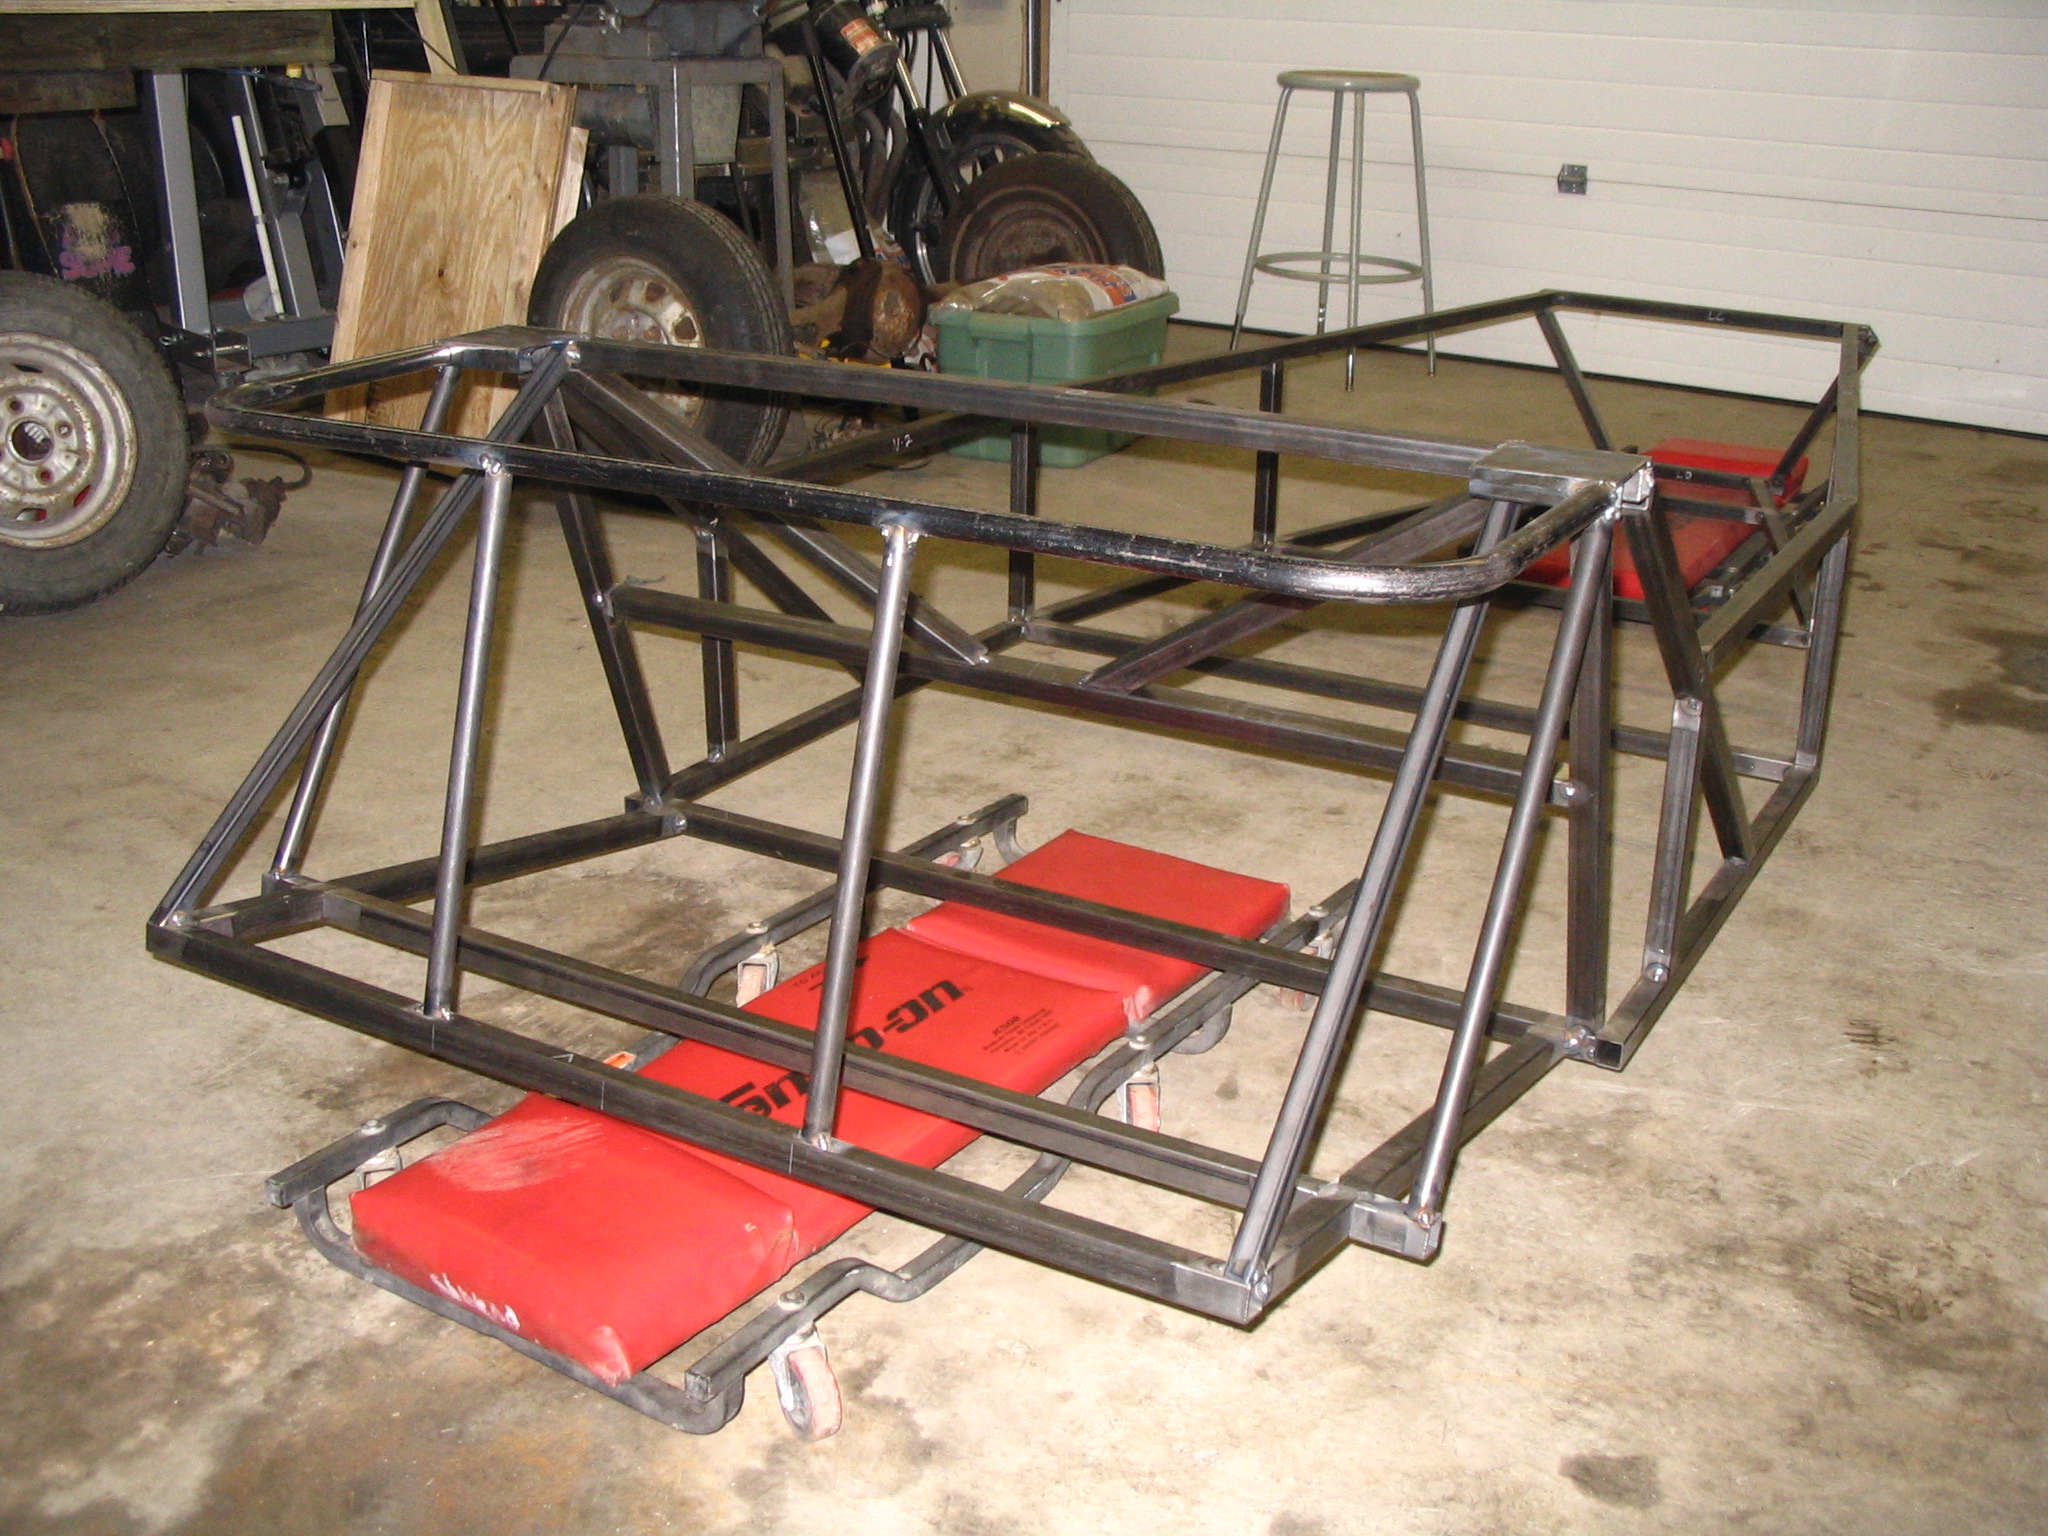
The rear end support top tube assembly is tacked, along with tubes X1, X2, X3, X4. Progress on rear bulkhead: tubes O1, O2 and O3 are tacked. Due to the large angles on Tubes O2 and O3 I was unable to use the compound mitre saw. Since my brain and compound angles get along -so- well, I wasn't expecting to find myself in the middle of positive, nurturing experience. Ah well... gotta dig in !
So I marked the compound angles on the tubes. Then checked and rechecked. Then went for a cup of tea, came back and rechecked my markings again. Then went to town with grinder and disc sander. .... amazing myself, they actually fit ! ... the first time too! No re-cuts. No new additions to the scrap metal pile. Maybe some of this stuff is starting to sink in to what's left of my gray matter.
Onwards... I still need to do the rear end bottom corner tubes to finish off those corners. Stage 2 of the chassis build in nearing completion. A couple more steps and then I can start on the transmission tunnel.
I need to drop the engine and transmission in to decide where to place the engine support tubes (G1, G2). After that tubes Q and P will tie the top of the chassis together side-to-side.
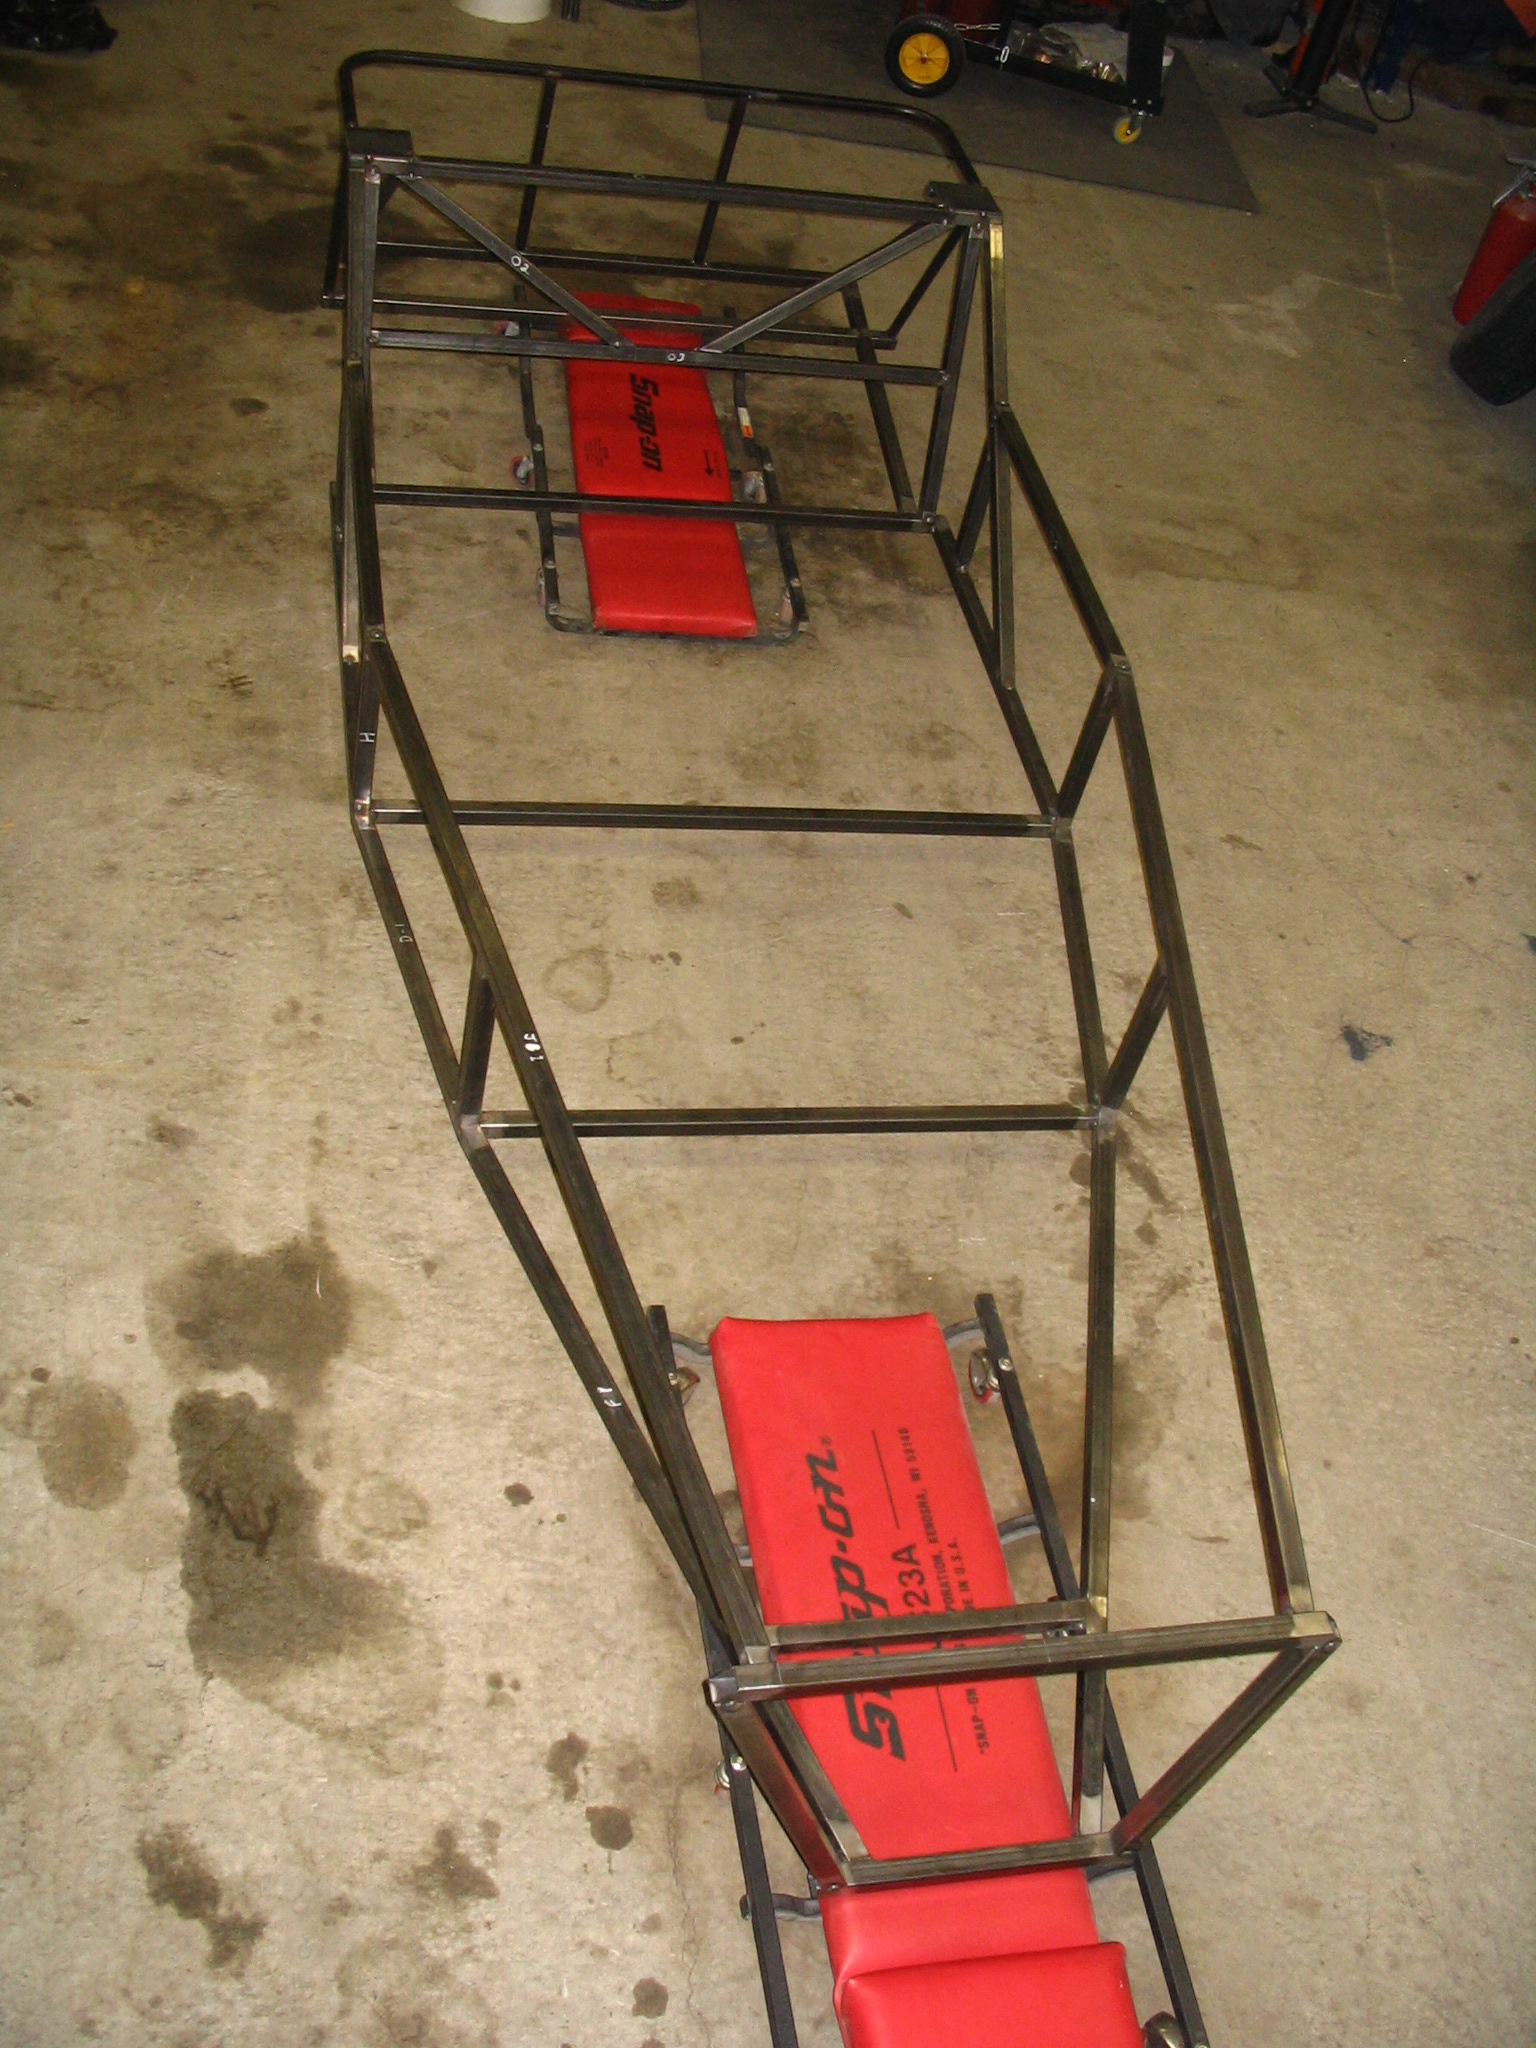
I think the build table is too high to allow use of the engine lift. In preparation for the engine placement measurements, the kids and I put the chassis on the floor.
March 17, 2008
Christine gets the first 'drive'
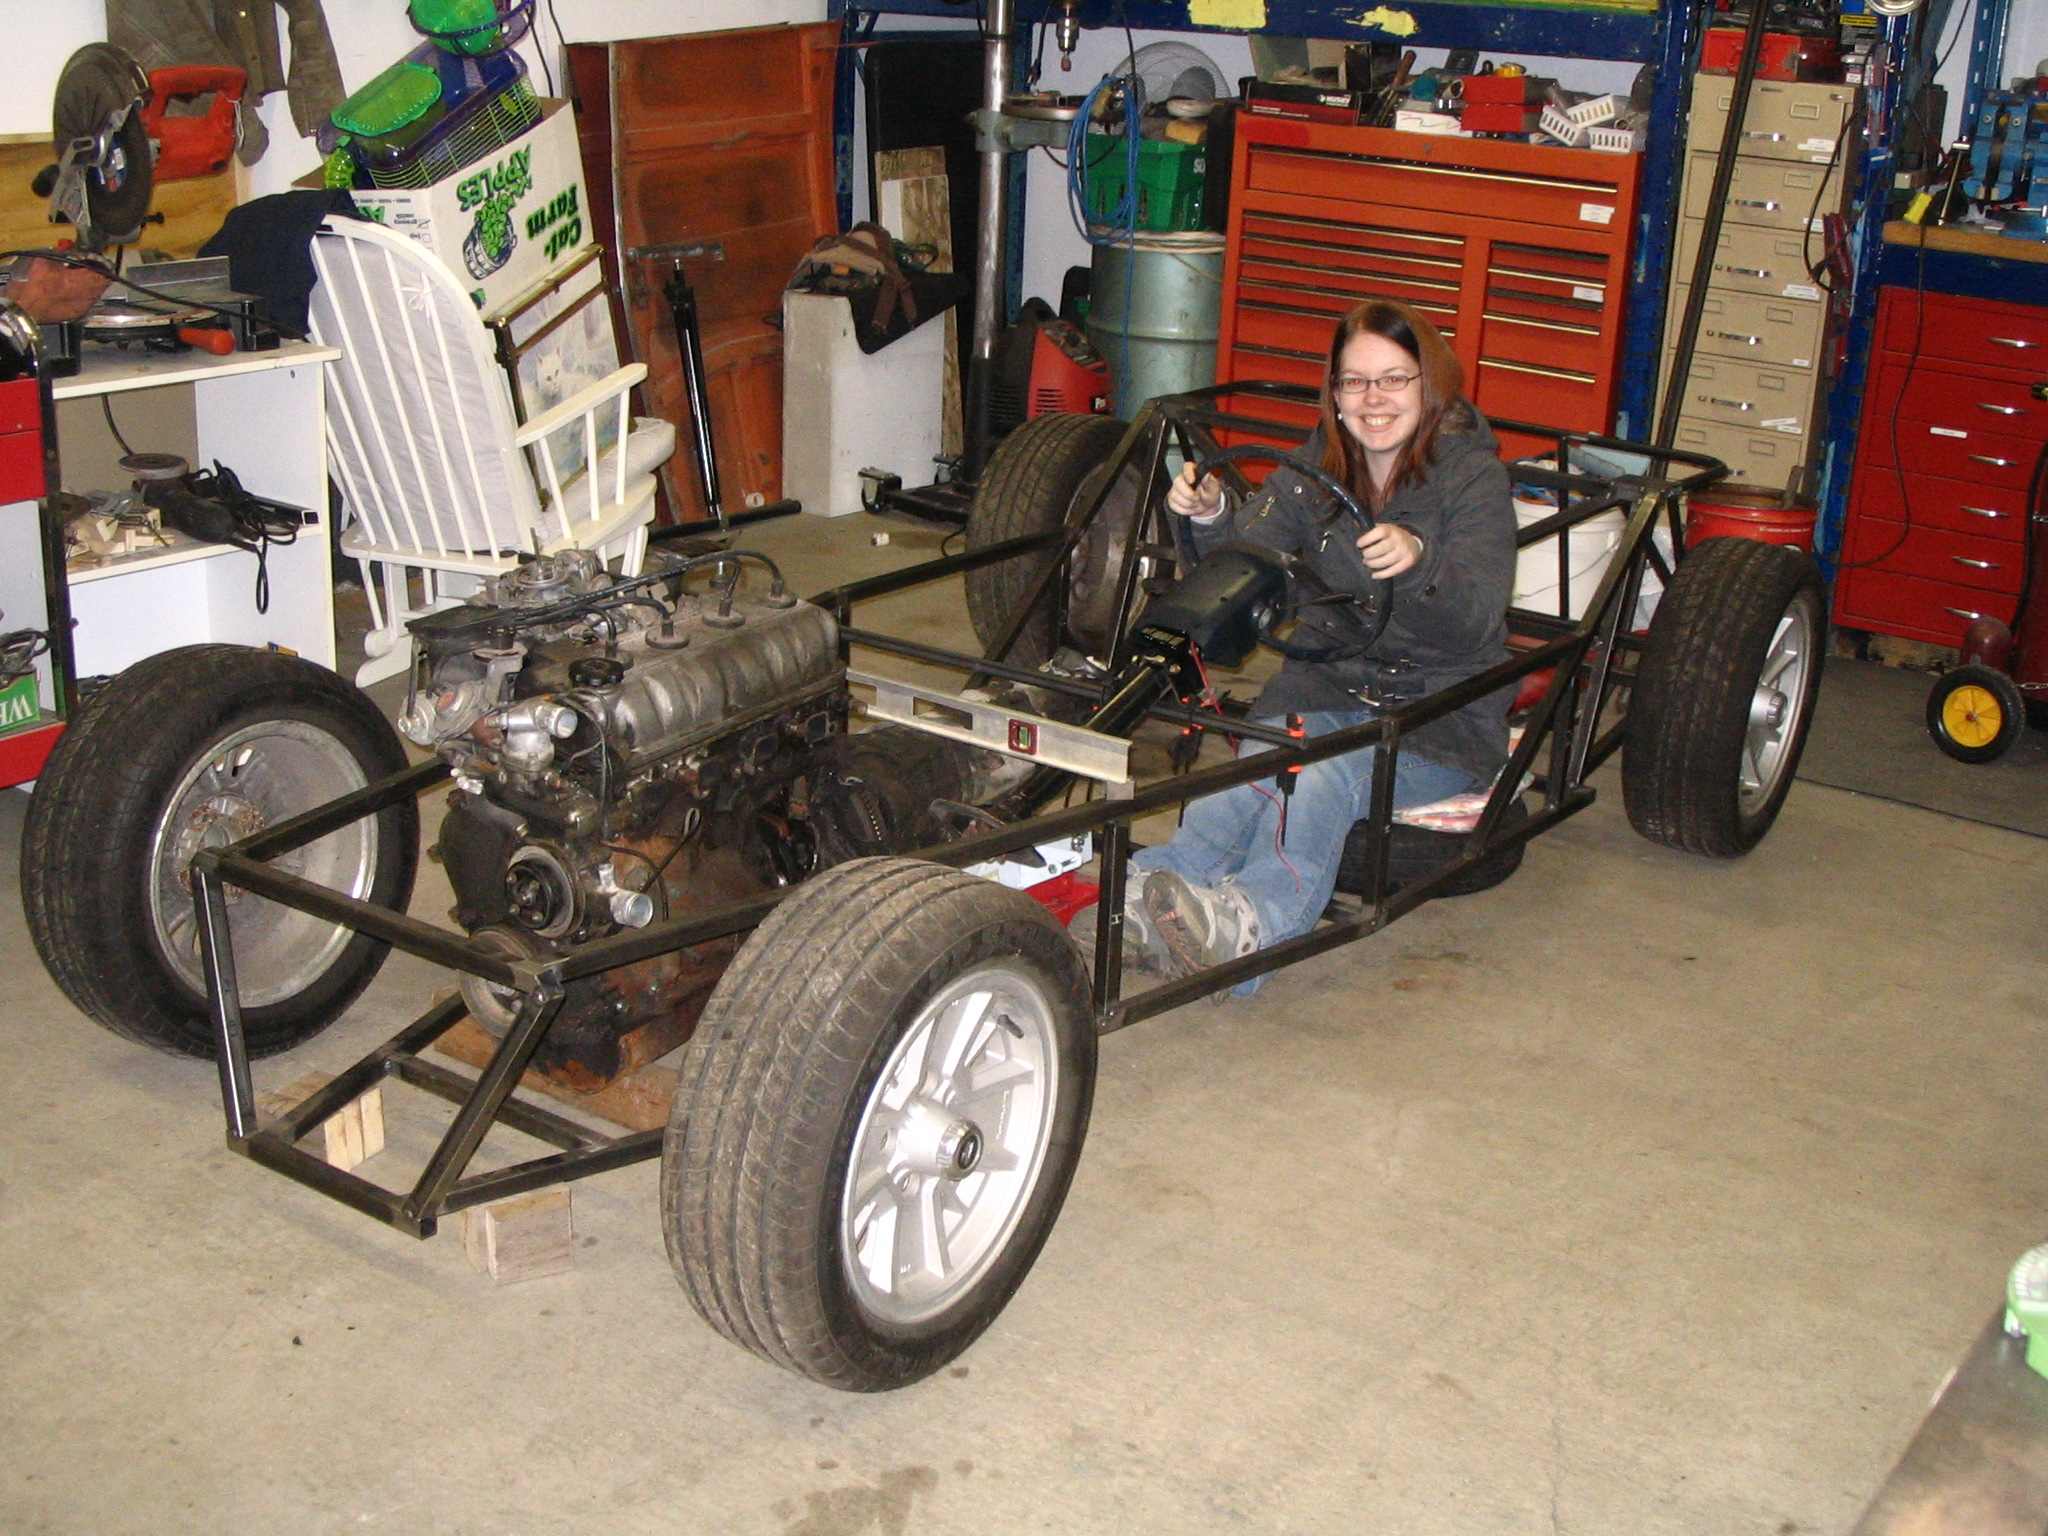
I'm working out engine placement. More details to follow !
I hit the garage on Sunday with a plan. Then spent most of time considering factors that I hadn't thoroughly considered before.
The Toyota differential center section is offset to the passenger side by 1.25". How should I locate the engine? centered on the crankshaft bolt? centered on the block? Should the transmission tail-housing be a factor?... should I locate the transmission in relation to the differential and locate the engine where ever it ends up? How far forward or backward into the passenger compartment should the trans be located?
So I did my best impression of the 'thinking-man' statue, then called it a night. Much more confused than when I started.
March 21, 2008 Update:
A change of plans: I'll retain the Toyota engine and transmission and use Cortina Mark III differential, front hubs and brakes, possibly the steering rack.
I had a talk with Gord and he brought to my attention a number (OK, a large number) of factors I hadn't considered. There's nothing quite like the knowledge and experience of a fabricator who's built 5, 6, 7 ?? of these things.
New (old) Cortina bits:
Thanks Gord!
To be continued........
![]()