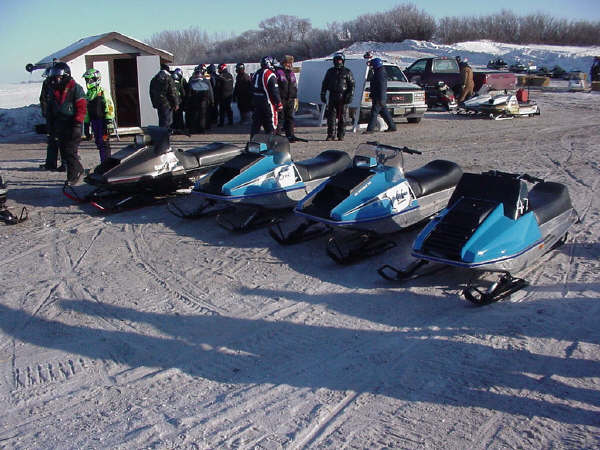
For all you guys out there looking at restoring an old Sno*Jet. Go for it! It
is a great experience and even though it takes many long hours of hard work,
you'll be glad you did it in the end. Below are a few tips to get you going on
restoring your Sno*Jet. Always take lots of pictures when you're restoring a
sled, you'll be amazed if you compare the before and after pictures. Also if you
take a bunch of pictures of your restoration, or your nice original Sno*Jet, I
would love to see them and would gladly add them to my page for you.
Just email me! Good Luck and Happy Sledding!
* If you decide to repaint the sled yourself, you may have a hard time
picking a color. If your sled is faded, you'll have a hard time getting the
correct color scanned. Here are a few different types of paint you might want to
try. They are all very close, but its up to you.

Sno*Jet Wiring Diagrams :
Sorry for the
inconvenience, but the wiring diagrams were removed. To keep good quality in the
scans, the file sizes were much bigger. So if you require a wiring diagram,
please mailto:blake_read@hotmail.com
and I'll get one out to you as soon as possible. Thanks.
* If you need parts for your Sno*Jet, click here.
* To replace your metal rusty old gas tank with a plastic gas tank, all you
have to do is cut the top of the tank in front of the ski support . Drill a hole
in the 4 corners, then cut a line across the belly pan under the hole and 4
inches back on both sides. Pull the pan down so the tank can fit around the bend
. Once the tank was in bend the pan back up and fit a plate over the pan using
self-taping screws. Just make sure the plate is wider than the tank. It is a
tight fit but it works great. Lon Wagner did this to his 72 Super Jet. Here is
what he had to say about it : The tank I used was out of an Elan and it will fit
in any Sno*Jet wide or narrow track . There was enough room on the throttle side
to route the gas line in through the old hole in the side and up to the new hook
ups. I sugest you do the same as it keeps the lines away from the exhaust. There
is room on either side but I had to tap [smack] the tank with a hammer to get it
around the bend . once its around the bend it fits like a glove, you won't even
have to tie it down. I should also have some pictures shortly. Be very careful
when attempting these modifications.