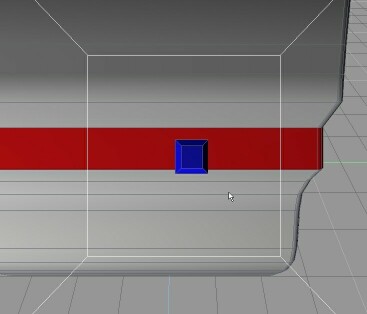
For this step, two things become important: Make sure you are in Object Coordinate System, and that you stay in that system for the rest of the way. For those that don't know, in object coordinate system the right mouse button handles the z axis. In most simple objects the Z axis points straight up when the object is created. In the case of our button here that means the z axis is running through the button (the axis along which it would slide if you pushed it, indicated by the red line). This direction is also called the top face's 'normal' which is what the Magnet Tool uses when attaching objects together . Anyway, I'm getting way out of scope here..
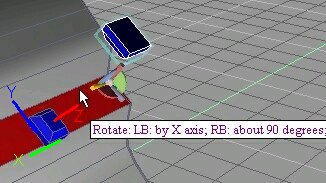
Make a copy of the button and flip it 180 degrees so it is facing the original button; most easily achieved by using the right mouse button on the rotation widget (which allows you to snap in 90 degree increments) . The rotation widget is accessed by clicking on the yellow diamond which lurks near the blue control box surrounding your object.
Since we're in object coord. system the right mouse button lets us easily move the object in and out from the console,or rotate it around it's z axis and it will always be pointing at the original button. Fun.
Now press the "view from object" button (which always looks down the Z axis)and we have a "camera" facing dead on to the button!:
|
Make a copy of the button and flip it 180 degrees so it is facing the original button; most easily achieved by using the right mouse button on the rotation widget (which allows you to snap in 90 degree increments) . The rotation widget is accessed by clicking on the yellow diamond which lurks near the blue control box surrounding your object. Since we're in object coord. system the right mouse button lets us easily move the object in and out from the console,or rotate it around it's z axis and it will always be pointing at the original button. Fun. Now press the "view from object" button (which always looks down the Z axis)and we have a "camera" facing dead on to the button!: |